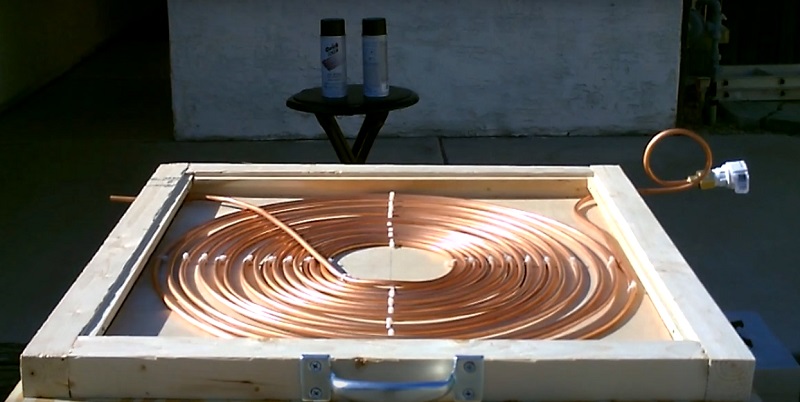
This little project might be one of the most simple DIY water heaters I have come across. With a few items from your local hardware store, you can build your own solar water heater that is portable and perfect for any outdoor adventure…
Shopping List…
- Copper Tubing 1/4″ x 50ft
- Flat Head Phillips Screws (4 pack) #8 x 1in #10 x 2.5in
- 1.5″ #16 Wire Nails
- 1/4″ Coupling
- 1/2″ to 3/4″ PVC Swivel
- 3/8″ Square Dowels
- 23.7″ x 23.7″ Sheet of Plywood
- 20″ x 20″ Sheet of Plywood
- 20″ x 20″ Pane of Glass
- 2′ x 2′ Lumber Cut – (2) 23 1/8″ & (2) 20 1/8″
- Zip Ties
- Handle
Here is a step-by-step tutorial:
Step 1:
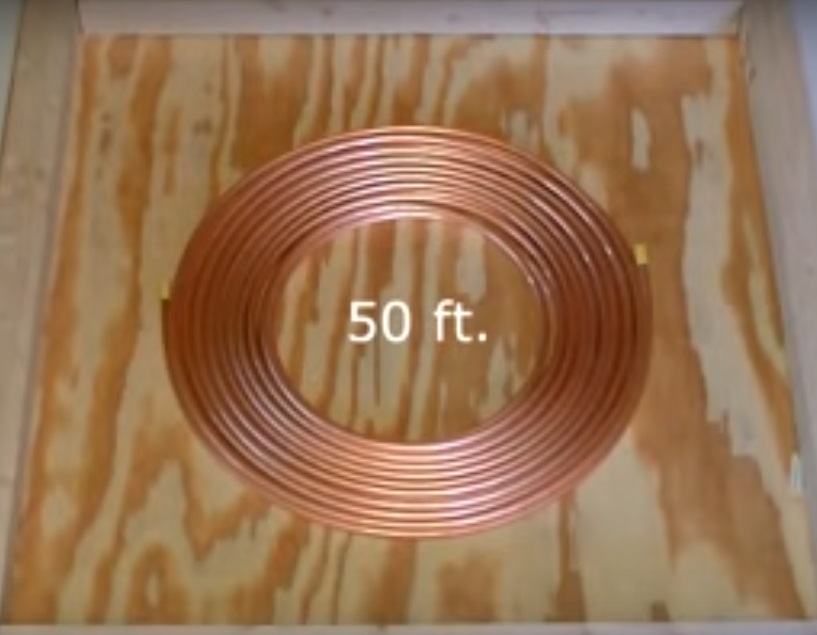
Loosen the copper and divide the 20″ x 20″ into 4 equal quadrants…
Step 2:

Lay the copper on the sheet leaving 24 inches unattached at the beginning. Start to attach the copper to the board by drilling two holes on each side of the tube and zip tie…
Step 3:
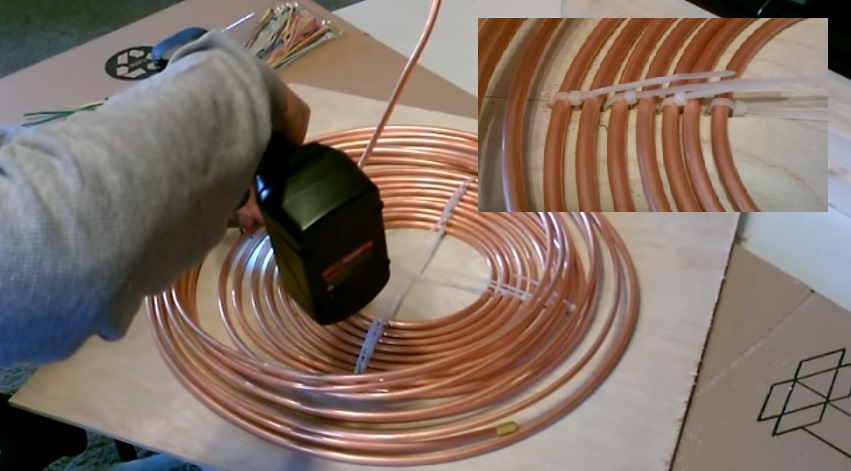
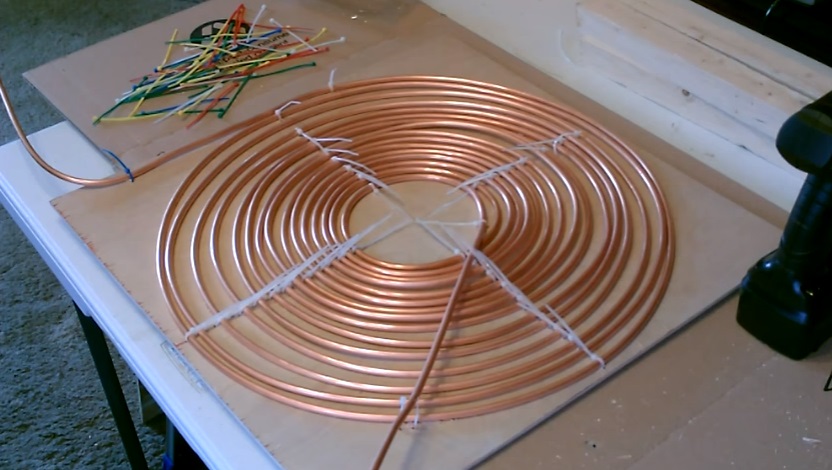
Continue drilling and zip tie-ing the tube to the board until you have 2 feet remaining. Cut the ends off of all the zip ties…
Step 4:
Construct the frame. Pre-Drill the ends of lumber and attach the 4 pieces to make a square…
Step 5:
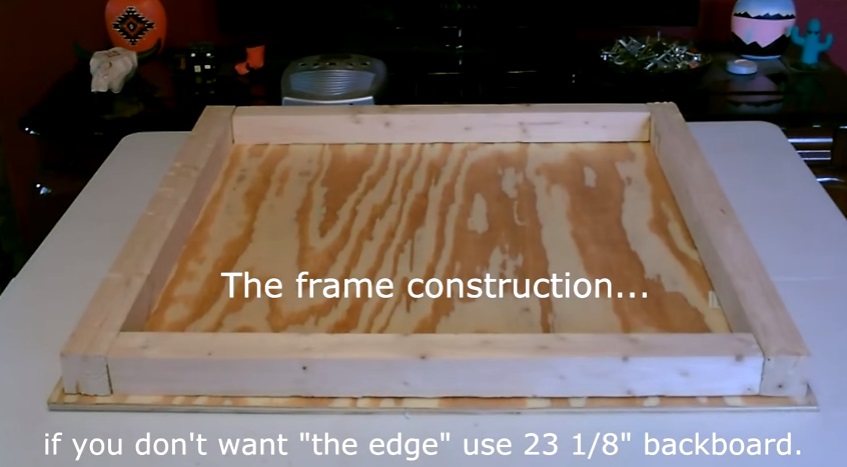
Center them onto the bigger sheet of plywood and attach…
Step 6:
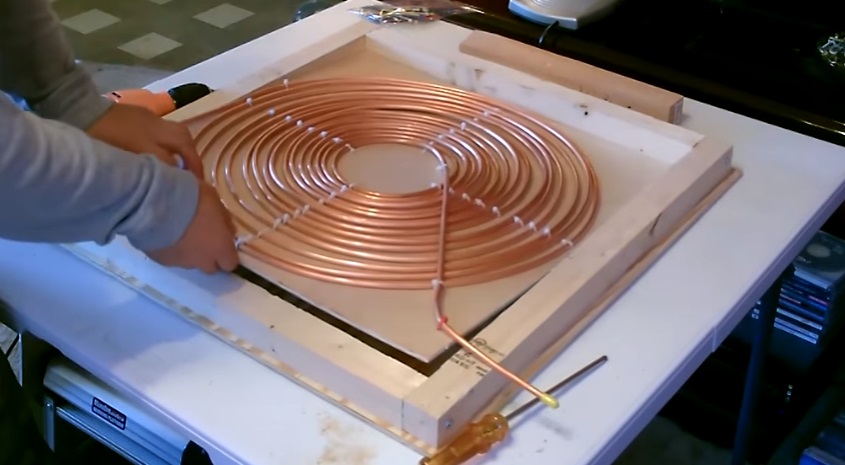
Lay the copper tube piece into the frame. Drill a 1/2″ hole where the tube meets the frame…
Step 7:
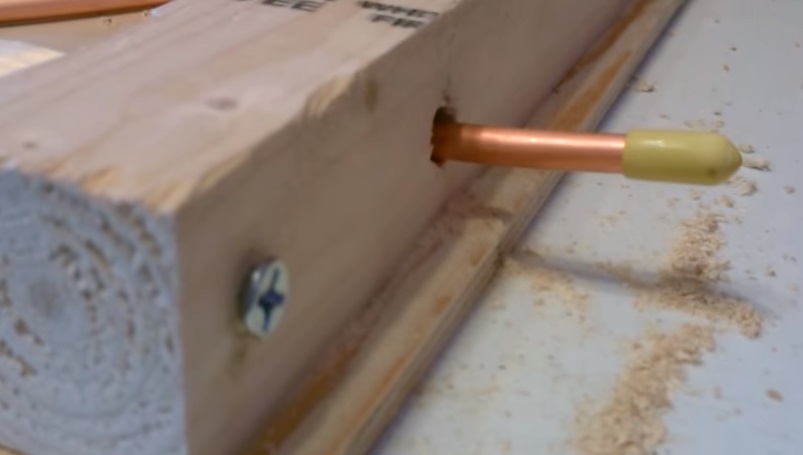
Insert the cooper into the frame…
Step 8:
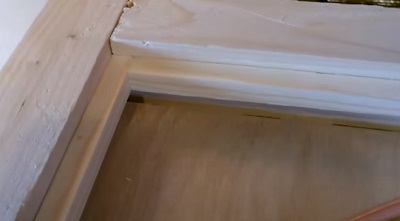
Nail cut dowels into frame 1/2 inch down to create a frame for the glass. Make sure you pre-drill the holes to prevent splitting.
Step 9:
Spray paint the copper and inside of the frame black…
Step 10:
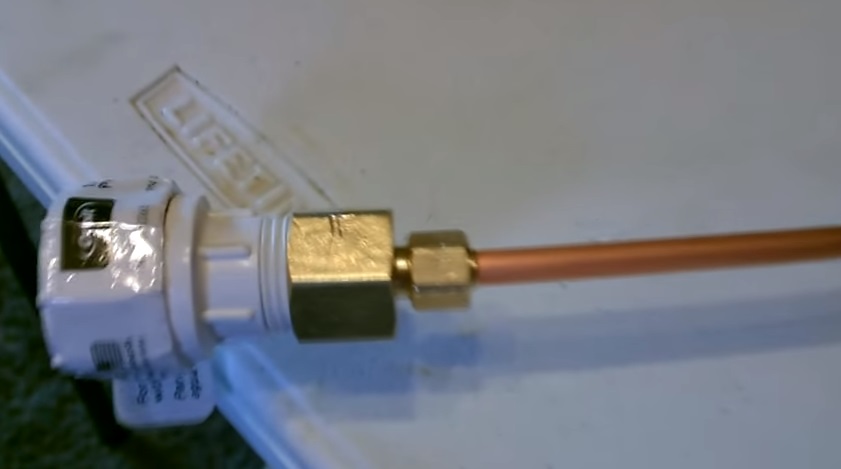
Attach coupling and swivel to pipe…
Step 11:
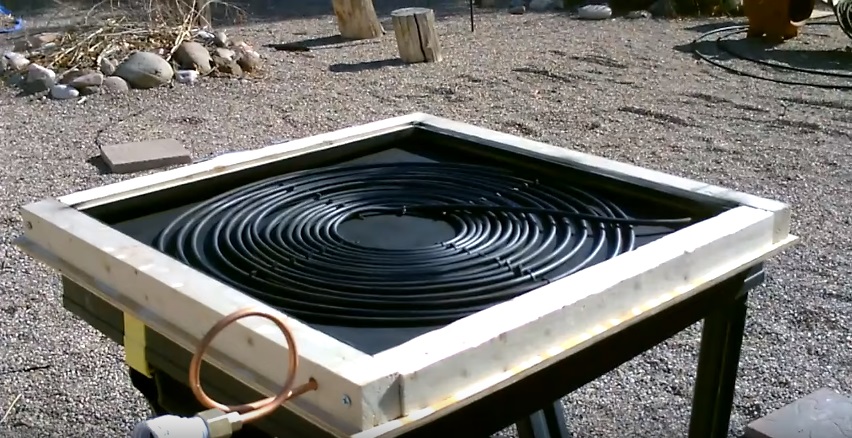
Lay glass in the frame… badda-bing-badda-boom!
This frame was able to maintain a temperature of 165 degrees…
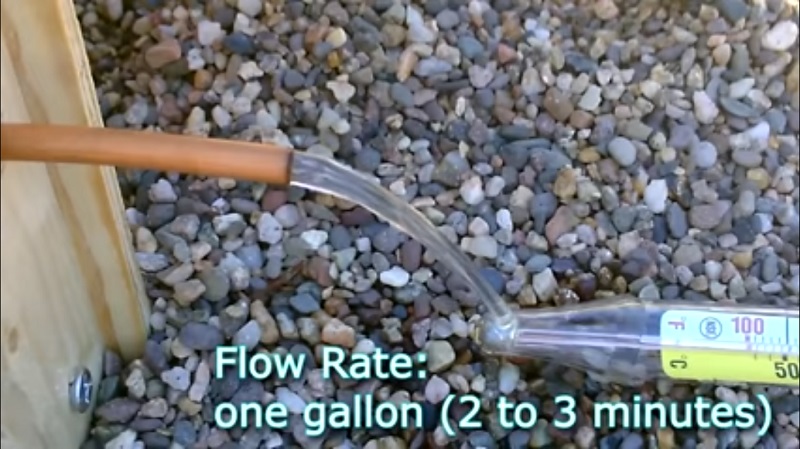
Check out the video below for more detailed instructions (via OffGridQuest)…
If you like this idea, be sure to share it with your friends and inspire someone you know. Anything becomes possible with just a little inspiration…
