Hugelkultur (pronounced HOO-gul-culture), is roughly translated from the German phrase “hill culture” and refers to a raised gardening style that takes place over mounds or – you guessed it – hills. This lasagna-style garden bed consists of layers of mulch material with one invisible secret: its important wood base.
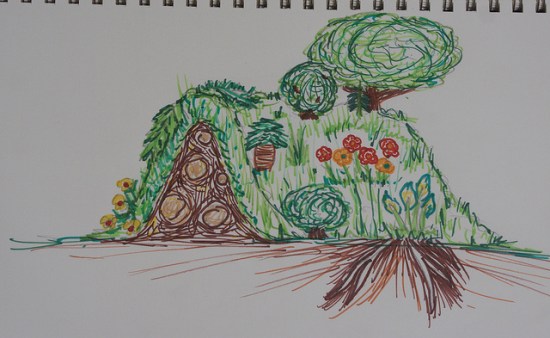
This type of gardening is ideal for wooded areas where branches and logs, even rotting ones, are abundant. If you’re interested in Hugelkultur, this article will provide a basic understanding of its benefits and technique. Are you a Hugelkultur expert? Show us some photos (or even drawings!) of your Hugel bed!
Benefits Of Hugelkultur Gardening…
The distinguishing benefit of a Hugel raised bed lies within its center: a mound of stacked logs, branches, and wood. Why is this important? Once covered, this mound will generate heat, retain moisture, emit carbon, aerate the soil, and supply nutrients as it decays over the years.
This translates (figuratively, of course) to a few tangible benefits: due to the aeration, you will not have to till this bed. Thanks to its water retention, you will likely only need to water this bed during its first year. After that, it will provide its own water, except during extreme droughts. Since the planting surface of the bed is created using layers, the quality of your soil is irrelevant when growing vegetables in a Hugel bed. Finally, since it will also capture heat, you will notice that you can extend your growing season or grow in climates that are inhospitable to certain crops.

How To Create A Hugel Raised Bed…
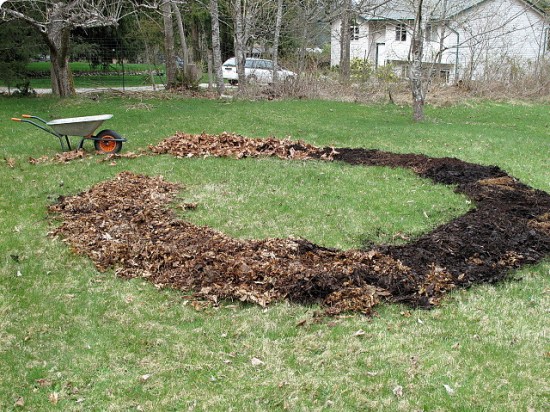
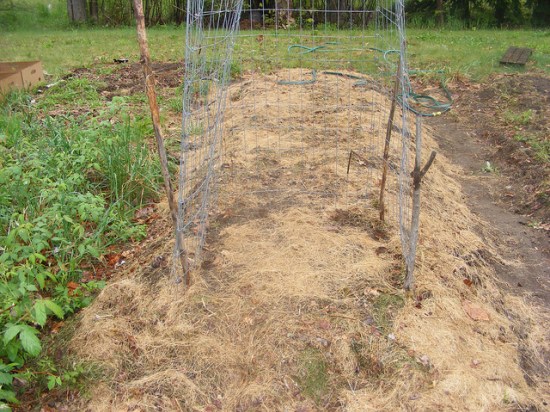
Pick a shape: Spiral? Keyhole-shaped? Round? Rectangular? This bed literally knows no boundaries and can be edged if desired or left open. Also decide how high your bed will be. If you want a giant mound that is easy to harvest at eye-level, you may want to dig a trench for the wood pile. The more wood you add, the less water it will need and the more heat it will retain. Once you’ve added all your wood (see “Tips” below for wood choices), layer with organic material: hay, soil, manure, compost, straw, grass clippings. Seedlings are planted on the outermost layer, so make sure that layer provides adequate nutrients.
Over time, the pile will start to break down, so you will want to add additional layers after a harvest. In the end, even the wood pile will eventually break down, leaving you with a pile of nutrient-rich soil after all.

Tips To Remember…
The type of wood you use will determine the bed’s longevity. Hardwoods will last (and thus provide nutrition) for about 20 years–try cedar, maple, oak, apple, poplar, or willow. Avoid these woods altogether due to toxicity or delayed decomposition: black locust, black walnut, old growth redwood. If you want a less permanent bed, you can use hay as your base, which will survive about five years. For the best of both worlds, use a wood base and bales as edging; this will further encourage heat retention.
Build your Hugel bed in an optimal location, one that includes full sun exposure over each slope (if growing vegetables) and wind protection if possible. You’ll want to mow the lawn and smother with cardboard before assembling your base if you decide not to dig a trench. Alternatively, you can cut up sod and pile the chunk over your wood mound, grassy side down. This will provide green mulch close to your wood base.
Check out this quick video for a great overview of the technique…
Via: Gardening Channel – Photos courtesy of Clarity J, Andrew Perkins, and Mark.
If you like this idea, be sure to share it with your friends and inspire someone you know. Anything becomes possible with just a little inspiration…

