How To Become More Self-Sufficient Without Starting a Full-Blown Farm…
Want to start preserving your harvest, making your own soap, or building a backyard root cellar — but not sure where to begin? “Homesteading Advice” gives you instant lifetime access to 35+ practical homesteading books on food preservation, veggie gardening, DIY natural cleaning products (save over $250 per year with this skill alone), brewing, off-grid energy, and a whole lot more…
Click Here To Check It Out Now!
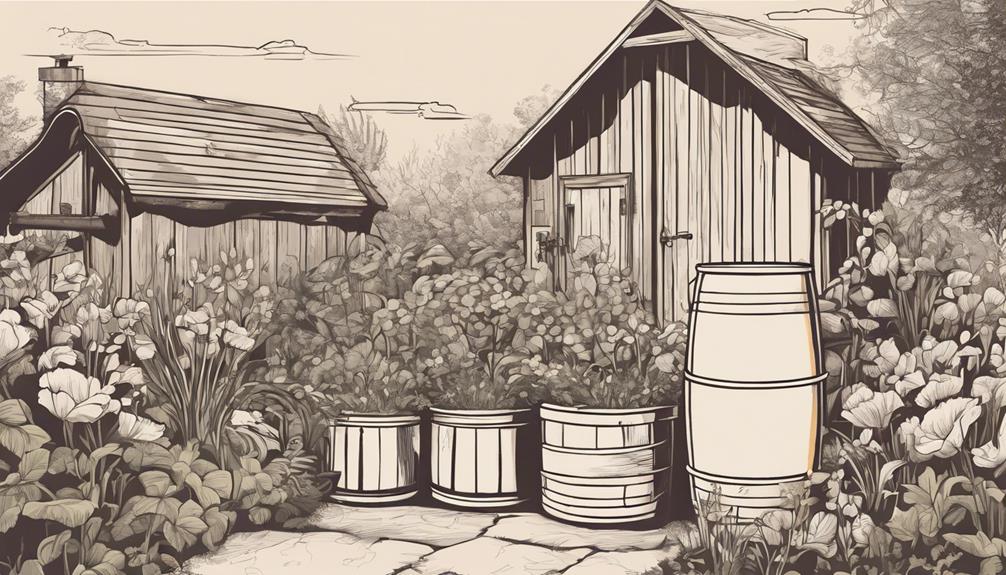
“I’m looking to set up a rainwater harvesting system in my backyard to make use of the abundant rain we get here. I have already got one rain barrel, but I’d like to connect multiple barrels to collect even more water for my vegetable garden. How do I connect multiple rain barrels effectively, and are there any specific tools or materials I’ll need? Any tips to make the installation smooth would be greatly appreciated!” Thanks, Adam, Portland, USA.
How Do I Connect Multiple Rain Barrels?
Hey Adam! Setting up a rainwater harvesting system is a fantastic idea, especially with the amount of rain you get in Portland. By connecting multiple rain barrels, you’ll be able to collect and store a significant amount of water, which is great for maintaining your vegetable garden during the dry months. Let’s go through how to connect multiple rain barrels step-by-step, and cover all the tools and materials you’ll need.
Why Connect Multiple Rain Barrels?
Before we get to the how, it’s helpful to understand why connecting multiple barrels is advantageous. By linking barrels together, you can:
- Maximize Water Storage: One barrel might fill up quickly, especially during heavy rainfalls. Multiple barrels ensure you capture as much water as possible.
- Manage Overflow: During a storm, an isolated barrel can overflow, wasting precious rainwater. Connecting barrels allows the overflow to be shared and reduces waste.
- Extend Usage: More stored water means a longer period of use for watering gardens or other activities, making your backyard farm more sustainable.
Tools and Materials Required
Here’s a list of what you’ll need before starting the installation:
- Rain Barrels: Ensure they have closed lids to prevent debris from entering.
- Linking Kit: These typically include hoses, seals, and connectors. Kits are available online or at hardware stores. Look for kits that have a linking hose and appropriate fittings.
- Drill: You’ll need this to make holes in the barrels for the connectors.
- Hole Saw Attachment: A specific drill bit to create the correct size holes for the connectors.
- Pipe or Tubing: If not included in the linking kit. Ensure it is flexible and durable enough to withstand the elements.
- Teflon Tape: This helps to create a watertight seal on threaded connections.
Steps to Connect Multiple Rain Barrels
1. Choose the Setup Location
Select a location under a downspout where the barrels can be placed. Make sure it’s a flat, stable surface to support the weight of full barrels. Adam, since you’re in Portland, ensuring they are placed in a spot with proper drainage can prevent any water logging around the barrels.
2. Prepare Your Barrels
Before drilling, rinse out your barrels to ensure they are clean. Position them as close together as possible to simplify the linking process. If you’re stacking them, make sure you have solid stands or cinder blocks to support the weight.
3. Install the First Barrel
The first barrel will catch water directly from the downspout. Position it under the downspout and adjust the height if necessary. Here’s how to set it up:
- Cut the Downspout: Trim it so it directs water into the barrel’s top inlet.
- Attach a Diverter: A diverter helps to direct water into the barrel and can be switched off when the barrel is full.
- Secure the Barrel: Use brackets if needed to keep it stable, especially if the location is windy.
4. Drill Holes for Connecting Barrels
On the side of the first barrel near the top, drill a hole large enough to fit the connector with the hole saw attachment. Repeat this process on the second barrel but drill the hole near the bottom.
5. Install the Connecting Hoses
Connect the barrels using the linking hose provided in the kit. Insert one end of the hose into the hole in the first barrel and the other end into the second barrel. Secure the connections with the seals and ensure they are watertight using Teflon tape:
- Fit the Connector: Push it tightly into the hole in the first barrel.
- Attach the Hose: Secure one end of the hose to the connector.
- Seal the Connection: Wrap Teflon tape around any threaded connections to prevent leaks.
Repeat this process for additional barrels, ensuring each is connected from the top of one to the bottom of the next.
6. Add an Overflow Option
Even with multiple barrels, there will be times when they all get full. Plan for an overflow system by drilling an overflow hole near the top of the last barrel and attaching an overflow pipe. This will direct excess water away from your house or other structures:
- Drill the Hole: Position this hole slightly lower than the main inlet to allow excess water to escape.
- Install Overflow Pipe: Fit a pipe that directs excess water to a safe area, such as a garden bed. Achieve this by attaching a flexible pipe to the hole and securing it.
Maintenance Tips
Adam, maintaining your rain barrel system ensures it functions efficiently and lasts longer. Here’s how to keep everything in working order:
1. Regular Inspections
Check the barrels and connections regularly for any leaks or damage. Tighten the connections if you notice any drips. Catching issues early can prevent water loss and prolong the system’s durability.
2. Clean the Barrels
Periodically clean the inside of the barrels to remove any algae or debris buildup. This keeps the water clean and prevents clogging. Use a mild detergent and rinse thoroughly.
3. Winterize Your System
If winters in Portland are harsh, consider disconnecting the barrels and storing them upside-down to prevent cracking from frozen water. Alternatively, insulate the barrels to protect them from the cold.
4. Manage Inlet Screens
Install screens on the inlet to keep debris and pests out. Clean these screens regularly to maintain a good flow of water into the barrels. A clogged screen can cause water to overflow or not fill the barrels properly.
Advanced Tips
1. Automated Watering System
For a more advanced setup, consider connecting an automated drip irrigation system to your rain barrels. This way, the collected rainwater can be directly used to water your plants without manual effort:
- Install a Timer: Add a timer to control when the water is released.
- Set up Drip Lines: Run drip irrigation lines from the barrels to your garden beds.
- Filter the Water: Use a simple filter to prevent debris from clogging the drip lines.
2. Use a First Flush Diverter
First flush diverters are great for ensuring the initial flow of rainwater, which might contain debris from the roof, is diverted away from the barrels. This keeps the stored water cleaner:
- Install the Diverter: Place it before the main inlet to the first barrel.
- Set the Diverter Volume: Adjust it based on the size of your roof and the potential initial debris.
3. Expand Your System
If you find your current capacity isn’t enough, you can always add more barrels. Follow the same steps mentioned earlier to integrate additional barrels into your existing system.
Final Thoughts…
Adam, connecting multiple rain barrels is a practical and eco-friendly solution for optimizing rainwater collection. This setup will not only provide you with a sustainable source of water for your garden but also help in managing water runoff effectively. Thanks for sending in your question! Don’t hesitate to reach out if you have more queries about your backyard farm. Happy gardening!
