See All: Backyard Farming
Free Backyard Farming Webinar…
You can grow food! This free webinar is for people who want the fastest and easiest ways to produce healthy and delicious vegetables, eggs, and meat. Because you know that growing your own food is like printing your own money…
Click Here To Watch The Free Webinar Now!
“Hi there, I recently started growing garlic in my backyard in Brisbane, Australia. I’m new to this, and I’m really unsure about when and how to harvest garlic. I’m also kind of lost when it comes to storing it properly once it’s harvested. Last season, my onions didn’t store well, and I don’t want to make the same mistake with my garlic. Can you guide me through the process?” Cheers, Patrick, Brisbane, Australia.
How Do I Harvest and Store Garlic?
Harvesting and storing garlic might seem a bit intimidating, especially if you’ve just started gardening and want to get the most out of your crop. But don’t worry, Patrick, you’ve planted one of the most beginner-friendly crops in your backyard, and with a bit of guidance, you’ll be harvesting and storing your garlic like a pro in no time. Let’s walk through the entire process step by step.
When to Harvest Garlic
The first challenge most gardeners face is determining the perfect time to harvest garlic. You want to pick it neither too early nor too late to ensure the best flavor and storage capabilities.
Observing the Foliage
Garlic gives you some clear visual cues on when it’s ready. Generally, harvest time comes 7-8 months after planting, but the most reliable indicator is the foliage. Around the time of harvest, the lower leaves of the garlic plant will start to yellow and die back. Here’s how you know when to pull your garlic:
- About half to two-thirds of the leaves should be brown or yellow: This usually signals that the bulbs have matured. If you harvest too soon, your garlic might be smaller with underdeveloped cloves; too late, and the cloves may start to separate within the bulb, affecting their storage life.
- Inspect a few bulbs: Gently dig up one or two bulbs to check if the cloves have formed well and have firm skins. If the bulbs are still too small or the cloves haven’t divided, wait another week before checking again.
Since you’re in Brisbane, Patrick, your timing might be slightly different from gardeners in cooler climates. You might notice your garlic maturing a bit sooner in the season. The exact timing can also depend on the specific variety you’ve planted, whether softneck or hardneck garlic.
Weather Conditions
Another thing to consider while planning your harvest is the weather forecast. Garlic is best harvested on a dry day. Wet weather can lead to mold issues during storage. If rain is expected within the next few days and your garlic is ready, it’s better to harvest rather than leave it in the ground to get wet.
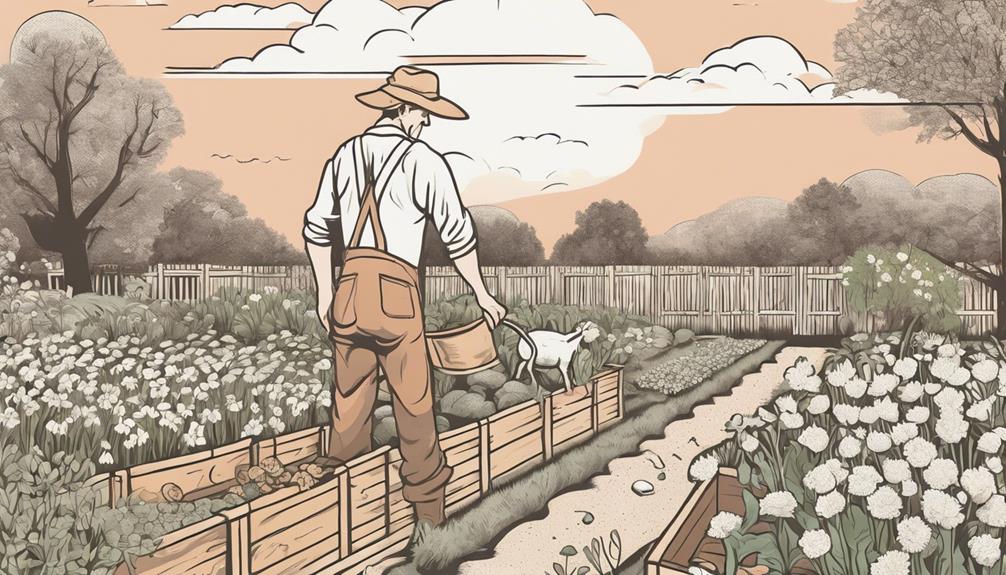
How to Harvest Garlic
Once you’ve decided it’s harvest time, you’ll want to be gentle to avoid damaging the bulbs, as any cuts or bruises can affect their ability to store long-term.
Tools You’ll Need
It’s a simple process, and you won’t need much beyond a good garden fork or spade.
- Use a garden fork if the soil is loose. It’ll allow you to gently lift the bulbs without slicing through them accidentally.
- If the soil is dense or clay-like, a spade may be better for getting underneath the bulbs without breaking them.
Steps to Harvest
- Loosen the soil first: Insert your fork or spade a few inches away from the plant and gently rock it back and forth to break up the soil. Be far enough away from the plant stem to avoid stabbing the bulb.
- Lift the bulbs: Once the soil is loosened, gently lift the garlic plant out of the ground. Don’t pull them out by the leaves; instead, grasp the bulb and brush off any loose soil.
- Avoid washing the bulbs: Resist the urge to wash your garlic after harvesting to avoid excess moisture, which can lead to mold. Instead, just brush off the soil.
How to Cure Garlic
Before storing, your garlic needs to go through a curing process. Curing helps to extend the shelf life of garlic by allowing it to dry gradually, so it stores better and longer.
Curing Setup
Find a shady, warm, and well-ventilated spot to cure your garlic. Too much exposure to direct sunlight can burn the bulbs, while poor air circulation can lead to rot. Here are some ideas:
- Hang bundles: Tie the garlic in small bunches and hang them in an airy garage, shed, or even your porch. The key is airflow. Make sure to leave space between the bulbs so that air can circulate freely.
- Lay them out: Place your bulbs on a rack or screen to allow air to circulate all around them. This method is great if you don’t have anywhere suitable to hang them.
Duration of Curing
Curing usually takes about 2-4 weeks. You’ll know your garlic is well-cured when the outer skins are papery, the roots are shriveled, and the bulbs sound hollow when tapped.
Since you’re in Brisbane, keep an eye out for any signs of mold during curing. High humidity can be a challenge, so make sure the spot you choose for curing is as dry as possible. If it’s particularly humid, you might consider using a fan to improve ventilation.
Trimming and Cleaning for Storage
After curing, it’s time to prepare your garlic for storage. While the dirtier looking bulbs are fine for immediate use, it’s a good idea to clean the ones you’ll be storing long-term.
Trimming the Bulbs
Once your garlic bulbs are fully cured, here’s how you trim them:
- Roots: Trim the garlic roots close to the base. Keeping a small amount of the roots intact helps prevent bruising.
- Leaves: Cut the stalks about an inch above the bulb unless you prefer to braid the leaves (which is more common with softneck varieties). Hardneck garlic can be trimmed even shorter.
Cleaning the Bulbs
Brush off any remaining soil. It’s generally not recommended to wash the bulbs as moisture can induce rot during storage. If necessary, you can remove one or two layers of the outer papery skin to get rid of any dirt or mold, but be careful not to remove too many layers, as the outer skin helps protect the cloves underneath.
How to Store Garlic
Storing garlic properly is the final step to enjoying your harvest for months ahead. Here’s how you can safely store your garlic bulbs after curing and trimming:
Ideal Conditions
Garlic stores best in a cool, dry, and well-ventilated area. Avoid storing in plastic bags, which trap moisture and can lead to mold or sprouting. Instead, consider a mesh bag, a paper bag, or any container that allows for air circulation.
The ideal storage conditions are:
- Temperature: Between 60°F to 65°F (about 15°C to 18°C).
- Humidity: Low humidity is crucial. High humidity encourages mold and sprouting, while low humidity helps with longevity.
- Darkness: Keep your garlic in a dark place. Light can cause garlic to sprout prematurely.
A pantry, cupboard, or even an unheated garage often works well for storing garlic. Just make sure it’s someplace cool and dark.
Compared Storing Options
| Storage Method | Pros | Cons |
|---|---|---|
| Hanging Braids | Looks appealing and decorative, good air circulation | Works better with softneck varieties, needs manual braiding |
| Mesh Bags | Excellent air circulation, easy to hang or place on shelves | Some bulbs may still sprout if the environment is too warm |
| Paper Bags | Easy to find, breathable | Might not allow as much airflow as mesh bags, harder to keep track of |
| Sealed Jars | Keeps garlic dry, no chance of contamination | Risk of mold if moisture isn’t removed first, no air circulation |
Special Note on Refrigeration
Some people wonder if they can store garlic in the refrigerator. However, this actually speeds up the sprouting process, especially if taken out frequently. Sprouted garlic is still edible, but it becomes bitter, and the cloves lose their firmness over time. Your garlic will keep much better in a cool, dry spot. If you notice a small amount of sprouting, it’s not the end of the world—you can still use it, but consider using sprouted garlic sooner rather than later.
Common Problems When Storing Garlic and How to Avoid Them
To make sure your garlic stores for months, there are a few common issues you should watch out for:
Mold
If you find mold appearing on your garlic bulbs, it could be a sign that they weren’t dried properly during curing, or they were exposed to too much moisture in storage. To avoid this:
- Ensure thorough curing. Allow the bulbs to dry completely before trimming or cleaning them.
- After curing, store garlic in a low-humidity environment.
If you’ve noticed mold forming, it’s a good idea to inspect all your bulbs. You might be able to salvage some by peeling away the affected outer layers, but they won’t store as long afterward. Use them sooner rather than later.
Sprouting
Sprouting garlic can happen if the storage temperature is too low or there’s too much exposure to light. Here’s how to avoid it:
- Keep storage temps consistently cool but not cold (between 60°F-65°F or 15°C-18°C).
- Store bulbs in a dark place to slow down the sprouting process.
Soft or Shriveled Bulbs
If your garlic bulbs become soft or shriveled during storage, it’s likely due to low humidity or from being stored in a place that’s too warm. Keep an eye on your storage conditions, and don’t hesitate to use up any bulbs showing signs of softening.
Using Stored Garlic
Now that you’ve worked hard growing, harvesting, and storing your garlic, it’s time to enjoy it! Garlic is incredibly versatile and packs a punch of flavor and nutrition into your meals. Here are a few popular ways to use your homegrown garlic:
- Raw: Add finely chopped or minced garlic to salads, dips, and dressings for a kick of flavor.
- Cooked: Garlic mellows and sweetens when cooked. Sauté it in olive oil, add it to soups, or roast whole heads for a tender, caramelized treat.
- Preserved: If you’ve got a particularly large crop, consider making garlic-infused oil, garlic powder, or even pickled garlic to extend its use further.
Homegrown garlic has an intensity and richness you won’t find in store-bought varieties. Enjoy it in everything from simple pasta dishes to elaborate roasts.
Final Thoughts…
Patrick, I hope these tips and techniques help you make the most of your garlic crop this season. Knowing when to harvest, how to cure, and the best storage methods is key to extending the use of your homegrown garlic for months to come. Thanks for reaching out with your question! Happy gardening, and I can’t wait to hear how your garlic turns out!
Return To: Backyard Farming
Free Backyard Farming Webinar…
Marjory Wildcraft: For 20+ years, Marjory has been a leader in survival & preparedness and wants to show you how to grow food in your backyard farm. This free webinar is for people who want the fastest and easiest ways to produce healthy and delicious vegetables, eggs, and meat. Because you know that growing your own food is like printing your own money…
