How To Become More Self-Sufficient Without Starting a Full-Blown Farm…
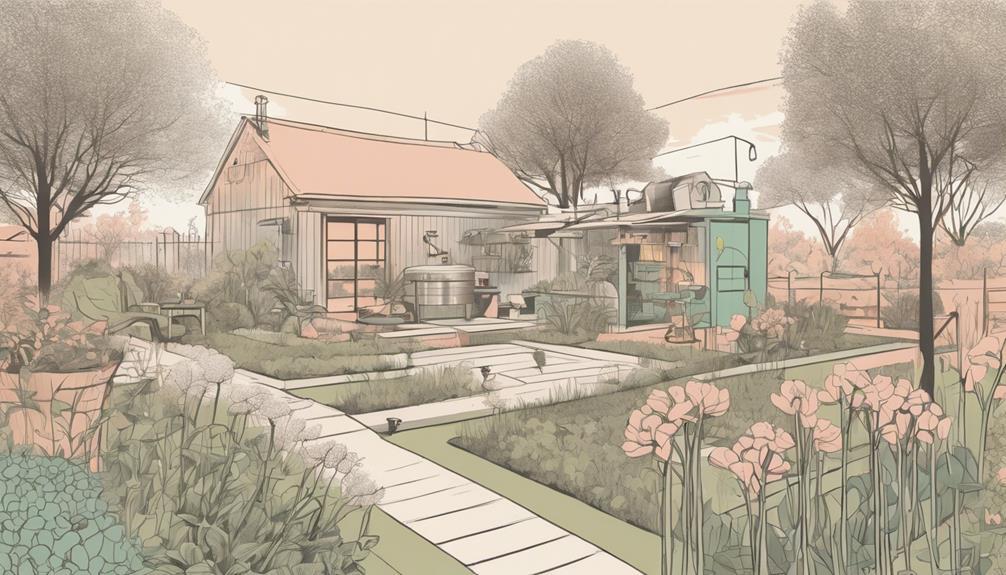
Want to start preserving your harvest, making your own soap, or building a backyard root cellar — but not sure where to begin? “Homesteading Advice” gives you instant lifetime access to 35+ practical homesteading books on food preservation, veggie gardening, DIY natural cleaning products (save over $250 per year with this skill alone), brewing, off-grid energy, and a whole lot more…
Click Here To Check It Out Now!
“Hi there, we live in a pretty dry region in Colorado, and I have a small backyard garden where I grow vegetables and a handful of fruit trees. I’ve heard that micro-irrigation could be a good way to conserve water and keep my plants healthy. Could you explain how I can install a micro-irrigation system? I’m especially keen to know how I can tailor it to my specific garden layout and what challenges I might face along the way.” Thanks, Roger, Colorado Springs, USA.
How Do I Install A Micro-Irrigation System?
Installing a micro-irrigation system in your backyard can be a game changer, especially if you’re dealing with a dry climate like Roger in Colorado Springs. Micro-irrigation is not only an efficient way to keep your backyard garden hydrated, but it also helps conserve water—an important aspect when you’re in an arid region. Micro-irrigation systems are designed to deliver water directly to the roots of your plants, ensuring they get the exact amount they need, which minimizes water waste due to evaporation or runoff.
Understanding Micro-Irrigation Systems
Micro-irrigation systems, often referred to as drip irrigation, are designed to slowly deliver water to the base of plants. This method of irrigation is highly efficient since water is directly applied where it’s needed—right at the root zone of the plants. These systems typically consist of a network of tubing, emitters (which control the flow of water), filters, and pressure regulators.
When setting up your micro-irrigation system, it’s important to think about how your garden is laid out. Are your plants in raised beds, in-ground rows, or mixed between pots and in-ground plantings? Understanding this will help you customize your system to deliver water where it’s needed most.
Benefits of Micro-Irrigation
Before diving into the installation, let’s briefly discuss the advantages of using micro-irrigation:
- Water-Efficiency: Minimizes wastage as water is directed specifically to the root zones.
- Healthier Plants: Reduces the risks of diseases caused by excess water on leaves, and it promotes healthier root development.
- Environmental Stewardship: Helps in conserving a valuable resource, which is especially important in arid regions.
- Cost-Effective: Although initial setup costs may be higher, the system saves money over time through reduced water bills.
- Versatile: Can be easily tailored to various garden layouts and plant needs.
Basic Components of a Micro-Irrigation System
Understanding what goes into a micro-irrigation system is the first step. Here’s a breakdown of the essential components:
- Tubing: Polyethylene tubing or “drip lines” that serve as the main water delivery network.
- Emitters: These control the amount of water that reaches each plant and can come in various flow rates.
- Filters: Important for keeping dirt and debris out of the system, ensuring a long life for your setup.
- Pressure Regulators: Necessary to manage the pressure coming in from your water source and ensure it matches the system’s requirements.
- End Caps: These seal off the ends of your tubing, ensuring water doesn’t leak out.
- Fittings and Connectors: Used to join segments of tubing or create branches in your system.
All of these components work together to create a system customized for your garden’s specific needs. Different plants may require different water applications which can be managed with emitters of varying flow rates. For instance, your fruit trees might need a slower, deeper watering than your salad greens.
Planning Your Micro-Irrigation System
To ensure a successful installation, careful planning is essential. Start by sketching a rough map of your garden, noting where different types of plants are located and how much water each type generally needs. Here’s how you can break it down:
- Evaluate the Layout: Take stock of your planting beds, rows, or pots. Map out where each plant is, and more importantly, where its root zone is.
- Estimate Water Needs: Different plants have different water requirements. Group them accordingly, so that similar plants are watered by the same line.
- Water Source Location: Identify where your water source is located. Ideally, your micro-irrigation system should connect to this source with minimal need for extension hoses.
- Consider Sun and Wind: Areas exposed to more sun or wind may need additional water. Factor this into your planning.
If your garden is as diverse as Roger’s with both vegetables and fruit trees, you’ll want to ensure both types of plants are getting the right amount of water. Trees may require deeper watering but less frequently compared to vegetables, which may need shallow, more frequent irrigation.
Installing Your Micro-Irrigation System
Once you’ve done your planning, it’s time to get everything set up. Follow these steps for a smooth installation:
- Gather Materials: Make sure you have all your tools and components ready. This includes tubing, emitters, connectors, a pressure regulator, and any other specific fittings you’ll need.
- Cut and Lay Tubing: Measure and cut your tubing according to the layout you designed. Lay it out in your garden to match your plan.
- Connect the Tubing to the Water Source: Attach your mainline tubing to the water source. Include a filter to prevent clogging and a pressure regulator to control water flow.
- Install Emitters: Punch holes in the tubing where you want the water to be emitted, and insert the emitters. Attach adjustable emitters in areas where plants may have different watering needs.
- Secure the Tubing: Use stakes or garden pins to secure the tubing to the ground, so it stays in place.
- Seal Off Unused Ends: Use end caps to seal off the ends of your lines, ensuring that water only exits through the emitters.
- Test the System: Turn on the water and carefully observe each emitter. Make sure water is being delivered as expected. Weather conditions could affect your pressure regulator settings, so make adjustments if needed.
After you get everything installed, it’s important to periodically check the system to ensure it continues to function as expected. Emitters can eventually clog, or you might notice that certain sections aren’t getting the water they need. Regular maintenance will help keep your micro-irrigation system running smoothly.
Troubleshooting Common Issues
Even with the best-laid plans, issues can sometimes crop up after installation. Here are some common problems you might encounter, along with how to fix them:
- Clogged Emitters: This is a common issue as small debris can get into the system, even with a filter. Regularly check and clean emitters as needed.
- Uneven Water Distribution: Sometimes the water pressure isn’t consistent throughout the system, particularly in larger gardens. Consider adding more pressure regulators or adjusting the flow of certain emitters.
- Leaks in the Tubing: Tubing can get damaged by sharp objects or even critters. Inspect regularly for leaks, and use connectors or repair kits to fix them.
- Over or Under Watering: Over time, your garden’s water needs may change, especially as plants grow. Regularly check soil moisture and adjust your system accordingly.
If you’re facing specific issues, like leaking emitters or pressure imbalance, a systematic approach to troubleshooting can help solve the problem. For instance, if your system seems to be under-delivering water, start by checking the water source for clogs, then move to the pressure regulator, and finally inspect each emitter to ensure it’s functioning correctly.
Adapting the System Over Time
Like any aspect of gardening, your micro-irrigation system may need tweaks and adjustments over time to keep up with your garden’s evolving needs. As your plants grow, their water requirements will change. Trees, for instance, may need additional emitters as they mature.
In terms of seasonality, you might need to adjust your watering schedule based on temperature and rainfall. During particularly hot periods, you could opt to increase the frequency or duration of watering sessions. Conversely, during rainy periods, you might want to switch the system off completely to avoid waterlogging your plants.
If you’re looking to expand your garden, the flexibility of a micro-irrigation system makes it easy to add more lines or branches to cover new areas. Simply extend the mainline and add more emitters as required. It’s straightforward to adapt the design; just be sure to keep the water pressure in check as you extend the system.
Advanced Tips: Smart Controllers and Automation
To make things even easier, consider adding a programmable timer or smart irrigation controller to your setup. With a smart controller, you can automate watering schedules or even manage your system from your smartphone. Some advanced controllers can adjust watering schedules automatically based on local weather data, soil moisture levels, or seasonal trends.
For instance, in Roger’s dry climate, a smart controller could automatically increase the watering frequency during a heatwave, ensuring that his vegetables and fruit trees get the hydration they need without him having to manually adjust the settings.
Water Conservation Practices
If water conservation is a priority, there are several practices you can adopt alongside your micro-irrigation system to maximize efficiency:
- Mulching: Apply mulch around the base of your plants to retain soil moisture. Mulch helps reduce evaporation, keeping the soil cooler and reducing the amount of water your plants need.
- Watering Times: Water during the early morning or late evening to minimize water loss due to evaporation from the sun.
- Rain Barrels: Collect rainwater in barrels and use it to supplement your garden’s irrigation needs, further reducing reliance on your primary water source.
- Planting Native Species: Incorporate drought-tolerant or native plants that are naturally adapted to survive on less water.
These practices can be especially beneficial when you’re dealing with the challenges of a dry climate or looking to make your garden more sustainable. Not only do they work hand-in-hand with your micro-irrigation system, but they also contribute to the well-being of the environment.
| Micro-Irrigation Component | Purpose | Maintenance Tips |
|---|---|---|
| Tubing | Main delivery line for water to reach plants | Inspect for leaks or damage, replace as needed |
| Emitters | Control water output at the plant’s root zone | Regularly check for clogs and clean |
| Filters | Keep debris out of the system | Clean or replace periodically |
| Pressure Regulators | Maintain optimal water pressure in the system | Adjust based on season and changing needs |
Final Thoughts…
Roger, installing a micro-irrigation system in your backyard garden is an excellent way to manage water use effectively, especially in a dry climate like Colorado Springs. I hope this detailed guide has given you the insight and motivation to get started with your project. Remember to keep an eye on the system once installed and make adjustments as needed. You’ll find that, with a little care and regular maintenance, your garden will thrive, providing you with bountiful harvests while conserving water.
Best of luck with your garden, and thanks again for sending in your question!
