See All: Backyard Farming
Free Backyard Farming Webinar…
You can grow food! This free webinar is for people who want the fastest and easiest ways to produce healthy and delicious vegetables, eggs, and meat. Because you know that growing your own food is like printing your own money…
Click Here To Watch The Free Webinar Now!
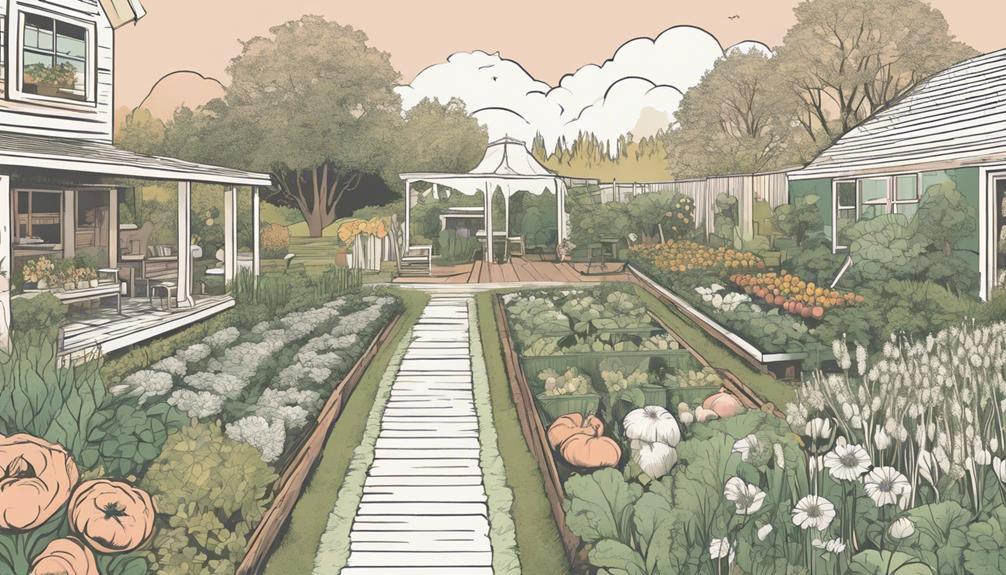
“Hi, I’m working on planning my backyard irrigation system, and I’m struggling to figure out how to divide my garden into irrigation zones. I’ve got a mix of vegetables, fruit trees, and a small flower bed, and I’m not sure how to organize everything to ensure everything gets the right amount of water. I’m also concerned about not wasting water since our town often experiences dry spells in the summer. Any advice on how to set up irrigation zones for my garden would be really appreciated! Thanks,” Kevin, Melbourne, Australia.
How Do I Plan Irrigation Zones?
When tackling the task of setting up an efficient irrigation system in your backyard garden, one of the most important considerations is creating well-thought-out irrigation zones. Proper planning of these zones ensures that every plant receives the amount of water it needs to thrive, while also helping you conserve water—something that’s particularly important in areas like Melbourne, Kevin, where dry spells are common.
Designing irrigation zones isn’t an overnight task, but by breaking it down into manageable steps, you’ll have a system in place that works well for years to come. Let’s go through everything you need to consider, step-by-step.
What Are Irrigation Zones and Why Are They Important?
Irrigation zones are essentially divisions within your garden, each of which has its own watering needs. Each zone is watered separately, based on the specific requirements of the plants within that area. Different plants have different water requirements, and soil types can vary even within a single backyard. Zone planning takes all these factors into account.
For example, fruit trees and vegetables often need more water than a flower bed or succulents. By separating these areas into different zones, you can ensure each plant type receives the appropriate amount of water without overwatering or underwatering others. It also helps if you’re dealing with varied soil types that have different moisture retention properties in different parts of your garden.
Step 1: Assess Your Garden Layout and Plants
Start by taking a close look at your garden layout and the types of plants you have. Make note of the different sections and the plants that inhabit them. Consider factors like:
- Sunlight Exposure: Does one part of your garden get more direct sunlight than another?
- Plant Water Needs: Are your plants drought-tolerant, or do they require consistent moisture?
- Soil Type: Is your soil sandy, loamy, or clay-heavy? Sandy soils drain faster, while clay soils retain water longer.
For example, in Kevin’s garden, if he has a patch with vegetables and another with fruit trees, he might find that the vegetables need more frequent watering, while the fruit trees could be satisfied with deeper, less frequent watering due to their more extensive root systems.
Map Out Different Plant Groups
Once you have noted the different requirements, draw a rough sketch of your garden, marking out where each plant group is located. Aim to group plants with similar water needs together. By mapping it out visually, you will get a clearer idea of where to create your irrigation zones.
Let’s say you’ve identified three main groups in Kevin’s garden:
- Vegetable patch: Requires frequent watering.
- Fruit trees: Requires deep, less frequent watering.
- Flower bed: Needs moderate watering, depending on the type of flowers.
Mapping these areas will help you to determine how many zones you need to create and where each zone should be located.
Step 2: Determine Water Pressure and Flow Rate
The next thing you need to check is the water pressure and flow rate available in your garden. This is important because it will impact the number of zones you can support and the types of irrigation methods you can use.
Checking Water Pressure
Water pressure, measured in pounds per square inch (PSI), is the force that pushes water through your system. If your pressure is too low, it may not be able to effectively water multiple zones simultaneously, especially if those zones require different irrigation methods (like drip vs. sprinklers).
- Using a Pressure Gauge: Attach a pressure gauge to your outdoor faucet and note the reading. Residential water pressure typically falls between 40 to 60 PSI.
- Adjusting Pressure: If your water pressure is too high or too low, consider installing a pressure regulator.
Checking Flow Rate
Flow rate, measured in gallons per minute (GPM), tells you how much water your system can deliver overall. This will influence how many irrigation zones can operate simultaneously.
- Measuring Flow Rate: To check your flow rate, time how long it takes to fill a 10-liter bucket from your outdoor faucet. Convert this into gallons per minute (1 liter = 0.264172 gallons).
- Planning Based on Flow Rate: High flow rates support more zones at once, while lower flow rates may require you to stagger zone watering times.
If Kevin, for instance, has a relatively low flow rate, he might need to limit the number of zones operating at the same time, especially if they have high water demand, such as the vegetable patch.
Step 3: Select an Irrigation Method for Each Zone
The next step involves choosing the right irrigation method for each zone based on plant needs and soil types. There are a variety of methods to consider, and each has its own advantages depending on your specific circumstances.
Drip Irrigation
Drip irrigation is ideal for water-sensitive plants that benefit from slow, precise watering directly at the base. It’s also a great option for areas with dry climates, like Melbourne, where water efficiency is a primary concern. Drip systems minimize evaporation and runoff, ensuring more water reaches the roots.
- Ideal For: Vegetable patches and flower beds.
- Advantages: Water-efficient, reduces the risk of diseases by keeping foliage dry, suitable for areas with varying soil types.
- Considerations: Requires regular maintenance (checking for clogs).
Sprinkler Systems
Sprinkler systems work well for larger areas, especially those with uniform plants like lawns or shallow-rooted flowers. They simulate natural rainfall, covering wide areas effectively, but tend to lose some water to evaporation.
- Ideal For: Large flower beds and lawns.
- Advantages: Covers large areas efficiently, adjustable to suit different plant heights.
- Considerations: Less water-efficient, can contribute to evaporation and runoff, possible risk of overwatering.
Soaker Hoses
Soaker hoses are another water-efficient method where the hose slowly leaks water directly into the soil. They’re a simpler DIY alternative to drip systems and can be laid out throughout garden beds to create an even moisture level.
- Ideal For: Fruit-bearing trees or bushy plants that need close, low-pressure watering.
- Advantages: Easy to install, water-efficient, minimizes evaporation.
- Considerations: May not be as durable as other systems, requires good water pressure control.
After choosing the best irrigation method for each zone, Kevin might opt for drip irrigation in both the vegetable patch and flower bed, with soaker hoses positioned around the fruit trees.
Step 4: Plan Your Zoning on Paper
With the information you’ve gathered, you’re ready to map out your irrigation plan on paper. Mark out each zone on your garden sketch. Clearly label each section according to its irrigation method and note the plants they cover.
When planning zones, keep in mind:
- Zone Separation: Avoid combining different types of irrigation methods (e.g., sprinklers with drip lines) within a single zone as they have different flow requirements.
- Microclimates: Consider how shade, sun exposure, and wind patterns vary across your garden and might affect water needs.
- Water Efficiency: Aim to make zones as water-efficient as possible, grouping plants with similar moisture needs together.
Kevin, for instance, might set up separate zones for his more sun-exposed vegetable patch near the north side and a shaded flower bed on the west side. Each of these zones would then be managed according to its specific moisture needs and sun exposure.
How Many Zones Do You Need?
The number of zones you require will depend on the size of your garden, the diversity of your plants, and the water pressure/flow available. Typically, larger and more diverse gardens will need more zones to accommodate various plant demands.
If Kevin’s backyard is relatively compact, he might only need three zones—one for each main plant category. However, adding more zones can be beneficial if there are diverse microclimates or plants with widely varying water requirements.
Step 5: Install Your Irrigation System
Now it’s time to take your plan from the drawing board and bring it to life. Begin by installing the main water lines, zones, valves, and irrigation methods as per your plan.
Mainline Installation
The mainline is the backbone of your irrigation system, delivering water to your various zones. Here’s how to approach it:
- Positioning: Plan your mainline to minimize distance between water sources like the tap and your furthest garden zones to maintain optimal pressure.
- Pipes: Use durable materials suitable for outdoor use, such as high-density polyethylene (HDPE) or polyvinyl chloride (PVC) pipes.
- Valves: Install zone-specific valves along the mainline to control the flow to each section of the garden.
Setting Up Irrigation Methods in Zones
Once your mainline and valves are installed, lay out your drip lines, soaker hoses, or sprinklers within each zone. Take care to:
- Placement: Ensure that your irrigation method delivers water evenly across the zone. Avoid placing drip lines or soaker hoses too close to stems or trunks to prevent rot.
- Testing: Test each zone individually to make sure there’s no pressure drop and that all your plants are getting the water they need.
- Adjustments: Make any necessary adjustments to your system, such as adding emitters or changing placement, based on your test results.
Step 6: Fine-Tuning and Troubleshooting
Even with the best of plans, you might find that your garden’s needs evolve over time, or that unexpected issues pop up. Here’s how to address some common concerns:
Managing Water Flow Across Zones
One common issue is unequal water distribution, where one zone might be receiving too much or too little water.
- Symptoms: Look for signs of overwatering like waterlogged soil or wilting plants in shaded areas, or dry soil in sun-exposed areas.
- Solutions: Adjust the timer settings so that each zone receives the right amount of water according to its needs. You might also tweak the pressure regulators or add additional emitters where needed.
Handling Growth and Seasonal Changes
As your plants grow, their watering needs may change. And different seasons bring different challenges, from excessive rain to persistent droughts.
- Spring Growth: Be prepared to adjust watering schedules as plants begin to grow more vigorously.
- Summer Heat: You might need to increase watering frequency depending on the intensity of the heat.
- Fall/Winter: Decrease watering as plants go dormant in cooler months. You may also need to winterize your irrigation system to prevent freezing pipes.
Kevin, for example, might need to increase watering in the summer months to compensate for higher evaporation rates, especially in his sunniest zones. In winter, he could reduce the watering frequency or even shut down parts of his system if his plants go dormant.
Final Thoughts…
Kevin, putting together an effective irrigation system isn’t quick, but the results are well worth the effort. By carefully assessing your garden, taking account of each plant’s needs, and adjusting as the seasons change, you’ll ensure your garden not only thrives but does so in an environmentally friendly way. Thanks for reaching out with your question, and I’m confident that with these steps, you’ll have an efficient and effective irrigation system in place in no time. Happy gardening!
Return To: Backyard Farming
Free Backyard Farming Webinar…
Marjory Wildcraft: For 20+ years, Marjory has been a leader in survival & preparedness and wants to show you how to grow food in your backyard farm. This free webinar is for people who want the fastest and easiest ways to produce healthy and delicious vegetables, eggs, and meat. Because you know that growing your own food is like printing your own money…
