See All: Backyard Farming
Free Backyard Farming Webinar…
You can grow food! This free webinar is for people who want the fastest and easiest ways to produce healthy and delicious vegetables, eggs, and meat. Because you know that growing your own food is like printing your own money…
Click Here To Watch The Free Webinar Now!
“I’ve recently started to get into backyard farming and I’ve heard quite a bit about vermicomposting. I’m looking to make my soil richer and reduce kitchen waste. Could you explain what vermicomposting is, how to set it up, and how to maintain it? I’m based in Wellington, New Zealand.”
Thanks, Adam, Wellington, New Zealand.
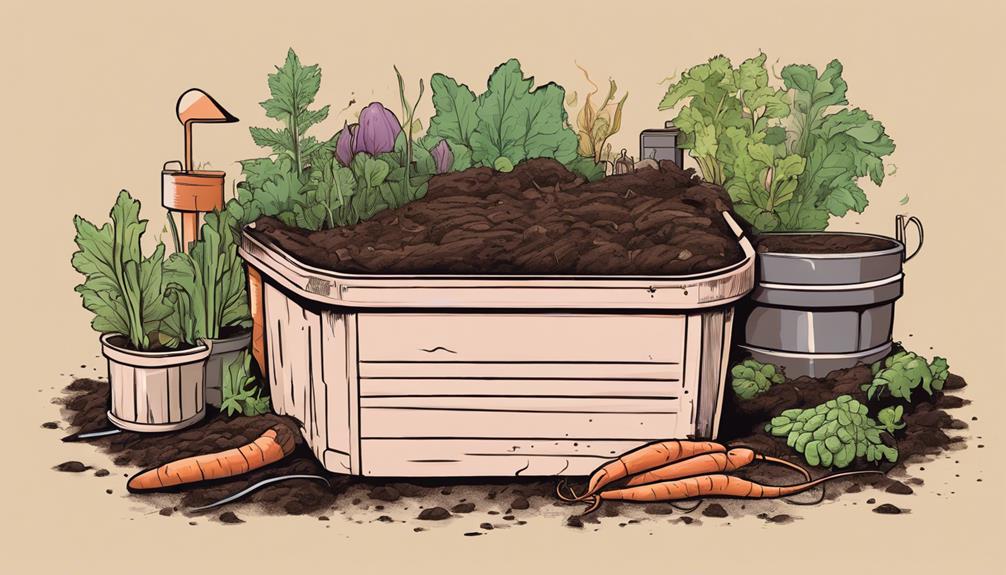
What Is Vermicomposting?
Vermicomposting, simply put, is the process of using worms to decompose organic food waste, turning it into nutrient-rich material capable of providing essential nutrients to your plants. This method not only helps in sustainable gardening but also reduces the amount of waste you send to landfills. The result of proper vermicomposting is called “vermicast” or “worm castings,” a highly effective, natural fertilizer.
Why Vermicomposting is Beneficial
There are several reasons why vermicomposting is a fantastic choice for any backyard farmer:
- Reduces Kitchen Waste: Instead of throwing food scraps away, you can recycle them into valuable compost.
- Produces High-Quality Fertilizer: Worm castings are rich in nutrients that are beneficial to plant growth.
- Environmentally Friendly: This method contributes to sustainability by reducing landfill waste and providing a natural alternative to chemical fertilizers.
- Easy and Cost-Effective: Setting up a vermicomposting system is relatively straightforward and inexpensive.
Setting Up Your Vermicomposting System
Adam, getting started with vermicomposting involves a few simple steps:
1. Choose the Right Container
You can purchase a commercial vermicomposting bin or make one yourself. Here’s what to consider:
- Size: Ensure it’s large enough to handle the amount of waste you expect to produce.
- Material: Plastic bins work well, but you can also use wood. The container should be opaque and ventilated.
- Drainage: The bin should have holes or a layer that allows excess liquid to drain.
2. Create a Bedding
The bedding is where the worms will live and move. Suitable materials include:
- Shredded newspaper or cardboard
- Chopped straw or hay
- Coconut coir
- Fall leaves
Moisten the bedding until it feels like a wrung-out sponge.
3. Add the Worms
The most common type of worm used in vermicomposting is the red wiggler (Eisenia fetida). Start with about 1 pound (roughly 1,000 worms) for each square foot of bin surface area.
4. Add Food Scraps
Feed the worms a balanced diet of organic matter. Here’s what you can and cannot add:
What to Add
- Fruit and vegetable scraps
- Coffee grounds and filters
- Crushed eggshells
- Tea bags
What to Avoid
- Meat and dairy products
- Oily foods
- Pesticide-treated plant waste
- Large quantities of highly acidic foods (like citrus)
Maintaining Your Vermicomposting Bin
Adam, once your vermicomposting system is set up, it requires some regular maintenance to keep the worms happy and productive:
1. Feeding the Worms
Start feeding your worms weekly and adjust based on the worms’ consumption rate. Bury the food scraps under the bedding to reduce odors and pests.
2. Monitoring Moisture Levels
The ideal moisture level is comparable to a wrung-out sponge. If the bin becomes too wet, add more dry bedding. If it’s too dry, add water gently using a spray bottle.
3. Aeration
Worms and microorganisms need oxygen. Fluff the bedding weekly to introduce air into the system.
4. Harvesting Vermicast
After 2-3 months, you can start harvesting worm castings. There are a few methods:
- Sideways Migration: Push the processed compost to one side of the bin and add fresh bedding and food to the other side. The worms will migrate, allowing you to collect the castings.
- Light Method: Empty the contents of the bin onto a tarp and create small piles. The worms will burrow away from the light, making it easier to collect the castings.
Common Problems and Solutions
Even with the best care, you might encounter some issues. Here are solutions to common vermicomposting problems:
1. Bad Odors
This typically happens due to overfeeding or poor aeration. Reduce feeding rates and fluff the bedding to improve air circulation.
2. Worms Escaping
Worms might try to escape if conditions aren’t right. Check the moisture levels and pH balance (aim for a neutral pH). Make box adjustments as necessary.
3. Fruit Flies
To prevent fruit flies, ensure food scraps are buried under the bedding. Adding a layer of soil on top can also help.
Using Vermicast in Your Backyard Farm
After you’ve successfully harvested your vermicast, here’s how to use it in your garden:
As a Top Dressing: Sprinkle worm castings at the base of your plants and water them in.
As Compost Tea: Mix worm castings with water to make a compost tea, which can be used for foliar feeding or soil drenching.
In Potting Mixes: Add vermicast to potting soil to boost its nutrient content.
Benefits of Vermicast
Vermicast is renowned for its ability to:
- Enhance Soil Structure: Improved aeration and drainage.
- Boost Nutrient Availability: Provides essential nutrients like nitrogen, phosphorus, and potassium.
- Promote Healthy Plant Growth: Packed with beneficial microorganisms that aid in plant nutrition.
Environmental Impact and Sustainability
Engaging in vermicomposting aligns perfectly with sustainable living goals. Consider these broader impacts:
- Reduces Carbon Footprint: Less organic waste in landfills means fewer methane emissions.
- Encourages Biodiversity: Worms and microorganisms enhance soil health.
- Conserves Resources: Reduces the need for chemical fertilizers, which can be harmful to the environment.
Tips for Success
For the best results, remember these key tips:
- Start Simple: Begin with small amounts of waste and work your way up as you get more comfortable.
- Stay Involved: Regularly check on your worms and adjust conditions as needed.
- Educate Yourself: There’s always more to learn about effective vermicomposting techniques and troubleshooting issues.
Final Thoughts…
Adam, thanks for sending your question about vermicomposting. It’s a fantastic and sustainable way to enrich your backyard garden and handle kitchen waste more effectively. By following the steps and tips outlined, you’ll not only support a healthier garden but also contribute to a healthier planet. Happy farming!
Return To: Backyard Farming
Free Backyard Farming Webinar…
Marjory Wildcraft: For 20+ years, Marjory has been a leader in survival & preparedness and wants to show you how to grow food in your backyard farm. This free webinar is for people who want the fastest and easiest ways to produce healthy and delicious vegetables, eggs, and meat. Because you know that growing your own food is like printing your own money…
