See All: Cheese Making
Watch How To Do This Here…
YES! You can make cheese at home. Take our FREE 4-Part video training series to simplify cheesemaking for everyone. No waste. No overwhelm. No missing steps. You can make delicious, healthy cheese, even if you only have access to grocery store milk and regular kitchen equipment…
Click Here To Watch Step By Step Now
“Hey there, I’ve recently developed a passion for cheese making and I’d love to take it to the next level by aging my own cheeses at home. I’ve heard about creating a cheese cave, but I’m not quite sure where to start. I live in a small apartment in Toronto and I’m wondering if it’s even possible to set up a cheese cave here. Can you provide detailed instructions on how to create a cheese cave at home and what factors I should consider?” Thanks, Patrick, Toronto, Canada.
Understanding the Basics of a Cheese Cave
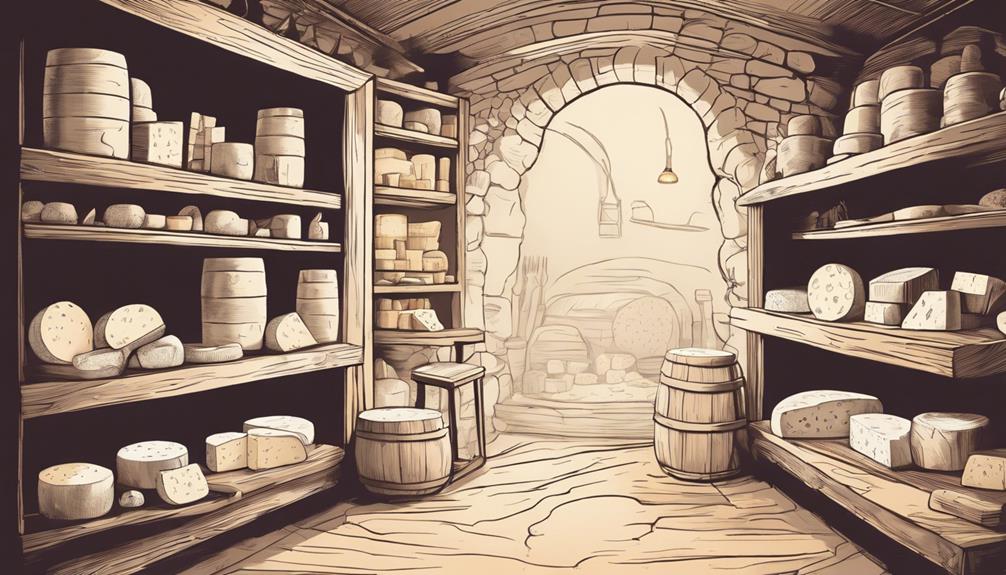
A cheese cave is an environment designed to control temperature, humidity, and light for the purpose of aging cheese. Proper aging can significantly enhance the flavor, texture, and overall quality of the cheese. Patrick, creating a cheese cave at home is not only possible but also quite rewarding!
Why Humidity and Temperature Matter
Cheeses require a controlled environment to age gracefully. Too dry or too wet conditions can respectively cause cracking or undesirable mold growth.
- Temperature: Most cheeses age best between 50-55°F (10-13°C).
- Humidity: Ideal relative humidity for cheeses falls between 75-90% depending on the type.
Choosing Your Space
Even living in a small apartment in Toronto, you have options. Look for spaces that offer consistent temperatures away from direct sunlight and heat sources:
- Spare Refrigerator: Ideal for controlling both temperature and humidity. However, it may require modifications.
- Converted Wine Cooler: These are great due to their similar environmental needs to cheese.
- Mini Basement or Cellar: If you have access to one, this can be ideal naturally humid and cool.
- Dedicated Cheese Fridge: Investing in a small, dedicated fridge can make the process easier.
Setting Up Your Cheese Cave
Using a Spare Refrigerator
Adapting a spare refrigerator is a common method to create a home cheese cave.
- Adjust Temperature: Use a temperature controller to maintain the ideal range of 50-55°F. These are available online or at local stores.
- Control Humidity: Place shallow pans of water or use damp sponges inside the fridge. Alternatively, install a humidifier specifically designed for small spaces.
- Monitor Consistently: Use a hygrometer to measure humidity levels and ensure a consistent environment.
Converting a Wine Cooler
Wine coolers, often designed to maintain temperatures between 45-65°F, can also be adapted:
- Temperature Control: Similar to using a refrigerator, adjust settings or use a temperature controller to stay within the 50-55°F range.
- Humidity Regulation: Use small trays of water, a humidifier, or place the cheeses in covered plastic containers with vent holes to maintain humidity.
Creating a Natural Cave Environment
For those with access to a basement or cellar:
- Check Temperature and Humidity: Basements often have natural conditions close to those needed for cheese aging.
- Control Humidity: Use dehumidifiers or humidifiers based on initial measurements to fine-tune the environment.
- Protect Cheese: Ensure the space is clean and free from pests. Keep cheeses on dedicated shelves or racks.
Additional Equipment and Tips
To ensure the best results, a few extra pieces of equipment can be very helpful:
- Hygrometer: Continuously monitor the relative humidity within your cheese cave.
- Thermometer: Regularly check the temperature to maintain consistency.
- Cheese Mats: Place the cheeses on mats to allow airflow and protect cheese from excess moisture.
- Cleaning Supplies: Maintain hygiene with a diluted vinegar solution and process regular cleanings.
Maintaining and Aging Your Cheese
Patrick, once you have your cheese cave set up, maintaining it properly ensures your cheese ages well.
Turning and Brushing
Regularly turning and brushing the cheeses is essential:
- Turn Weekly: This helps distribute moisture evenly and prevents uneven aging.
- Brush Mold: Gently brush or wipe away unwanted mold to maintain a clean rind.
Checking for Defects
Frequently inspect the cheeses for any signs of issues:
- Cracks: Indicate low humidity, and can be corrected by increasing moisture.
- Excess Mold: Abnormal growth can suggest high humidity or contamination.
Documenting the Process
Keeping a detailed log helps you track the aging process and make necessary adjustments:
- Initial Conditions: Note the starting temperature and humidity.
- Routine Checks: Record turnings, brushings, and any changes in the environment.
- Tasting Notes: Keep track of flavors and textures during the aging process.
Making Adjustments
Don’t be afraid to make adjustments as you go. Maybe you’ll find that certain cheeses need slightly different conditions. Patrick, it’s all part of the learning process!
“Patience and observation are key. Cheese making, especially aging, is a mix of science and art.”
Final Thoughts…
Patrick, creating a cheese cave at home in your Toronto apartment may seem a bit challenging at first, but it is definitely achievable with the right approach. Just remember:
- Control the temperature and humidity to keep your cheeses happy.
- Choose the right location and materials that best fit your living space.
- Keep a careful eye on your cheeses, turn them, brush them, and adapt your methods as you learn.
Best of luck on your cheese-making journey! It’s a fulfilling hobby that rewards you with delicious results. Thanks for reaching out, and enjoy the process.
Return To: Cheese Making
Free Step By Step Cheese Making Videos…
YES! You can make cheese at home. Take our FREE 4-Part video training series to simplify cheesemaking for everyone. No waste. No overwhelm. No missing steps. You can make delicious, healthy cheese, even if you only have access to grocery store milk and regular kitchen equipment…

