See All: Cheese Making
Watch How To Do This Here…
YES! You can make cheese at home. Take our FREE 4-Part video training series to simplify cheesemaking for everyone. No waste. No overwhelm. No missing steps. You can make delicious, healthy cheese, even if you only have access to grocery store milk and regular kitchen equipment…
Click Here To Watch Step By Step Now
“Hey there! I’m really interested in starting to make my own cheese at home. I’ve read a bit about the process and some basics, but I’m still unsure about what equipment I actually need to get started. Could you give me a detailed rundown of the essential equipment for beginner cheese making? I’d love to get started soon and don’t want to miss anything important. By the way, I’m from Seattle, USA.” Thanks, Lisa, Seattle, USA.
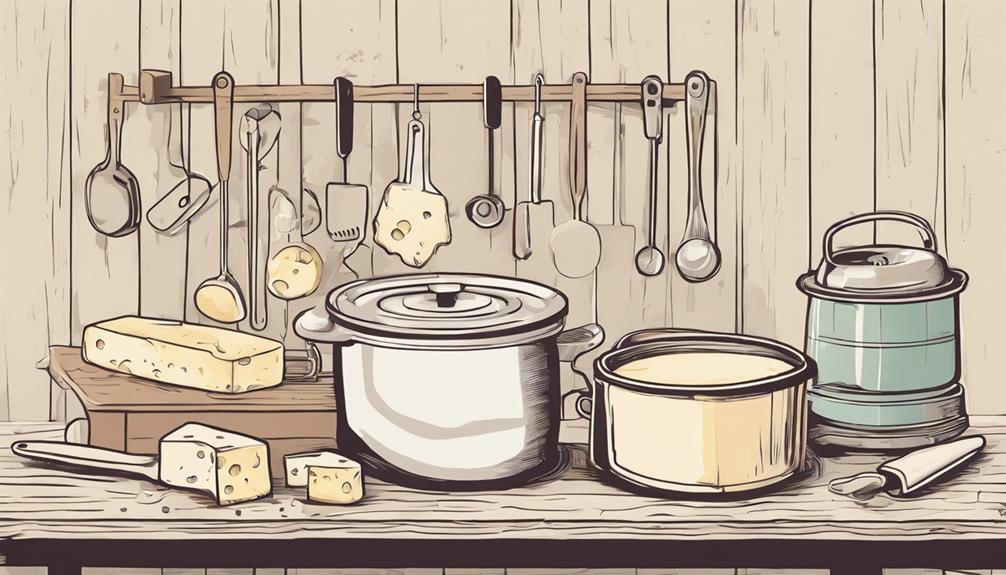
What Basic Equipment Do You Need To Start Making Cheese?
Hey Lisa! Great to hear you’re interested in making your own cheese at home. Cheese making is such a fulfilling hobby, and the reward of tasting your homemade cheese is unbeatable. Let’s chat about the essential equipment you’ll need to get started. Trust me, once you have these tools in hand, you’ll be well on your way to crafting delicious cheeses!
1. Dairy Thermometer
A reliable dairy thermometer is indispensable. This tool helps you monitor the temperature of your milk throughout the cheese-making process. Temperature control is vital as different types of cheese require specific temperatures for processes like fermentation and curd setting.
Example: When making mozzarella, you need to heat the milk to around 90°F (32°C) initially, and then further heat to stretch the curd. Without a thermometer, this precision is challenging.
2. Cheese Molds
Cheese molds are the containers that shape your cheese. They come in various sizes and shapes depending on the type of cheese you’re making. Some have little holes for drainage, while others are solid for cheeses that require pressing.
Example: If you’re aiming to make a Brie or Camembert, you’ll use a round mold with drainage holes to allow the whey to escape.
3. Cheesecloth
High-quality cheesecloth is another must-have. It’s a loosely woven cloth used to drain the whey from the curd. Opt for unbleached, food-grade cheesecloth to ensure no unwanted chemicals touch your cheese.
Example: When making ricotta, you’ll pour your curds into the cheesecloth, which acts as a sieve allowing whey to drain while retaining the curds.
4. Large Stainless Steel Pot
A large stainless steel pot (preferably with a heavy bottom) is perfect for heating your milk. Avoid aluminum or non-stick pots as they can react with the milk, affecting the cheese’s taste and texture.
Tip: Aim for a pot that holds at least 6-8 quarts. This size is versatile and ideal for home cheese-making batches.
5. Long, Slotted Spoon
You’ll need a long, slotted spoon to stir the curd and whey mixture. The slotted design helps in gently cutting through the curds without breaking them up too much.
Example: In mozzarella making, you’ll use the spoon to gently lift and stir the curds to prevent them from matting together.
6. Cheese Press
For hard cheeses like cheddar, a cheese press is essential. This equipment applies consistent pressure to the curds, expelling whey and molding the cheese into a firm block.
Tip: If you’re just starting, you can try makeshift presses using weights and balanced platforms before investing in a professional press.
7. Cheese Draining Mat
A cheese draining mat is great for cheeses that need to be air-dried. These mats ensure proper airflow around the cheese, preventing moisture build-up and mold growth.
Example: When aging gouda or brie, the draining mat will help the cheese dry uniformly.
8. pH Strips or Meter
Monitoring the acidity of your milk and curds is crucial for the success of your cheese. Using pH strips or a meter helps you keep track of these levels, essential for cheeses like feta or Swiss, which rely on precise pH levels.
9. Rennet and Cultures
Rennet is an enzyme used to clot milk, forming curds. There are animal-based and vegetarian options available. Moreover, starter cultures are microorganisms that ferment lactose, producing lactic acid and leading to curd formation.
Example: Rennet tablets are easy to use and measure, and having a variety of starter cultures gives you flexibility in experimenting with different cheeses.
10. Curd Knife
A long curd knife is used to cut the curd into even pieces. The size and uniformity of these pieces are important for whey drainage and texture development in cheese.
Example: For making Gouda, you might cut the curd into 1/2-inch cubes to help with the expulsion of whey and the formation of a smooth cheese body.
11. Measuring Cups and Spoons
Precise measurements are key in cheese making, so accurate measuring cups and spoons are a must. They help you measure ingredients like citric acid, calcium chloride, and salt accurately.
12. Cleaning Supplies
Maintaining cleanliness and sanitize is vital in cheese making to prevent contamination. You’ll need items like sanitizing solutions, brushes, and non-abrasive sponges.
Tip: After every cheese making session, thoroughly clean and sanitize all your equipment to prevent unwanted bacteria from affecting your next batch.
Final Thoughts…
Lisa, starting your cheese-making journey might seem like a lot at first, but with the right tools and a bit of practice, you’ll be an expert in no time! Remember, each piece of equipment plays a crucial role in the cheese-making process and affects the final outcome.
Just gather your gear, embrace the process, and enjoy every moment of creating your homemade cheese. Thanks for reaching out with your question, and happy cheese-making!
Return To: Cheese Making
Free Step By Step Cheese Making Videos…
YES! You can make cheese at home. Take our FREE 4-Part video training series to simplify cheesemaking for everyone. No waste. No overwhelm. No missing steps. You can make delicious, healthy cheese, even if you only have access to grocery store milk and regular kitchen equipment…

