How To Become More Self-Sufficient Without Starting a Full-Blown Farm…
Want to start preserving your harvest, making your own soap, or building a backyard root cellar — but not sure where to begin? “Homesteading Advice” gives you instant lifetime access to 35+ practical homesteading books on food preservation, veggie gardening, DIY natural cleaning products (save over $250 per year with this skill alone), brewing, off-grid energy, and a whole lot more…
Click Here To Check It Out Now!
“I recently had some delicious homemade paneer at a friend’s house, and I was so impressed by it that I’d love to try making it myself! I know paneer is a type of cheese, but beyond that, I’m pretty clueless. Could you provide a detailed explanation of what paneer is and how to make it, including any tips for getting it just right? I want to surprise my family with a nice homemade paneer dish for our upcoming gathering.” Thanks so much, Elizabeth, Boston, USA.
What Is Paneer, And How Is It Made?
Hey Elizabeth, I’m thrilled you’re interested in making your own paneer—it really is a fantastic addition to many dishes and surprisingly simple to make! Let’s get into all the juicy details about paneer, its origins, and how you can make it at home with ease.
What Is Paneer?
Paneer is a fresh, non-melting cheese commonly used in Indian cuisine. It has a mild, milky flavor and a firm texture that holds up well in cooking. Unlike other cheeses, paneer does not require aging or curing, making it an accessible and quick cheese to prepare. It’s a great source of protein for vegetarians and is highly versatile in various dishes.
Originating in the Indian subcontinent, paneer is widely used in a variety of traditional recipes such as Palak Paneer (spinach and paneer curry), Paneer Tikka (grilled paneer), and Paneer Butter Masala. Its mild flavor allows it to absorb the spices and herbs used in cooking, making it a flavor enhancer in many dishes.
Why Make Paneer At Home?
There are several good reasons to consider making paneer at home:
- Freshness: Homemade paneer is always fresher than store-bought versions.
- Control Over Ingredients: You can use high-quality ingredients, ensuring the end product is free from additives and preservatives.
- Customization: Adjust the texture and flavor to your liking.
- Cost-Effective: Making paneer at home is often cheaper than purchasing it.
- Satisfaction: There’s something incredibly rewarding about making your own cheese!
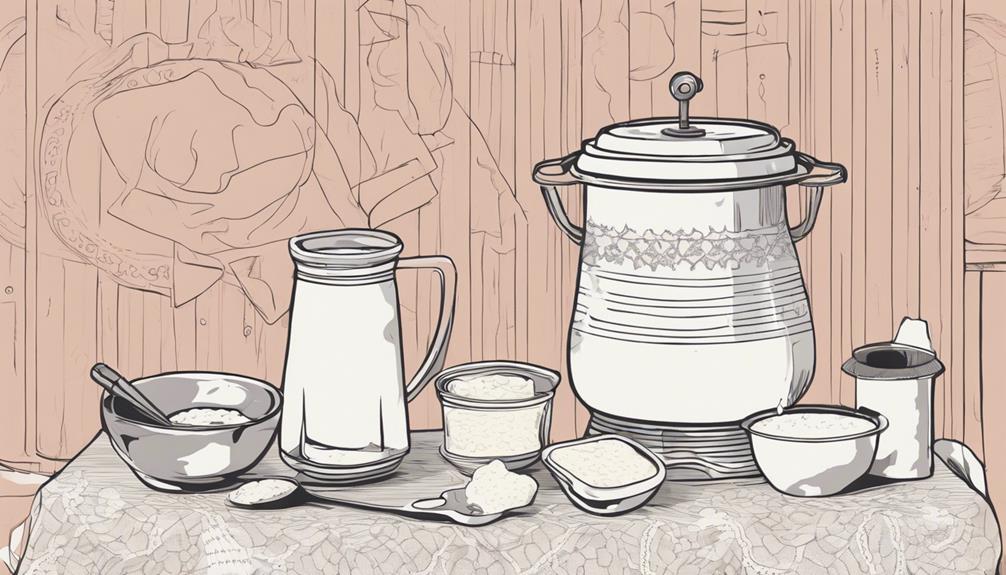
The Ingredients You’ll Need
Making paneer requires minimal ingredients, most of which you probably already have in your kitchen. Here’s what you’ll need:
- Milk: Use whole milk for best results. The higher fat content helps achieve a richer texture.
- Acid: Lemon juice, vinegar, or yogurt can be used to curdle the milk.
- Water: For diluting the acid, if using lemon juice or vinegar.
- Salt (Optional): For seasoning. This is optional but can enhance the flavor.
Step-by-Step Guide to Making Paneer
Ready to get started? Follow these steps to make your own paneer:
- Heat the Milk: Pour the milk into a large, heavy-bottomed pot. Place it on the stove over medium heat. Stir occasionally to prevent the milk from scorching. Bring the milk to a gentle boil.
- Add the Acid: Once the milk starts boiling, reduce the heat to low. Gradually add your acid (lemon juice, vinegar, or yogurt) while stirring continuously. You’ll notice the milk curdling almost immediately. The curds (solid part) will separate from the whey (liquid part).
- Curdle the Milk: Continue stirring until the milk is fully curdled. If the whey still looks milky, add a little more acid until the whey turns a greenish hue, indicating complete separation.
- Drain the Curds: Line a colander with a clean cheesecloth or muslin cloth. Pour the curdled milk into the colander to strain the whey. Be careful as both the curds and the whey will be hot.
- Rinse the Curds: To remove the acidic taste, rinse the curds under cold running water for a few minutes.
- Press the Paneer: Gather the corners of the cheesecloth to form a bundle, twisting to squeeze out excess whey. Place the cloth-wrapped curds on a flat surface and put a heavy object on top to press it for at least 1-2 hours. This will give the paneer its firm texture.
- Cut and Store: Once the paneer is set, cut it into cubes or your desired shape. You can use it immediately or store it in the refrigerator in an airtight container, submerged in water to keep it moist.
Tips for Perfect Paneer
To ensure your paneer turns out perfect, keep these tips in mind:
- Use Fresh Milk: The fresher the milk, the better your paneer will taste. Avoid using ultra-pasteurized milk as it may not curdle properly.
- Acid Amount: Start with less acid and add gradually. Too much acid can make the paneer too firm and crumbly.
- Stir Gently: Stir gently after adding the acid. Vigorous stirring can break down the curds, making the paneer crumbly.
- Press Evenly: Ensure even pressure while pressing the paneer. Uneven pressure can result in uneven texture.
- Adjust Texture: For a softer texture, press the paneer for a shorter time. For a firmer texture, press longer.
Common Mistakes and How to Avoid Them
Cooking, like any art, has its pitfalls. Here are some common mistakes you might encounter while making paneer and how to avoid them:
- Using Low-Fat Milk: Paneer made from low-fat milk can be dry and less flavorful. Always opt for whole milk.
- Insufficient Acid: If you don’t use enough acid, the milk won’t curdle properly. Gradually add more acid until complete separation occurs.
- Not Draining Enough Whey: If too much whey remains, the paneer will be soggy. Squeeze out as much whey as possible before pressing.
- Overheating Milk: Heating milk too quickly can affect the texture of paneer. Always heat gently and bring to a slow boil.
Delicious Dishes You Can Make with Paneer
Once you’ve made your paneer, the culinary possibilities are endless. Here are some delicious dishes you can prepare:
- Palak Paneer: A creamy spinach curry with paneer cubes.
- Paneer Tikka: Marinated paneer grilled to perfection.
- Paneer Butter Masala: Paneer in a rich, buttery tomato-based sauce.
- Paneer Paratha: Indian flatbread stuffed with spiced paneer.
- Paneer Bhurji: A scrambled paneer dish with vegetables and spices.
Elizabeth, with these instructions, you should be well on your way to making some fantastic paneer at home. It’s a rewarding process and the end product is so versatile that you can use it in a myriad of recipes to impress your family!
Final Thoughts…
Elizabeth, I’m so excited for you to start your paneer-making journey. It’s a wonderfully simple process but yields a rich, delicious ingredient that can elevate many dishes. Thanks for sending in your question; happy cheese making!
