How To Become More Self-Sufficient Without Starting a Full-Blown Farm…
Want to start preserving your harvest, making your own soap, or building a backyard root cellar — but not sure where to begin? “Homesteading Advice” gives you instant lifetime access to 35+ practical homesteading books on food preservation, veggie gardening, DIY natural cleaning products (save over $250 per year with this skill alone), brewing, off-grid energy, and a whole lot more…
Click Here To Check It Out Now!
“I’ve recently taken an interest in homemade cheese and want to make paneer for an upcoming family dinner. I’m looking for a detailed recipe that includes the equipment needed and tips for achieving the perfect texture. Any advice on ingredients and variations would also be appreciated. I live in Wellington, and the plan is to impress my friends who love Indian cuisine. What should I know to get started?” Many thanks, John, Wellington, New Zealand.
What’s The Recipe For Making Paneer Cheese?
Hey John! Great to hear you’re diving into the world of cheese making, especially with paneer, one of the simplest and most rewarding types to make at home. Let’s break down everything you need to know so you can impress your friends with delicious, homemade paneer.
What Is Paneer?
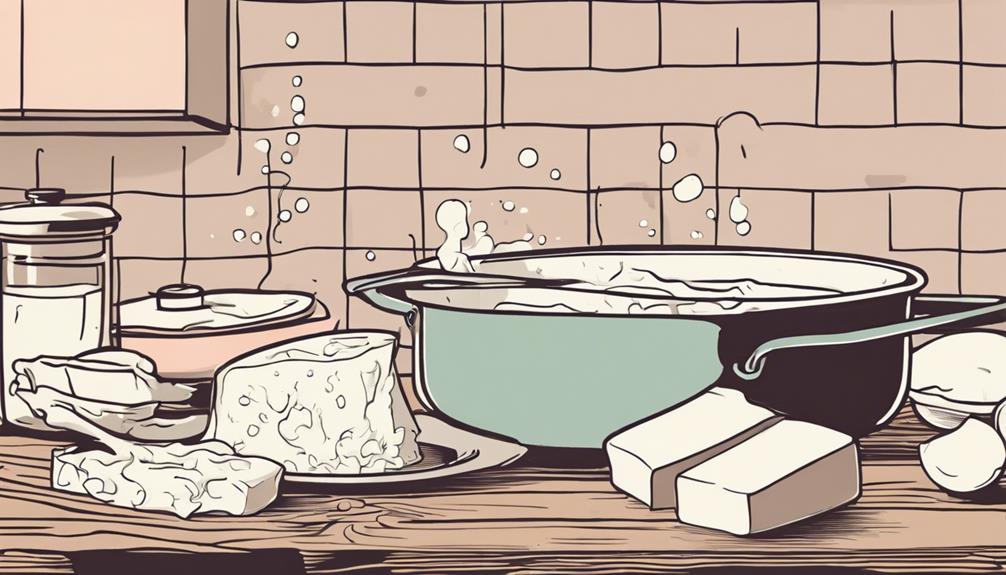
Paneer, also known as Indian cottage cheese, is a fresh cheese common in South Asian cuisine. It’s made by curdling hot milk with an acid, such as lemon juice or vinegar, and then straining and pressing the curds. Unlike some cheeses, paneer doesn’t melt, making it perfect for grilling, frying, or adding to curries.
Ingredients
The ingredients for making paneer are quite simple:
- Milk: Use whole milk for the best results. The higher fat content helps create a richer, creamier paneer.
- Acid: Lemon juice or white vinegar works well. You can also use citric acid for a more consistent result.
- Optional: Salt for seasoning.
Equipment Needed
Here is a list of equipment you’ll need:
- Heavy-bottomed pot: This helps distribute heat evenly and prevents the milk from scorching on the bottom.
- Cheesecloth or muslin cloth: Essential for straining the curds from the whey.
- Colander: Place this in the sink to catch the curds in the cheesecloth.
- A tray or plate: For pressing the paneer.
- A heavy object: A pot filled with water or a few cans of food will work to press the paneer.
Step-by-Step Recipe
Now, let’s move on to the actual process of making paneer.
- Heat the Milk: Pour 2 liters (about half a gallon) of whole milk into your heavy-bottomed pot. Heat it over medium heat, stirring occasionally to prevent a skin from forming and to avoid scorching. Bring the milk to a gentle boil.
- Curdle the Milk: Once the milk starts boiling, reduce the heat to low. Add 2-3 tablespoons of lemon juice or vinegar gradually, while stirring the milk gently. You will see the milk curdle almost immediately, with curds separating from the whey.
- Strain the Curds: Place the colander in the sink and line it with the cheesecloth. Pour the curdled milk into the cheesecloth, allowing the whey to drain away. Rinse the curds gently under cold water to remove any residual lemon or vinegar taste, which is especially crucial to avoid any unwanted flavors in your paneer.
- Press the Paneer: Gather the edges of the cheesecloth, twist them together to form a bundle, and squeeze out as much whey as possible. Place the bundle on a tray or plate, flatten it into a disc, and then place a heavy object on top to press it for about 30 minutes to an hour. The longer you press, the firmer the paneer will be.
- Unwrap and Store: After pressing, unwrap your paneer from the cheesecloth. It should be firm and hold its shape. You can cut it into cubes or slices as needed. Store the paneer in an airtight container in the refrigerator and use within a week.
Why Use Whole Milk?
Whole milk is preferred because the higher fat content results in a creamier and richer paneer. Using low-fat milk can yield a much tougher and drier cheese, which might not be as enjoyable in texture and flavor.
Pressing Tips
Pressing determines the texture of your paneer. For a softer, crumbly cheese, press it lightly. If you prefer a firm paneer for grilling or frying, press it with a heavier object. It’s all about personal preference and the dishes you plan to create.
Common Issues and Troubleshooting
Making paneer can have its moments of trial and error. Here are a few tips to help you along:
- Curds Not Forming: If the milk doesn’t curdle, it might not be hot enough. Ensure it’s at a gentle boil before adding the acid.
- Sour Taste: Overuse of lemon or vinegar can leave a sour taste. Rinse the curds well under cold water after straining.
- Tough Paneer: Pressing paneer too long or using low-fat milk can make it tough. Ensure you use whole milk and adjust pressing time according to desired texture.
Serving Ideas and Variations
Paneer is wonderfully versatile. Here are a few ways you can use it:
- Paneer Tikka: Marinate paneer cubes in yogurt and spices, then grill them for a delicious appetizer.
- Palak Paneer: Combine paneer with a flavorful spinach sauce for a popular Indian dish.
- Paneer Butter Masala: A creamy, tomato-based curry with soft paneer pieces.
You can also experiment with flavors by adding herbs or spices to the milk before curdling. For example, adding crushed garlic or fresh herbs like cilantro can give your paneer a unique twist.
Storing Paneer
Store paneer in an airtight container in the refrigerator, and it will keep fresh for up to a week. If you need to store it longer, you can freeze it, but be aware that freezing might affect its texture slightly. Always thaw it in the refrigerator before use.
Benefits of Homemade Paneer
Making paneer at home, John, has several advantages:
- Freshness: Homemade paneer is always fresher and often more flavorful than store-bought varieties.
- No Additives: You can be sure there are no preservatives or artificial additives in your cheese.
- Customization: You can adjust the texture and flavor to your liking.
- Cost-effective: It’s often cheaper to make paneer at home than to buy it, especially if you already have the necessary equipment.
Final Thoughts…
John, thanks for reaching out! Making paneer is a rewarding experience and surprisingly straightforward. You’ll have the chance to customize it exactly to your liking and impress your friends with fresh, homemade cheese. Remember, the key is to use whole milk for the best texture and to press it according to the dish you plan to serve. Good luck with your family dinner in Wellington, and happy cheese making!
