This cool little DIY woodworking project turns an old wooden industrial cable reel into a “stand or sit around” BBQ for grilling (referred to as a Braai in South Africa). A great way to entertain guests who can sit around the table socializing, while their meal is cooking in the middle…
Step 1: Find an industrial cable reel…
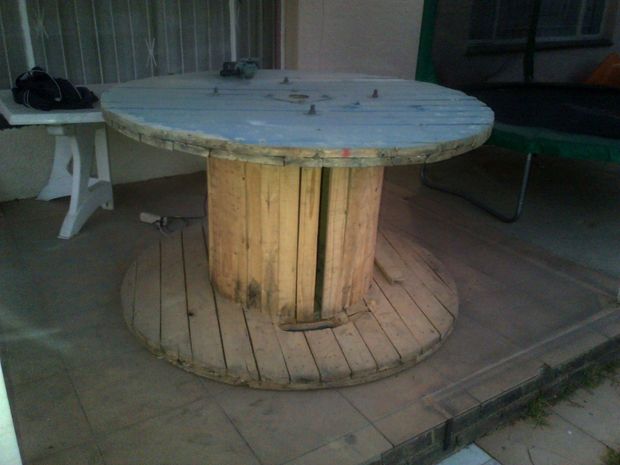
- Once you have found your industrial cable reel, roll it into your workshop and smile.
- Reason being: the endless possibilities that lie ahead.
Step 2: Sand it down…
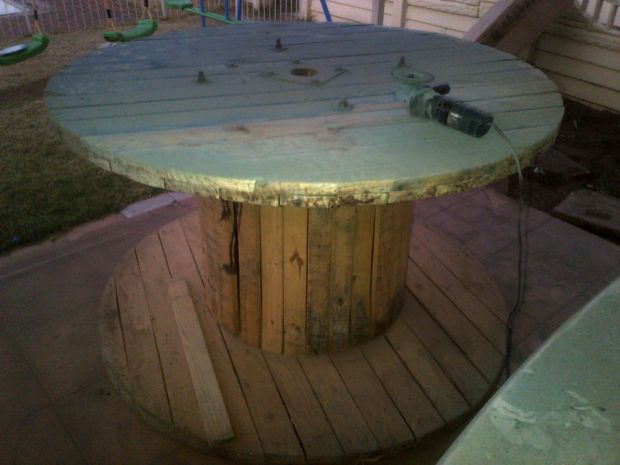
- I decided to make a “sit/stand around” BBQ/Braai table.
- Sand it down and get rid of all the nail heads and ends sticking out.
- You might need to replace a few pieces of plank depending on the condition.
Step 3: Cut a hole in the centre…
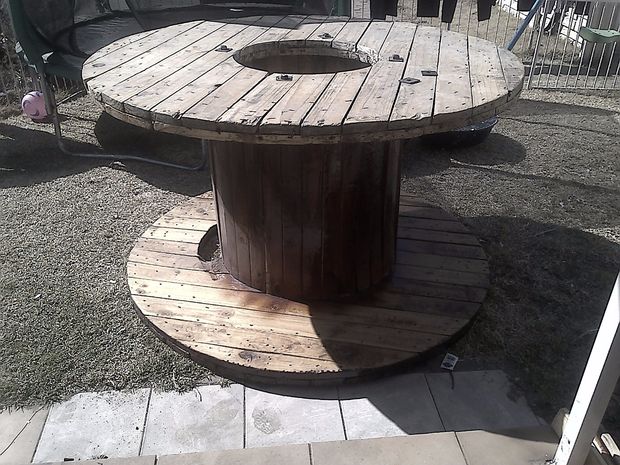
- If you have seen one of these before you would know that there are 4 threaded rods running from one end to the other (top to bottom) to hold the reel in place.
- You will need to tighten the nuts on these rods for the table to have extra stability.
- When you are satisfied with the stability and the smoothness of it you will then need to cut a hole (Circle, hexagon) in the centre.
- The hole will have to be within the centre of the threaded rods. In other words the rods will be on the outside of the circumference of the hole.
- REMEMBER!!! Before cutting the hole you will need to decide on what size BBQ or Braai you want.
- I found that a hole big enough to fit in a 57cm or 22.4in is just perfect.
Step 4: BBQ/Braai Stand fit in…
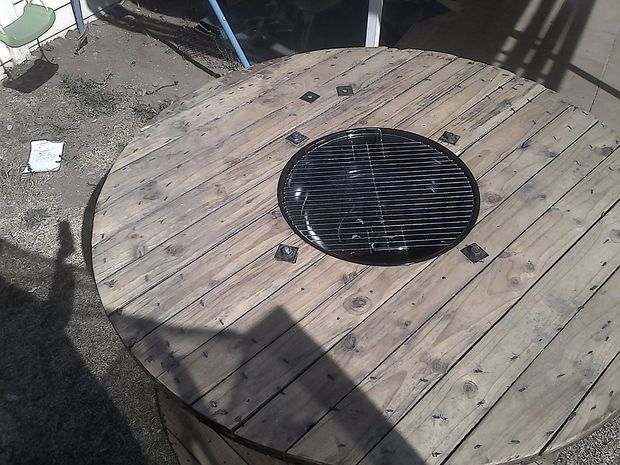
- A nice neat cut and the BBQ/Braai stand will fit in perfectly.
- You can either make the stand or buy one that you like. I opted to buy one.
Step 5: Varnish…
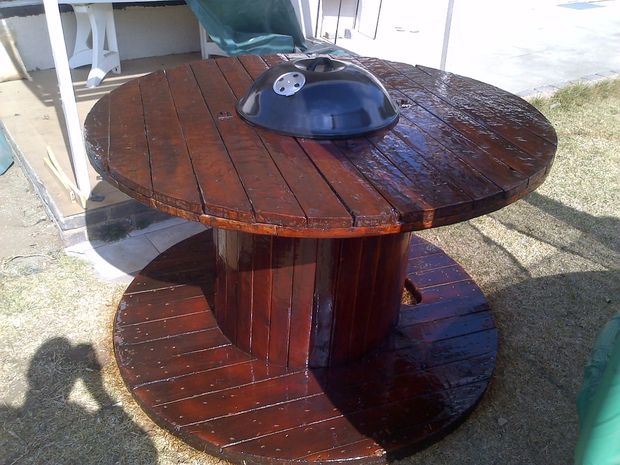
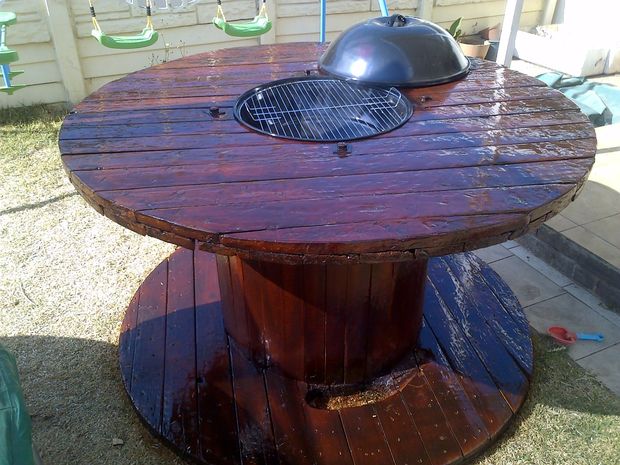
- When you are happy that you BBQ/Braai stand fits in properly you can then remove it and get ready to treat and varnish.
- I treated with linseed oil and let it set in and dry for about 24 hours.
- Once dry, I sprayed on the varnish.
- I found that one coat did not really give it the effect that I wanted so I gave it about 3 coats of varnish.
- Also, there are a lot of gaps within the slats. Make sure your varnish goes in properly, especially if your area is not under covers.
Step 6: Get ready to CHOW DOWN…
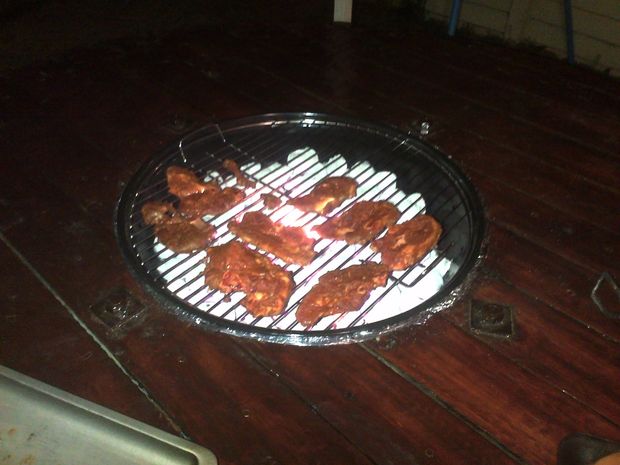
- Let the varnish dry completely for a few days before using.
- I let it set for about 2 weeks.
- As you can see in the picture. I laced the cut edge of the table with a thick piece of foil.
- This helps for a tight fit and also so that the wood around the stand doesn’t burn.
- Oh and if you wondering about cleaning… its quite simple as the BBQ/Braai stand simply lifts out.
- Been using it for about a year now and it’s one of the best things I have ever done for family and buddy BBQ/Braai time (via Instructables).
Get More More Woodworking Projects Here…
The biggest collection of woodworking plans available online containing over 16,000 woodworking plans that come with step-by-step instructions and detailed photos…
– Over 16,000 Woodworking Plans…
– With CAD/DWG software to view/edit plans…
– Step-by-step instructions with photos…
– High quality blueprints and schematics…
– Lifetime members area with woodworking videos…
– There are plans for practically every project you could imagine…
If You’re Into Woodworking Projects, You’ll Love It. Check It Out Here…
