How To Become More Self-Sufficient Without Starting a Full-Blown Farm…
Want to start preserving your harvest, making your own soap, or building a backyard root cellar — but not sure where to begin? “Homesteading Advice” gives you instant lifetime access to 35+ practical homesteading books on food preservation, veggie gardening, DIY natural cleaning products (save over $250 per year with this skill alone), brewing, off-grid energy, and a whole lot more…
Click Here To Check It Out Now!
“I’ve been trying to get into preserving food and want to try dehydrating some fruits and herbs. My aunt used to hang her herbs out on a string in the sun, and she swore by it. But I’ve heard mixed opinions about whether or not that works well for other foods too, like fruits or vegetables. Can I just lay them out on a tray in the sun in my backyard? I’m curious if this method is as simple as it sounds or if there’s something I should be cautious about (pests, heat, etc.). Any suggestions on what works best? Thanks for the advice!”
Thanks, Patrick, Colorado Springs, USA.
Can I Dehydrate Foods Outside Or In The Sun?
First of all, Patrick, I love that you’re getting into food preservation! It’s one of the most rewarding hobbies, especially when you get to enjoy the flavors of summer smack in the middle of a snowy winter. Dehydrating food in the sun sounds like the ultimate laid-back method, doesn’t it? No fancy gadgets, no energy use—just good old sunshine. But… there are definitely a few things you’ll want to watch out for to make sure your efforts don’t go to waste (literally)!
How Does Sun Dehydration Work?
Simply put, sun dehydration relies on the heat from the sun and the air’s natural ability to dry out food. By exposing sliced fruits, vegetables, or herbs to the sun, the water inside evaporates, leaving you with lovely dried goods that can last for months—or even longer if stored properly. This method has been used for centuries and is still common in different parts of the world. However, it works best in areas with low humidity and consistent sunlight.
Now, since you’re in Colorado Springs, Patrick, you’re already in a pretty good spot for sun drying—especially since the climate there tends to be dry with plenty of sunny days. But there are still a few hurdles to jump over to get it just right. So let’s dive into those!
Is Your Environment Suitable for Sun Drying?
Your Climate Matters
One of the key factors when sun drying food is whether your region has low humidity levels and a warm temperature. You typically need temperatures above 85°F (29°C) and less than 60% humidity for sun-drying to work effectively. High humidity levels can cause the food to dry slower, which in turn encourages mold growth. Not what we’re looking for, right?
If you’re somewhere like Colorado—where it’s often warm and dry—you’re in luck. However, if someone were reading this from somewhere like Florida or the UK, where humidity runs rampant, sun drying might not be the best option. In those conditions, moisture in the air would ruin the process before it even gets started. In those cases, it’s better to use a dehydrator or oven.
Where are the Sunniest Spots?
When choosing a drying spot, you’ll want a place that gets consistent, direct sunlight throughout the day—it’s why rooftops or balconies can often do the trick if you’re in a more urban setting. Make sure to place your drying trays on a surface that can reflect heat, like a concrete patio or a metal rack. The more heat that can radiate upward, the faster your food will dehydrate. Avoid shaded areas, and make sure that air can flow freely around the trays.
Types of Foods That Do Well with Sun Dehydration
Herbs and Leafy Greens
Like your aunt did, drying herbs in the sun works wonderfully because they dry relatively quickly, especially in a warm, dry environment like Colorado Springs. It’s often done by tying up small bunches and hanging them from a well-ventilated but shaded spot or laying them across screens. Basil, thyme, rosemary, and parsley are all great candidates.
Fruits
Slicing up fruits like apples, figs, apricots, and peaches is also a good option. These fruits have a lower risk of spoiling during dehydration, as long as they’re sliced thinly and kept in direct sun. However, to speed things up and avoid pests (more on that in a sec), it’s best to pair them with a mesh screen or thin cloth to protect them.
Vegetables
Sun drying for vegetables can be a bit more tricky. Veggies like tomatoes or peppers do well because they have higher water content and can dry without cooking. However, vegetables tend to dry slower than fruits or herbs, so there’s a bigger risk that they start to turn mushy or spoil if nighttime temps drop.
Things to Watch Out for with Sun Dehydration
Beating the Bugs
One of the least charming aspects of sun drying is that bugs are often nearby! Imagine having a tray of sweet, freshly cut peaches and all of a sudden, flies decide they’re guests at the buffet. You’ll want to cover your food with a mesh screen or even construct a little mesh cage around it to keep those critters away. If you don’t have a screen handy, I’ve found that cheesecloth loosely draped over a tray works in a pinch too!
Watching Out for the Weather
You might think sunny days are predictable, but even in dry climates like Colorado Springs, it’s important to keep an eye on the forecast. A sudden rainstorm can really set you back, so it’s a good idea to have a plastic cover ready (something big enough to cover all your trays) or be prepared to bring the trays inside at a moment’s notice.
Temperature Fluctuations
Warm days with cool nights don’t work so well for sun drying. If the temperature dips too low overnight, moisture can be reabsorbed into your food, leading to spoilage. A good rule of thumb is to bring your trays inside as soon as the sun starts to go down, just to keep things on track. You can even pop them back out the next day to keep the process going.
Steps to Dehydrate Foods in the Sun
- Prepare Your Food: Before you start tossing things on trays, make sure everything is cleaned and cut evenly. Thinner pieces will dry faster and more evenly.
- Blanch Certain Vegetables: For some veggies like green beans or broccoli, a quick blanch in boiling water for 1-2 minutes helps preserve color and nutrients while making the dehydration process more effective.
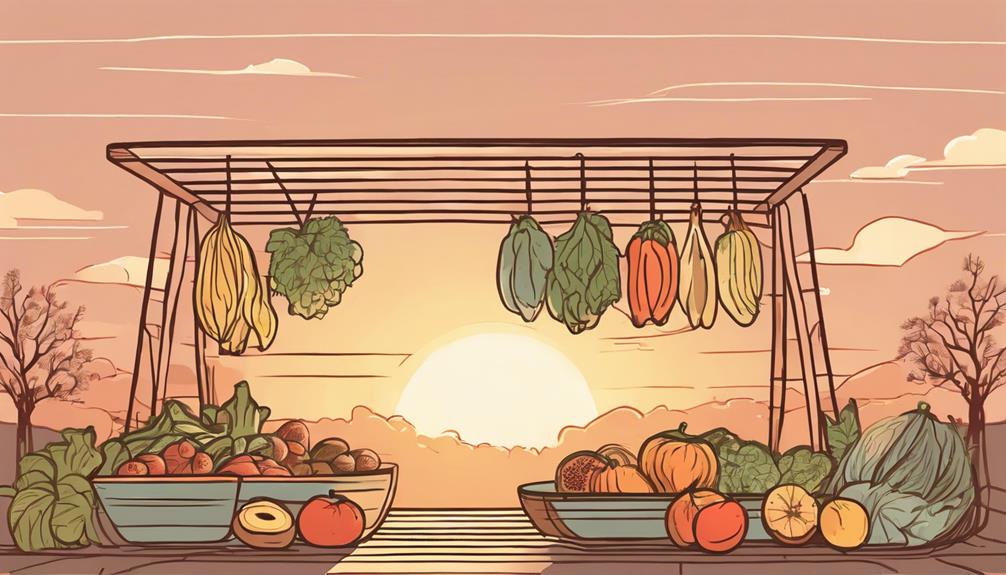
- Layer or Hang the Food: Place your herbs or fruits on a single layer on a tray or drying rack. If it’s herbs, a bundle tied up with string also works well. Lay everything out with space in between, so air can circulate.
- Position in Direct Sunlight: Set your trays in a sunny spot that gets at least six hours of sun each day. Remember that reflected heat (like off of a driveway) can also intensify the drying process.
- Cover with a Mesh Screen: Protect your food from insects using a fine mesh or breathable cloth.
- Turn Occasionally: Flip fruits and vegetables every few hours to help them dry evenly.
- Bring Inside During the Evening: Don’t leave your food outside overnight where cooler temps might re-moisturize it.
- Check for Dryness: The food is dry when it feels leathery but still pliable, with no sticky spots. For herbs, they should crumble when touched.
Troubleshooting Common Issues
Mold Growth
If mold pops up, it’s usually because the dehydration process wasn’t fast enough, or the area was too humid. Once mold appears, you’ll unfortunately need to discard the food. To prevent this, try slicing everything thinner or moving the trays to a spot with more airflow or sun.
Food Drying Too Slowly
Sometimes things seem to take forever to dry. If this happens, check if the daytime temperatures are warm enough (above 85°F is ideal), and ensure there’s enough direct sunlight. Trying to move your setup to a sunnier spot or increase airflow with a fan can help speed things up. Otherwise, you might consider finishing the process in an oven or dehydrator to avoid the risk of spoilage.
Alternatives to Sun Dehydrating
If sun drying seems like more hassle than fun, it’s totally okay! There are a few alternatives you could try that still maintain the natural taste of your food without the downsides of weather-watching or fending off bugs all day.
Using a Dehydrator
A dehydrator is the easiest way to reliably dry food. You set the temperature and let it run for several hours while checking in periodically for the results. No weather drama involved! It still allows you to preserve food with that same shriveled texture, but with more control over humidity and temperature.
Oven Dehydrating
If you’re in a pinch, popping the food in your oven at a low temperature (around 140°F to 170°F) can be really effective. Just keep the oven door slightly ajar to let the moisture escape and check in on your food every hour or so to make sure nothing is overcooking. It’s a bit less “green” in terms of energy, but sometimes it can save time when the weather just isn’t cooperating.
Final Thoughts…
Patrick, thanks so much for sending in such a great question! Sun-drying is such a cool way to preserve food naturally, but it definitely requires a little planning. Whether it’s finding the sunniest spot or battling it out with the bugs, getting your food to dehydrate properly might take a few trial runs. Luckily, you live in a great area for it, so give it a shot with some herbs and fruits first! Once you find your rhythm, you should be in business.
Happy drying!
