How To Become More Self-Sufficient Without Starting a Full-Blown Farm…
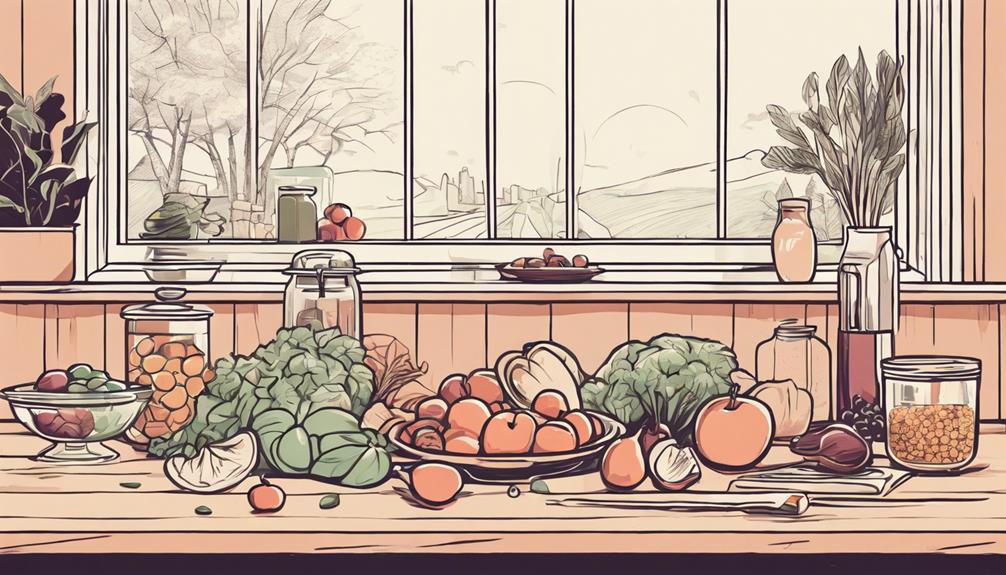
Want to start preserving your harvest, making your own soap, or building a backyard root cellar — but not sure where to begin? “Homesteading Advice” gives you instant lifetime access to 35+ practical homesteading books on food preservation, veggie gardening, DIY natural cleaning products (save over $250 per year with this skill alone), brewing, off-grid energy, and a whole lot more…
Click Here To Check It Out Now!
“Hi there! I’m wondering if there’s a way to freeze dry food without having to invest in expensive equipment? I love experimenting with new food preservation techniques and want to try freeze drying, but I can’t justify the big cost of buying a machine right now. Is there a low-cost way to do it at home? For example, could a freezer alone work, or are there some hacks other folks have tried to get the same result? Thanks—Joshua, Canberra, Australia.”
Can You Freeze Dry Food Without Special Equipment?
You’re not the only one wondering this, Joshua! A lot of us who like to preserve fruits, veggies, and even full meals have thought the same thing at some point. Freeze drying is a dream, but those machines—let’s face it—are an investment. The good news is, you can freeze dry food at home, but it’s going to take some patience and a little more effort than loading food into a machine. Let’s break down the process (and a few clever tricks) that might help you on this freeze-drying journey.
What Is Freeze Drying?
Okay, before we jump into how to freeze dry at home without equipment, let’s get on the same page about what freeze drying actually is. Freeze drying, or lyophilization as some call it in more science-y circles (but let’s not go there), removes moisture from food to make it shelf stable for months, heck, even years! This process involves first freezing the food solid, then taking out all the water by causing it to sublimate—that means the moisture goes straight from ice to vapor without turning into liquid first.
Why Is Freeze Drying So Popular?
Freeze drying’s big perk as a food storage method is how well it preserves food’s flavor, texture, and nutrition. You can store all kinds of foods—meat, dairy, raw fruits, cooked dishes—while keeping most of their original qualities. Plus, freeze-dried foods can be stored for ridiculously long periods without refrigeration! No wonder you’re curious about trying it.
How to Freeze Dry Without a Machine
Let’s dive into the good stuff! Joshua, you asked about whether you can freeze dry using just a freezer or other low-cost methods. Well, yes, it’s possible, but it’s a slower process than using a machine—and requires a bit of patience.
Option 1: The Freezer Method
The freezer method is probably the most basic way to freeze dry food at home, and it doesn’t require any fancy tools—just your freezer and… time. Here’s how it works:
- Step 1: Prep Your Food: Chop your fruits, vegetables, or whatever you’re freeze drying into smaller chunks. Smaller pieces freeze faster and dry out quicker.
- Step 2: Line a Tray: Spread the food evenly on a tray in a single layer. Don’t pile the food up because that will block airflow.
- Step 3: Freeze: Pop the tray into your freezer. Leave it in there for at least a week.
- Step 4: Test for Completion: To check if the food is done, take a piece out. It should be completely dry—even crunchy. If you break a piece in half and any moisture remains, back into the freezer it goes.
It’s not the fastest method, Joshua, but if cost is your main concern, this is a fantastic way to try freeze drying without spending a penny. One heads-up: make sure your freezer is set to its coldest setting for best results. You want the moisture to sublimate instead of just thawing and re-freezing.
Option 2: Dry Ice Method
Feeling a bit adventurous? Another way you can experiment with freeze drying at home is using dry ice. Dry ice is super cold (-78°C / -109°F), and it can help pull the moisture out of food much faster than your standard freezer.
- Step 1: Place Food in a Freezer Bag: Just like you did with the freezer method, you’ll slice your food into small chunks and lay it out flat in a freezer bag.
- Step 2: Get Enough Dry Ice: For this method, you’ll need enough dry ice to cover the food in your bag completely. The bigger the bag, the more dry ice you’ll need.
- Step 3: Seal the Bag (Loosely): Don’t zip the freezer bag all the way; leave space for gas to escape, or the bag could burst.
- Step 4: Place in Freezer: Put the bag with the dry ice in the freezer and let it sit for 24-48 hours. The dry ice will help pull the moisture straight out of your food.
- Step 5: Finish Drying: After 48 hours, your food should be freeze-dried. Double-check by breaking a piece in half—it should be totally dry. Then move the food into airtight containers for storage.
This method gets you those freeze-dried results faster than the freezer option, and it’s still relatively cheap. If you’ve got access to dry ice, you’re in business.
Option 3: Vacuum Chamber Method (For the DIY Enthusiasts)
If you’re up for a little DIY and aren’t afraid to experiment, some people have success building or using existing vacuum chambers to create their own basic freeze-drying setup. This one might be a step or two beyond tossing food into the freezer, but it’s fun for those who love a hands-on project!
The idea here is to put your frozen food into a vacuum chamber and use a pump to lower the pressure. This helps remove the moisture quickly in a frozen state, exactly what fancy freeze-drying machines do. However, building or buying a vacuum chamber can still be a bit of an investment, so consider this your “next level” option.
How Long Does It Take to Freeze Dry Food Without a Machine?
If you’re wondering, “How long do I need to be patient for?”—you’re not alone! When you freeze-dry food without a machine, it’s not something that happens overnight (unless you’re working with dry ice maybe). Expect the freezer method to take anywhere from one to three weeks, depending on the type of food you’re drying and how thick your pieces are.
Of course, food that’s sliced very thinly will dry faster. Large pieces, especially if they’ve got water-heavy content like melon or tomatoes, will take longer. Patience is key here, but the result will be worth it when you open your jars of crunchy veggies or apples in the dead of winter and they taste as fresh as ever!
Foods that Freeze Dry Best
So, Joshua, you’re probably wondering what kinds of food work best for home freeze drying. Some foods freeze better than others, and it helps to know what works well. Here’s a quick list of the best freeze-drying candidates:
- Fruits: Apples, bananas, strawberries, blueberries, peaches, grapes
- Vegetables: Broccoli, green beans, spinach, peas, zucchini, carrots
- Cooked Meals: Soups, chili, stews, curries
- Dairy (surprise!): Yogurt, cheese, ice cream (who knew, right?)
Foods with high water content will take longer to freeze dry, but they are also the most rewarding to store since they lose so much water weight. Just imagine the snack options that await you!
Troubleshooting Freeze Drying Without Equipment
Even though freeze drying at home without a machine is possible, it might not always go off without a hitch. Here are a couple of common problems people run into and how to tackle them:
1. Food Feels Gummy or Moist (Even After Long Freezing)
This is the big one. If you leave the food in the freezer for a week and it’s still not dry, chances are your freezer isn’t cold enough or there’s too much moisture in the food itself.
Tip: Slice your food even thinner before freezing. Large, dense pieces hold water like crazy, so thinner helps moisture evaporate quicker.
2. Got Ice Crystals on My Freeze-Dried Food
Yeah, this one can be frustrating. Ice crystals form when the food isn’t fully drying and is thawing too quickly.
Tip: Check that your food has a long enough frozen time. Also, if you’re using the dry ice method, make sure the dry ice surrounds the food evenly.
3. Food Loses Flavor (Yikes!)
Sometimes, flavors can get muted when the drying process is too slow.
Tip: Try to balance freezing time and dryness. You could also try pre-treating some sensitive fruits and veggies by blanching them quickly before freeze-drying them.
Final Thoughts…
Joshua, thanks for sending in such a great question! You can absolutely freeze dry without fancy equipment, but it’s going to take time and attention to get it just right. The freezer method is a simple, no-cost way to experiment, while dry ice is a faster (and fun) alternative if you like to see quicker results. With some patience, you’ll be turning out perfectly freeze-dried fruits and veggies from your own kitchen in no time. And hey, who knows? Maybe the success of these methods will convince you to splurge on that machine one day down the line. Until then, enjoy the process!
