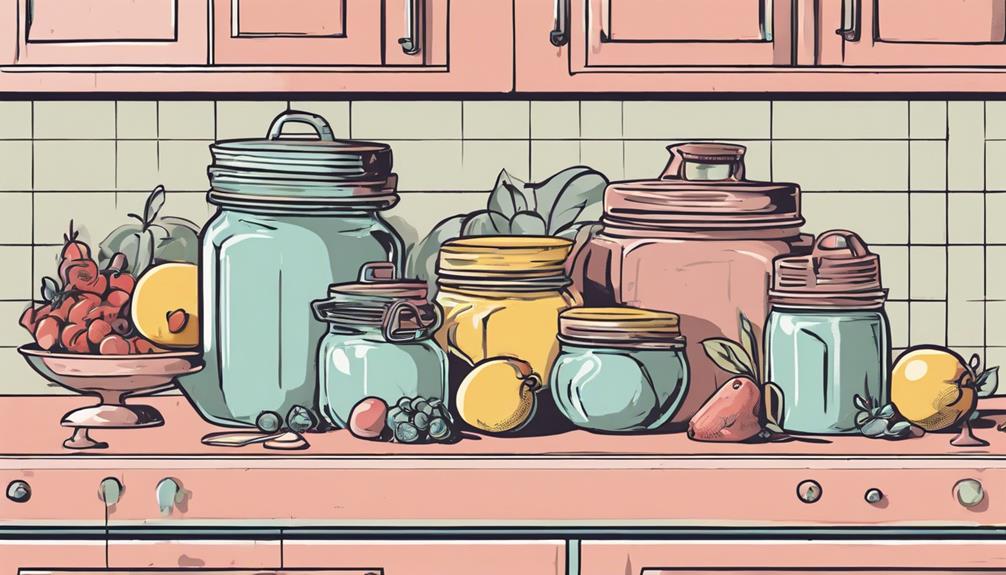
How To Become More Self-Sufficient Without Starting a Full-Blown Farm…
Want to start preserving your harvest, making your own soap, or building a backyard root cellar — but not sure where to begin? “Homesteading Advice” gives you instant lifetime access to 35+ practical homesteading books on food preservation, veggie gardening, DIY natural cleaning products (save over $250 per year with this skill alone), brewing, off-grid energy, and a whole lot more…
Click Here To Check It Out Now!
“I’ve been canning for a couple of years now, but recently I ran into a problem that’s left me scratching my head. I canned some peaches last weekend, and after they cooled, I found a couple of jars didn’t seal. It’s the first time I’ve had this happen. I’m not sure if I need to re-process them or if there’s another trick I’m missing. I don’t want the fruit to go to waste, but I also don’t want to make anyone sick. Help!” Thanks, Sarah, Christchurch, New Zealand.
How Do I Fix Jars That Didn’t Seal After Canning?
Hey Sarah, I’ve definitely been there! It’s always so frustrating when you’re sure you’ve done everything right, but a couple of jars just decide not to cooperate. The good news is, it’s totally something you can fix, and there’s no need to toss out those peaches just yet! Let’s get into what might have gone wrong, how you can fix it, and some tips to keep it from happening again. I’ve had my fair share of this in my canning adventures too, so you’re not alone.
Why Didn’t Your Jars Seal?
First, let’s figure out what might have caused the problem, Sarah. Unsealed jars after canning can happen for a number of reasons, and sometimes it’s something super minor. Here are a few common culprits:
- Improper Lid Placement: Sometimes the lid just doesn’t sit perfectly on the jar during processing. A tiny gap or misalignment can stop it from sealing correctly.
- Dirty Lid Rim: If there’s anything on the rim of your jars—like food particles, sugar from your syrup, or even oil—it could prevent a proper seal.
- Not Enough Headspace: When you don’t leave enough space (usually about 1/2 inch for fruits), the pressure inside the jar can force the contents up against the lid and prevent it from sealing.
- Under-processing: If the jars didn’t process for the correct amount of time, the heat won’t create that vacuum seal. Even a few minutes off can make a difference.
- Old Lids: Lids that have been used before or are too old sometimes just don’t work right, no matter how perfect everything else is.
Once you know what went wrong, you can decide how to move forward. So Sarah, do any of these reasons sound familiar to you?
What Can You Do About It?
Let’s get down to the solutions! The trick here is to act quickly, especially if you’re dealing with something like peaches. Here are your options:
Option 1: Re-process the Jars
If you catch this within 24 hours—yep, after 24 hours things get a bit dicey—you can simply re-process your jars. I know it might seem like a hassle, but it’s pretty easy. This is how you do it:
- First, check the jars. Make sure there are no cracks or chips near the rim. Even a tiny crack can cause issues!
- If the rim looks fine, remove the failed lids and ensure the rim of the jar is clean. Wipe that baby down with a damp cloth or paper towel to get rid of any residue.
- Get out new, unused lids (don’t reuse old ones!), and place them on the jar. You won’t need to remake the peaches; just refresh the lid.
- Process the jars again, following the same time and temperature instructions you did the first time.
The key here is using a brand-new lid. After you’ve processed food, the lids have already made an attempt at forming a vacuum seal. Trying to use the same lid again won’t give you a second shot—it’s like trying to stick reused tape to something.
Option 2: Refrigerate or Freeze the Contents
If you don’t want to go through the re-processing (or your fruit’s been sitting out for too long), just pop the unsealed jars in the fridge and use them soon, or freeze the contents. In the fridge, they’ll last a few weeks, but if you freeze them, you’ve pretty much given yourself a future dessert win.
What you can do, Sarah, is spoon those peaches into freezer-safe containers and save them for a rainy day. When I do this with peaches, I’ll thaw them out and make a crisp on a lazy Sunday.
Option 3: Stash Unusable Jars for a Quick Fix
If one or two jars didn’t seal but the rest of your batch did, you can still use the fruit in other quick eats. Sometimes, I’ll mix my unsealed fruit into a smoothie or whip up a quick jam. Like I always say, when life gives you unsealed jars, make peach preserves!
Troubleshooting Future Canning Batches
To help you avoid this in the future, here are a few tips that can really make a difference during the canning process.
Tip 1: Double Check Your Headspace
I know headspace can feel like one of those ‘optional’ things when you’re speeding through your canning, but it really matters. Not leaving the right amount can mess with the seal. Most water-bath canned fruits need about 1/2 inch of space between the top of the food (or liquid) and the lip of the jar. If things are too packed, air can’t escape properly to create a vacuum seal.
Tip 2: Don’t Over-tighten the Rings
It’s easy to want to twist those rings too tight when you set up your jars. But the thing is, they need to be “finger-tight” so air can escape during the boiling process (it’s this escaping air that creates the vacuum). Over-tightening could trap the air so it can’t escape, and then you end up with a poor or failed seal.
Tip 3: Always Use New Lids
This is probably one of the most common issues I see. Once a lid has been used, that little sealing compound won’t work again quite right. It’s got to form a new, airtight seal each time. So, even when you’re re-processing something like what you’re dealing with, Sarah, grab a new lid.
How Long Can You Wait Before Re-Processing?
If you’re thinking about re-processing those jars, timing matters. Ideally, you want to catch unsealed jars within 12 to 24 hours to be safe. But I also tend to err on the side of caution and usually aim for as close to 12 hours as possible. After too long, bacteria can start creeping in or the fruit can begin to degrade, even if you can’t see it yet. And no peach pie is worth a potential bout of botulism, right?
Is It Safe To Eat Before Re-Processing?
If you’ve just sealed them, and they haven’t sat out too long, you should be fine if you choose to reprocess the jars. But if it’s been more than a day or the jars have been sitting in a warm area, it’s best to either refrigerate or freeze as I mentioned earlier—or, as I love to do, just enjoy them right away. It’s like getting a sneak peek at your own preserve stash!
And Sarah, if you’re ever in doubt, just err on the side of caution. No food, no matter how delicious, is worth taking a risk with your health.
What Should You Do With Jars That Have Sealed But Look Suspicious?
Let’s say you do get a seal, but something looks fishy, like a jar leaking or a lid that’s bulging. Well, that’s a whole other issue. Don’t hesitate to toss any jars if you’re unsure of their safety. Some signs that a jar may not be safe even after sealing:
- Lid is bulging or popping off (yikes, that’s a big one!)
- You see bubbles that weren’t there before (not the normal ones during processing, but strange ones afterward).
- The contents look discolored or smell off, even though it’s sealed.
For the same reason, “when in doubt, throw it out” is kind of a golden rule for home canners—especially with something as sensitive as fruits. Rather be safe than sorry, as the saying goes!
Final Thoughts…
Sarah, thanks so much for sending in your question—you’re definitely not alone in this! I think every home canner has a few battle stories of unsealed jars (I’ll admit, I’ve definitely had my fair share). But the good news is it’s a solvable problem, and you’ve got a few different tools at your disposal to fix the situation. Whether you opt to re-seal, stash them in the fridge, or freeze the lot, just trust in the process and keep going. Happy canning, and may your peaches seal beautifully next time around!
