How To Become More Self-Sufficient Without Starting a Full-Blown Farm…
Want to start preserving your harvest, making your own soap, or building a backyard root cellar — but not sure where to begin? “Homesteading Advice” gives you instant lifetime access to 35+ practical homesteading books on food preservation, veggie gardening, DIY natural cleaning products (save over $250 per year with this skill alone), brewing, off-grid energy, and a whole lot more…
Click Here To Check It Out Now!
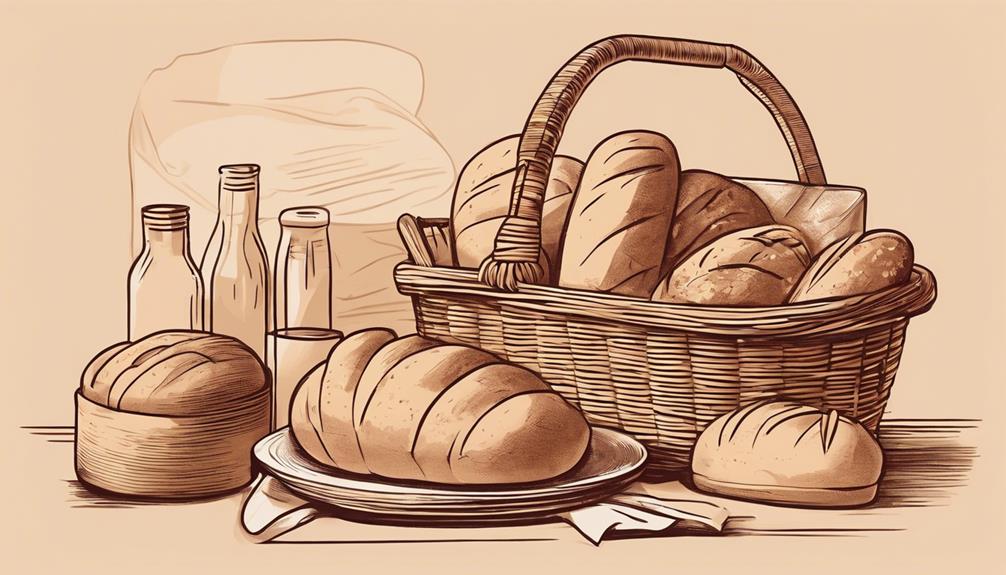
“I love making my own bread and muffins at home, but I always end up with more than I can eat fresh. I’ve tried freezing them a few times, but sometimes it turns out dry or gets freezer burn. Can you help me figure out the best way to freeze homemade bread and baked goods, so they still taste great after defrosting? I don’t want to waste all this yummy stuff I’ve spent hours baking in my small kitchen!” Thanks, Patricia, Christchurch, New Zealand.
Freezing Homemade Bread and Baked Goods: A Simple Guide to Keeping Them Fresh
Hey Patricia! Freezing bread and baked goods is such a great way to avoid waste, and it’s a skill I’ve had to learn after way too many times of leaving half a loaf of homemade bread out for too long. I totally get what you’re saying about dryness and freezer burn—it’s frustrating, but there are definitely ways to avoid it! Let’s go over why freezing can sometimes go wrong and exactly how you can freeze just about anything you bake while keeping all that delicious flavor and texture intact.
Why Freeze Bread and Baked Goods?
First, let’s talk about why freezing is such a fantastic option. Not only does it allow you to prolong the life of your homemade goodies, but it also gives you quick access to fresh-tasting bread, muffins, and even cookies when you need them. What could be better than pulling out a slice of homemade bread or muffin on a busy weekday morning?
Freezing baked goods efficiently helps lock in moisture, reduce waste, and keep them fresh without having to bake every few days. This works especially well for people who love batch cooking or, like you, Patricia, might not get through a full loaf of bread before it starts getting stale.
The Problem with Freezer Burn
Freezer burn is probably your biggest worry, right? That’s when food gets extra dry or changes flavor because of exposure to air. With bread, this can mean losing the lovely chewy texture or the crisp crust that makes homemade loaves so much better than store-bought. For muffins, freezer burn can make them taste and feel crunchy instead of soft.
The good news is: With a bit of planning, freezer burn can be avoided completely. It’s all about proper packaging and storing, and I’m going to show you how to do just that!
Best Tips for Freezing Homemade Bread
Let’s start with bread since that’s the number one thing people love to freeze (and also the one that can trip people up because of texture issues).
Step 1: Cool the Bread First
This might sound obvious, but it’s important: Always let your bread cool completely before freezing it. Putting warm bread into the freezer causes condensation inside the packaging, which leads to soggy bread. And nobody likes soggy bread! I usually let my bread sit out for an hour or two just to be safe.
Step 2: Wrap It up Tight!
This is probably the most important part! You need to use a double layer when wrapping bread to keep air out. Plastic wrap or aluminum foil works well for the first layer, making sure every part of the bread is covered tightly. No rogue air should get in!
Once it’s wrapped snug, put the bread in a zippered freezer bag or airtight container. Press out as much air as you can from the bag before sealing it.
Step 3: Slice Before Freezing
Here’s where planning ahead a bit can save you hassle later. I love freezing my bread already sliced. That way, I can just pull out a couple slices when I want them, rather than thawing the whole loaf. This is super handy for homemade sandwich bread or sourdough.
Tip: If you freeze slices, layer parchment paper between them so they don’t stick together. That way, you can grab one slice at a time without thawing the entire loaf. This tip is a total life changer; trust me!
Step 4: Label Your Bread
Yes, go ahead and put a label on it with the date it was baked and frozen. Bread typically stays good in the freezer for up to 3 months, but try to use it within 1-2 months for the best flavor. After three months, it might taste okay but may start to lose some of that freshness.
Step 5: To Thaw, Be Patient
When you’re ready to use your bread, just let it thaw at room temperature inside the wrapping. Keeping it wrapped while thawing prevents condensation from forming on the outside, which could make the bread soggy. You can also pop it in the oven for a few minutes if you want a fresh-out-of-the-oven experience.
Freezing Other Baked Goods (Muffins, Cookies, Cakes, Oh My!)
Now, Patricia, you did mention muffins—you’re not alone there! I’m all about freezing muffins and other baked goods, but just like bread, it’s all about keeping them airtight and knowing how to reheat them so they still taste like they just came out of the oven.
Step 1: Cool, Cool, Cool
Just like bread, you’ve got to let everything cool completely. Muffins, cakes, cookies, pies—whatever you’re freezing. Warm baked goods straight into the freezer are going to create moisture (and that dreaded freezer burn). Take them off the tray and let them reach room temperature before you even think about freezing them.
Step 2: Wrap Them Right
Smaller items like muffins or cookies are best wrapped individually in plastic wrap or foil. This may feel like extra work, but it’s worth it to avoid clumping or condensation when they freeze. After you’ve got them all individually wrapped, put them in a freezer-safe bag or container. Sometimes, I use an oven sheet to arrange muffins or cookies neatly, wrap the whole thing, and slide it all into a large freezer-safe bag for easy storage.
Step 3: Go the Extra Mile Just for Cakes
Cakes can be tricky if they’re layered with frosting. If you’ve got a cake with icing on it, place it in the freezer for an hour uncovered to let the icing harden before wrapping it tightly in plastic wrap. Then you can double wrap like you do with bread (plastic wrap and freezer-safe bag).
Step 4: Reheating Muffins, Cookies, and More
Okay, here’s the fun part! To reheat muffins, pop one (still wrapped) in the microwave for about 30 seconds, then let it cool slightly before unwrapping. You’ll have a muffin that tastes way fresher than store-bought! Cookies can usually be defrosted at room temperature within an hour or so, and cakes—depending on their size—may need up to 4 hours—but it’s totally worth it.
If you’re dealing with larger items like muffins or cake, reheating them in the microwave multiple times can dry them out. When I’ve got muffins to reheat, I’ll wrap one in a slightly damp paper towel, which keeps some moisture in while it’s reheating. It sounds weird, but it works!
Should You Pre-Bake or Freeze the Dough?
Another question I get asked a lot is whether it’s better to freeze baked goods already cooked or to freeze the dough. Honestly, you can do both depending on what you prefer!
Freezing Dough for Bread
If bread’s your thing, you can freeze the dough before its final rise. This way, you can thaw it and let it rise before baking fresh. Dough keeps in the freezer for up to a month. If you go this route, defrost it overnight in the fridge or at room temperature for a few hours before letting it rise. Be sure you’ve shaped the dough first if you’re making rounds or loaves before freezing.
Freezing Muffin or Cookie Dough
Freezing cookie or muffin dough means you get that “freshly baked” smell anytime. When I make cookies, I’ll freeze individual balls of dough on a tray first, then once they’re solid, transfer them to a freezer bag. That way, I can bake a few cookies whenever I get the craving without going through the whole batter-making process again. Same idea with muffin batter—freeze them in paper liners in the muffin tin till they’re hard, then transfer to a container.
Troubleshooting: What Can Go Wrong and How to Fix It
Are you still worried about those dry muffins you mentioned, Patricia? Freezing shouldn’t make them dry, but if it’s happening, consider these tips:
- Too much freezer air exposure: Make sure you’re wrapping items tightly and removing as much air from bags or containers as possible.
- Thawing too fast: Thaw baked goods gradually, preferably overnight in the fridge or a few hours on the counter. Microwaving for too long can zap the moisture right out of baked goods.
- Reheating without moisture: Use that damp paper towel trick I mentioned earlier for adding a little moisture back when reheating. It’s especially helpful with muffins.
Final Thoughts…
Patricia, thank you for the great question! Freezing homemade bread and baked goods doesn’t have to be tricky once you figure out the small details. Just remember to cool things down completely, wrap them up super tight, and reheat them with a little extra care so you keep that fresh-baked taste.
With all these tips, you’ll be able to enjoy your homemade bread, muffins, and more without worrying about waste or freezer burn. Happy baking—and freezing!
