How To Become More Self-Sufficient Without Starting a Full-Blown Farm…
Want to start preserving your harvest, making your own soap, or building a backyard root cellar — but not sure where to begin? “Homesteading Advice” gives you instant lifetime access to 35+ practical homesteading books on food preservation, veggie gardening, DIY natural cleaning products (save over $250 per year with this skill alone), brewing, off-grid energy, and a whole lot more…
Click Here To Check It Out Now!
“I’ve just started vacuum sealing food at home, and I’m finding it hard to keep track of all the different bags in my freezer. Sometimes I forget when I sealed something or even what’s inside! What’s the best way to label vacuum-sealed food for long-term storage so I can easily know what it is and how long it’s been in there? Thanks a lot for your help,” Jessica, Nova Scotia, Canada.
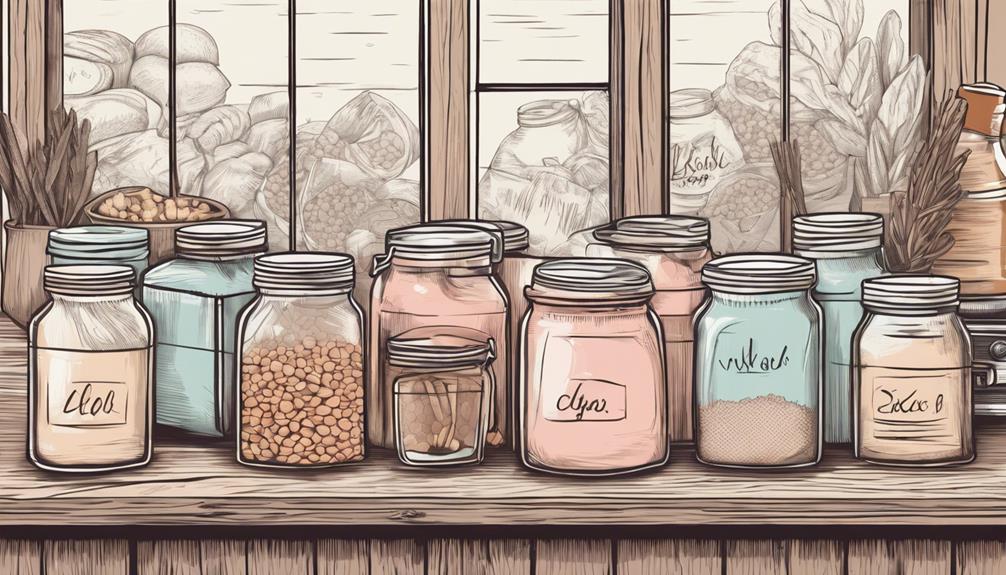
How Do I Label Vacuum Sealed Food For Long Term Storage?
Hey Jessica! I totally get it. Without proper labeling, your freezer can quickly turn into a mysterious blackhole of “Wait, *what is this, and when did I freeze it?*” So, let’s talk about some strategies to effectively label your vacuum-sealed goods to avoid freezer chaos and make your life easier.
Why Labeling Vacuum-Sealed Food Is So Important
Labeling doesn’t just make things look tidy, it serves a couple of really important practical purposes too:
- Prevent Waste: Keeping track of the dates means you’ll know which food to eat first before it spoils. No more tossing out forgotten, frost-coated mystery bags!
- Know What’s Inside: Trust me, vacuum-sealed bags can be like airtight space pods—what looks like pork chops today can morph into stew meat tomorrow. Clear labeling avoids the guessing game.
- Preserve Nutritional Value: Some foods lose their quality or flavor over time even in the freezer. Knowing when you sealed it helps you consume it while it’s still good.
So, let’s make sure we cover everything from the safest methods to the easiest hacks for labeling.
The Key Information to Add to Your Labels
It’s not just about scribbling down a single word (though that’s a start!). You’ll want to include a few essential bits of info to make your labels useful at a glance:
- Name of the food: The obvious one — what *exactly* is in that bag? Be specific if needed (“Chicken Breasts” vs. “Chicken Thighs”).
- Date sealed: This is critical. Adding the date lets you track how long something has been in the freezer, so it doesn’t turn into a freezer-burned brick.
- Portion size (optional): This is helpful if you bag items in bulk. Knowing how many pieces of chicken or how much soup you sealed will make meal planning easier.
In my experience, Jessica, adding all three items can save a ton of headaches later on. You don’t want to defrost a bag only to realize it’s not enough, or worse, way too much for what you need.
What Types of Labels and Pens Work the Best?
Now, let’s talk about the tools. If you’ve ever used a marker on plastic, you know that sometimes it rubs right off. Here’s what I’ve found works best for different bag types:
- Permanent markers: Classic, low-cost, and they write well on vacuum-seal bags. Be sure to pick one that’s totally waterproof and smudge-proof to avoid future mishaps.
- Labeling tape: This is the sticky kind that lets you handwrite your info and then stick it on. Make sure the tape can handle cold temps without peeling off.
- Pre-printed labels: If you’re organized (unlike me some days!), you can get customizable freezer labels. These often come with spots for notes like “Use By Date” and “Contents,” making the whole process cleaner.
Personally, I find markers to be the quickest for most bags, but for longer-term storage, tapes or labels really do a better job of staying stuck. Oh, and don’t forget to label before you freeze! Writing on thawed, wet bags can be a mess.
Where Should You Place the Label?
It may sound silly, but the placement of your label actually matters for ease and readability later. Here’s the trick: put the label on the top flat part of the vacuum-sealed bag. Not too close to the edges (where the seal is) and definitely not in the middle where the food is packed.
In the freezer, bags will stack, flip, or smoosh together, and if your label’s in a weird spot, it might get tough to read. Stick to wide open areas for maximum visibility.
Advanced Tips for Large Batch Labeling
If you’re sealing big batches of garden veggies in the fall or doing mega-batch cooking, labeling can become a real juggling act. Here are a few tricks I’ve learned (some the hard way!) when doing large quantities:
- Color coding: Use different colored markers or tape for different types of food. Red for meat, green for veggies, blue for ready-to-heat meals—you get the idea. It helps you spot things fast.
- Group bags by date: Stack or arrange food by the date sealed, with the oldest at the front of the freezer. That way, you naturally use up the older stuff first.
- Pre-cut label strips: For some foods, you can streamline the process by pre-cutting label strips or using a label printer if you have one handy. It speeds things up big time.
- Number your bags: For batch cookers, try numbering vacuum-sealed bags if you’ve got, say, seven bags of soup. You’ll have a visual reminder of how many bags you’ve already used vs. how many still need to be gobbled up.
Also, Jessica, if you’re anything like me and occasionally overestimate the power of your memory, jotting down these groupings on the freezer door (with an erasable marker) helps a bunch!
Avoid These Common Labeling Mistakes
Trust me, I’ve learned a few things the hard way, so here’s what to avoid:
- Using the wrong pens or tape: I can’t tell you how many times I’ve had date scribbles wipe right off when I used the wrong markers. Be sure to test what works best with your bags and freezer environment.
- Forgetting to label before freezing: Once the bag is cold and stiff from freezing, you’ll struggle to get a clear label onto it. Always label right after sealing, before it hits the cold air!
- Vague labeling: “Meat” or “Veggies” is not going to be helpful in a month or two! Be clear and specific to save yourself future frustration.
So, get those details down while it’s still fresh, Jessica—future you will thank you!
How Long Does Vacuum Sealed Food Last?
A little side note here—depending on how you’ve sealed and stored things, vacuum-sealed food can last quite a while:
- Meats and poultry: Up to 2-3 years when properly vacuum sealed and stored in the freezer.
- Vegetables: 2-3 years, though for best texture, I try to use mine within a year.
- Fruits: Approximately 1-2 years depending on the fruit type.
These are general estimates though. Over time, even vacuum-sealed food can lose texture and flavor, which is why consistent labeling is super important.
Thinking Beyond the Freezer: Dry Goods and Pantry Items
Vacuum sealing isn’t just for the freezer! If you’re sealing dry goods or pantry items like rice, pasta, or dehydrated fruits, here’s what to add to the label:
- Name of item (again, specific: “Brown Rice” not just “Rice”).
- Date Sealed – because we all forget after a while.
- Best Before Date (if relevant).
It’s worth adding a quick “use first” list in your pantry too. If these goods get tucked in the back, it could be ages before you realize you’ve got them stashed away.
Troubleshooting: What If Labels Fall Off or Smudge?
Let’s say you went to grab a beautifully vacuum-sealed bag, only to realize your label has rubbed clean off. First off, it happens to the best of us! Here’s what to do if this happens:
- Re-label immediately: If the label smudges, don’t wait. Grab that marker (or new label) and rewrite the info.
- Use double markers: Sometimes, a quick pen layer can wear off in the freezer, but a second pass after it dries can help make it hold longer.
- Try plastic-safe labels: If you keep losing tape, try a specific type of label made for freezer bags which might fare better over extended time.
Final Thoughts…
Jessica, you’re well on your way to mastering vacuum-sealed food storage! Just remember to keep your labels clear, visible, and add those key bits of info like the date and food type. Trust me, these steps will save you so much time, money, and confusion over the long run. Thanks again for reaching out with your question—I know you’re going to nail it!
