How To Become More Self-Sufficient Without Starting a Full-Blown Farm…
Want to start preserving your harvest, making your own soap, or building a backyard root cellar — but not sure where to begin? “Homesteading Advice” gives you instant lifetime access to 35+ practical homesteading books on food preservation, veggie gardening, DIY natural cleaning products (save over $250 per year with this skill alone), brewing, off-grid energy, and a whole lot more…
Click Here To Check It Out Now!
“I’m a bit stumped here. I’ve been storing my dehydrated fruits and homemade jerky in plastic containers, but I keep finding condensation inside even days or weeks later. It’s really frustrating when the moisture builds up and ruins the food. I’ve tried putting the containers in the fridge—thinking the cold would help—but no luck! What am I doing wrong, and how can I stop this condensation from happening in the future? It’s affecting my entire batch, and I’m worried I’ll have to throw more out.
Thanks for any advice, I’m ready to get this sorted!”
John, Austin, USA.
Understanding Why Condensation Happens Inside Food Containers
Hey John! Ugh, I totally get how annoying it is to open a container and find unwanted moisture messing up your carefully preserved food. Condensation inside food containers usually happens because of temperature fluctuations or excess moisture in the food before it was sealed. This moisture creates the perfect environment for bacteria or mold, ruining the texture and taste of your food. So let’s walk through some tricks to keep condensation in check!
Temperature Swings: The Sneaky Culprit
One of the most common reasons for condensation inside containers is temperature changes. Say you store your dehydrated fruits or jerky in a room that’s sometimes warm and other times cold. This back-and-forth can cause moisture in the air to form condensation within the container.
Think about how a cold drink “sweats” when you take it outside on a hot day—that’s essentially what’s going on inside the container. Warm air cools down, and moisture forms. So, John, this is probably why even the fridge didn’t help since it’s all about controlling consistency in the temperature, not just making things cold.
Damp Food When You Pack It
Another biggie is storing food that wasn’t completely dry when you put it in the container—in this case, your jerky or fruit might not have been dehydrated enough. Even a tiny amount of extra moisture in the food can start evaporating after being sealed up, leading to condensation as it cools in storage.
You’ve probably seen this happen with fresh foods too, like when you toss a warm slice of leftover pizza in a container, then check it later and find moisture trapped in there. Same concept here, just different food.
How Can You Prevent Future Condensation?
Alright, let’s get to the good stuff. Here are some things you can start doing right now to keep that annoying condensation out of your food containers.
Allow Food to Cool Completely First
This step is an absolute must! If you’re dehydrating or cooking food, it’s important to let it cool down completely before sealing it into any container. Sealing up warm food traps the heat inside, which can then cause moisture to evaporate and turn into condensation once things cool down. So, next time you’re storing jerky or fruit, give it a little “cooling off time” on the counter before locking it away.
Double Check Dehydration Times
John, I’ve definitely rushed through the dehydration process before, and trust me—it always comes back to haunt you! Make sure all your foods are fully dried before sealing them in containers. A good rule of thumb for jerky or dried fruits is to test them for any soft spots or bendability that might suggest moisture is still hiding in there. If it bends like it’s flexible, it probably needs a bit more drying time. Brittle is better when you’re close to the finish line!
Use Silica Gel Packs or Dehumidifying Agents
These little packs of wonder can absorb any sneaky moisture left over in your containers. Toss a silica gel packet into each container before sealing, and it’ll suck up any humidity that could lead to condensation. They’re especially helpful when you’re doing long-term storage. Just remember to swap them out periodically if you’re into those bigger, longer-lasting DIY batches.
Airtight Containers Are Key
This one might seem obvious, but a lot of seemingly “airtight” containers don’t actually seal out all the air. Look for containers with high-quality rubber or silicone seals that ensure no air can sneak in after you close the lid. Food-safe vacuum seal bags are also a win. The less exposure to outside air, the less opportunity there is for moisture to form.
Maintain Stable Storage Conditions
If you can control the room temperature where you’re storing food, you’ll have way fewer headaches with condensation. Ideally, find a spot in your house that stays cool and dry year-round—like a pantry with no kitchen heat or air conditioning messing with the indoor climate. Aim for somewhere around 10-15°C (50-59°F) when possible, and keep the containers out of direct sunlight and away from appliances that can cause mini-temperature shifts, like microwaves or refrigerators.
Common Mistakes to Avoid (And How to Fix Them)
From Fridge to Room Temperature
Ah, the trusty fridge. Sounds good in theory, but as you’ve already noticed, it usually isn’t the best place for things like jerky or dried fruit unless they are fully dry and airtight. When you take containers out of the cold fridge and just pop them back on the counter to warm up, those temperature differences can quickly trigger condensation. If using the fridge, try to let containers warm up gradually by leaving them sealed until they reach room temperature again.
Overpacking Containers
If your containers are crammed full with barely any room left to breathe, it’s more likely for moisture to get trapped inside. Allow a tiny bit of space (not too much though!) to let air move around. I learned this the hard way when I packed my dried tomatoes way too tightly one summer, and they came out mushier than when I first packed them!
Skipping Regular Food Checks
If you store food long-term, regular check-ins are golden! Every couple of weeks, open each container and check for any signs of moisture. It’s much easier to catch small problems early before mold or bacteria can ruin an entire batch.
Troubleshooting Condensation After the Fact
Okay, John, so what if you’ve already got condensation? Don’t worry, you can often save the food, but you’ll need to be quick:
- Quick rescue method: If you spot some condensation, immediately remove the food from the container, pat it dry, and let it air out for a bit in a dry space. Re-dehydrate any food that’s still soft to ensure it’s safe. You don’t want to repack it unless it’s completely dry again.
- Ventilation is your friend: Make sure to open those containers in a dry room. If it’s humid in your kitchen, your food could absorb more moisture, which is a big no-no.
Alternative Storage Methods You Could Try
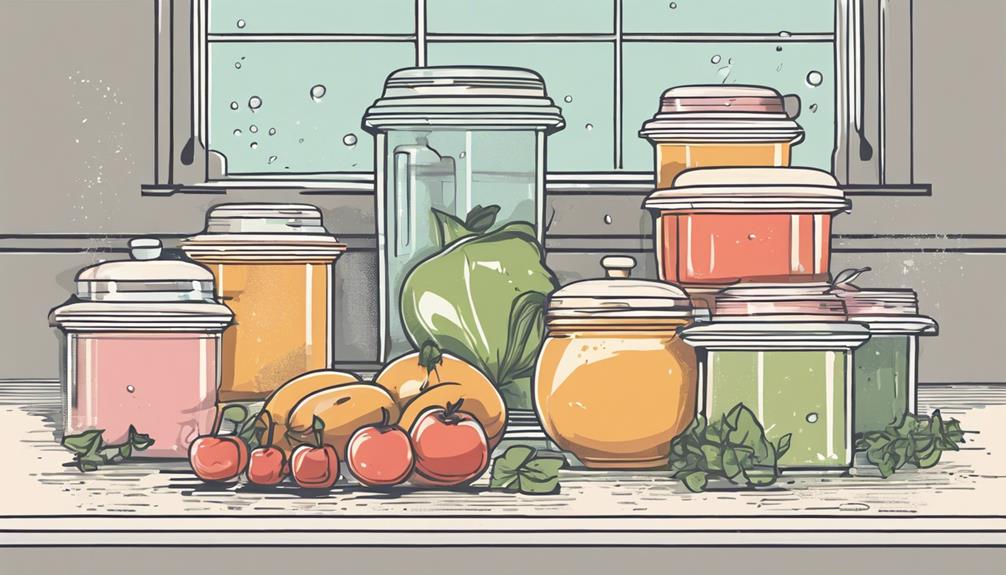
If the plastic containers just aren’t cutting it for long-term storage, you might want to consider using glass containers or vacuum sealing bags.
Give Glass Jars a Try
Glass containers with a tight, gasket-style seal are perfect for foods like dehydrated fruit and jerky. Glass doesn’t hold onto moisture or odors as plastic can. Plus, it adds a little extra protection if the temperatures where you store your food fluctuate. You can also easily see inside to check for condensation without cracking it open.
Vacuum Sealing for Long-Term Storage
Vacuum-sealing your food will both keep air out and tightly compress whatever you’re storing. This is especially helpful for you if you’re looking to stash food away for months or more. Just make sure the bag itself is moisture-proof and sealed tight before popping everything into a cool, dry spot.
Final Thoughts…
John, it sounds like you’re really close to cracking the case on your condensation frustrations! The biggest things to focus on are fully dehydrating your food, allowing it to cool off sufficiently before packing, and keeping that storage area climate nice and steady.
Thanks so much for sending in your question—it’s something a lot of us DIY food preservers deal with, and hopefully these tips will help you out next time you dive into your next batch of jerky or dried fruits. Don’t hesitate to check back in if you hit another snack—pun intended! Enjoy your moisture-free meals!
