How To Become More Self-Sufficient Without Starting a Full-Blown Farm…
Want to start preserving your harvest, making your own soap, or building a backyard root cellar — but not sure where to begin? “Homesteading Advice” gives you instant lifetime access to 35+ practical homesteading books on food preservation, veggie gardening, DIY natural cleaning products (save over $250 per year with this skill alone), brewing, off-grid energy, and a whole lot more…
Click Here To Check It Out Now!
“Hi there, I’ve been using the freezer to store foods for a while but I recently noticed that the meat I freeze always ends up with freezer burn after a couple of months. I’ve heard that vacuum sealing can prevent this, but I’m not quite sure how it works. I’m also curious about whether it’s worth investing in a vacuum sealer or if I can achieve the same thing with regular plastic bags. I would love to keep my food fresher for longer because throwing things out is just frustrating! Any advice you can share would be great!”
Thanks a lot,
Nancy, Vancouver, Canada.
How Does Vacuum Sealing Prevent Freezer Burn?
Freezer burn can be such a disappointment! You pop your favorite foods in the freezer, only to find them later with discolored spots, tough textures, and a taste that’s… well, less than appetizing. I totally get your frustration, Nancy. The good news is vacuum sealing can really help you avoid this freezer burn problem, and it’s easier than you think to get started. Let’s break down what freezer burn actually is, how vacuum sealing can prevent it, and if it’s worth making a switch from standard plastic bags.
What Is Freezer Burn Anyway?
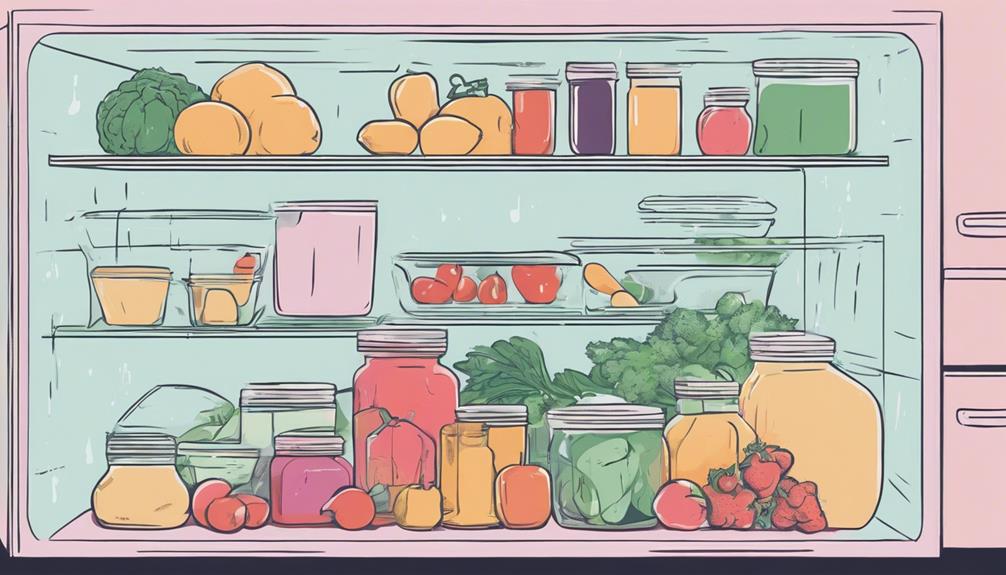
Before we get into vacuum sealing, let’s talk a bit about freezer burn. Freezer burn happens when moisture in your food is drawn out to the surface and then freezes, causing dry spots. You might have noticed it as those frosty white patches on your meat, veggies, and even bread. While it doesn’t make the food unsafe to eat, it sure does mess with the flavor and texture. I’ve had my share of freezer-burned meals that I’ve desperately tried to save, but trust me, the texture just isn’t the same.
The main cause? Air. Plain and simple. When air gets into your food storage, moisture escapes, and freezer burn kicks in. Once I figured that out, vacuum sealing quickly became my go-to solution!
How Vacuum Sealing Stops Freezer Burn in Its Tracks
Alright, here’s why vacuum sealing is such a game-changer for preventing freezer burn: it removes almost all the air from the storage bag or container, creating a perfect little airtight seal. When there’s no more air, there’s nothing to suck out all the moisture from your food while it’s freezing. That means no more dry patches on your steak, chicken, or those veggies you spent all that time blanching.
Let me explain it like this—picture a vacuum-sealed piece of meat versus one that you just stick in a regular baggie. The vacuum-sealed one is protected—no airflow, no extra moisture loss, no freezer burn. On the other hand, that meat in the regular baggie… it’s going to get exposed to the cold air in your freezer. This exposure starts tiny little ice crystals forming on the surface, eventually drying your food out completely.
Why Regular Plastic Bags Just Don’t Cut It
Oh, Nancy, I feel you when you said you’re wondering whether vacuum sealing is worth it compared to using regular plastic bags. I remember back when I thought using those thicker freezer bags would be enough solution for avoiding freezer burn. Don’t get me wrong, they do an *okay* job—but only for a short while. The problem is, even with the zip closure or twist ties, the air’s clearly still inside. And like we just talked about, where there’s air, freezer burn is waiting.
If you’re anything like me, you probably think you’ve “squeezed all the air out,” just like I used to! But no matter how much I squished those bags before sealing them, there was always some air left lurking around in the nooks and crannies. That tiny bit of air is enough to do a number on your frozen goods over time, especially with items like meat or delicate fruits. On top of that, regular bags don’t create a completely tight seal, so over time, a bit of air inevitably creeps in. That’s just setting you up for trouble.
How Long Vacuum Sealed Food Stays Fresh
Okay, here’s where vacuum sealing really starts to shine. With properly vacuum-sealed food, you’ll notice a big difference in the length of storage time. On average, foods like meat and vegetables can last *3 to 5 times longer* in the freezer—which is amazing if you want to stock up during sales or preserve your garden’s harvest (I’ve got a bit of a green thumb myself, I love growing my own stuff!).
- Raw Meat: Around 2-3 years for vacuum-sealed, versus 6-12 months in regular storage.
- Blanched Vegetables: Around 2-3 years when vacuum-sealed. Compare that to about 8 months in a regular baggie.
- Fruits: Can last 2-3 years vacuum-sealed whereas using a standard bag would give you about 8-12 months.
- Pre-cooked Meals: These will typically last 1-2 years vacuum sealed, versus 3-6 months with regular freezing methods.
With those kinds of savings in food spoilage, vacuum sealing can really save you time and money. I’ve found that the upfront cost of vacuum sealing equipment becomes small potatoes after seeing how much longer my food lasts.
How to Seal Properly for Maximum Freshness
The key to making vacuum sealing work its magic is knowing how to do it right. You don’t need to be fancy or technical, but a few tricks go a long way:
- Keep food dry: Before sealing, always make sure your food is as dry as possible, especially meats or wet veggies. Too much moisture can confuse the seal and lead to not-so-fun ice crystals forming inside the bag. If food is wet, pat it dry first. For extra juicy items like berries or blanched vegetables, I like to freeze them individually on a baking tray first, then transfer them into vacuum bags.
- Make room for the seal: Ensure there’s enough space at the top of the bag (an inch or two will do) so that the machine can get a good grip on the bag as it’s sealing.
- Leave the “lip” clean: This may sound silly, but make sure you don’t accidentally get any food or bits on the open end of your bag when sealing. A tiny chunk can disrupt the sealing process and allow air in later. And, uh, yes… speaking from multiple failed attempts here!
Common Mistakes (and How to Fix Them)
If you’re new to vacuum sealing, it’s good to be aware of a few common mistakes that can knock you off the track:
- Sealing too early: Imagine filling your vacuum-seal bag, but there’s still steam coming off your just-cooked casserole. That’s going to cause condensation inside the bag, not to mention your food will continue giving off moisture as it cools. Always let hot or freshly-prepared foods cool before you seal them.
- Piercing the bag: Sharp edges, bone fragments, or even something like cookie crumbs can poke tiny holes in your vacuum sealing bags. This means air can sneak back in. When packaging something with sharp edges like meat with bones, it can help to wrap the item first with a little plastic wrap or place it in a light layer of freezer paper before vacuum sealing.
Is Investing in a Vacuum Sealer Worth It?
Nancy, is buying a vacuum sealer worth it? Well, in my experience, absolutely *yes*—especially if you’re storing food for the long-term. A standard vacuum sealer isn’t too expensive, and once you’ve got it, the only thing you’ll need to keep buying are the sealing bags.
If you don’t have a vacuum sealer and don’t feel ready to invest just yet, there’s something called the water immersion method for getting some air out of plastic bags. It won’t give you the same results, but it’s a temporary trick. You fill your bag, seal it most of the way, and then slowly lower it into a pot of water. The water pressure squeezes the remaining air out, and then you quickly zip it fully shut just above the waterline.
Can You Reuse Vacuum Sealing Bags?
This is another common question I get. Technically, you can reuse vacuum sealing bags—*if* they haven’t been used for raw meats, poultry, or fish. For those, I recommend using fresh bags every time to avoid contamination. For dry goods like chips, nuts, or even certain produce, you can absolutely rinse the bags out, dry them completely, and use them again.
Final Thoughts…
Nancy, thanks again for sending in your question. I really hope this gives you the confidence to get started with vacuum sealing! It’s such a simple process, but it’ll totally revolutionize the way you preserve your food and prevent all that dreaded freezer burn. Once you see how long your foods stay fresher, I bet you’ll wonder why you didn’t try it sooner.
Happy sealing!
