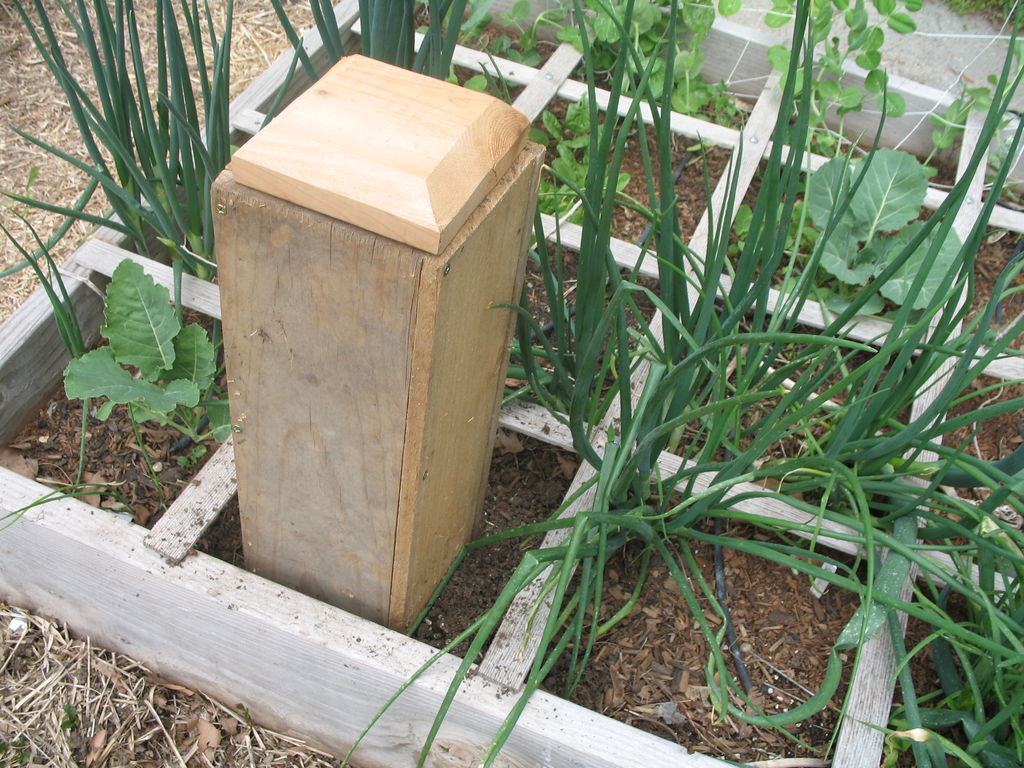
Earthworms are fantastic for gardens because they aerate the soil and their castings improve soil fertility, water holding ability, and drainage.
I had seen this idea somewhere else but wanted to make some changes that would work better for my situation. I hope it helps someone else also. This is installed in my Square Foot Garden bed but would work in other gardens also.
Composting is a way to reduce what is thrown away while adding to the health of your garden soil. Although I compost otherwise I was excited about the idea of composting right in the garden. Compost should be ready much sooner this way with less work: no turning compost, and no moving compost to the garden.
If you are not able to have a traditional compost bin this may be a way you could still make compost.
Step 1: Gather Materials…
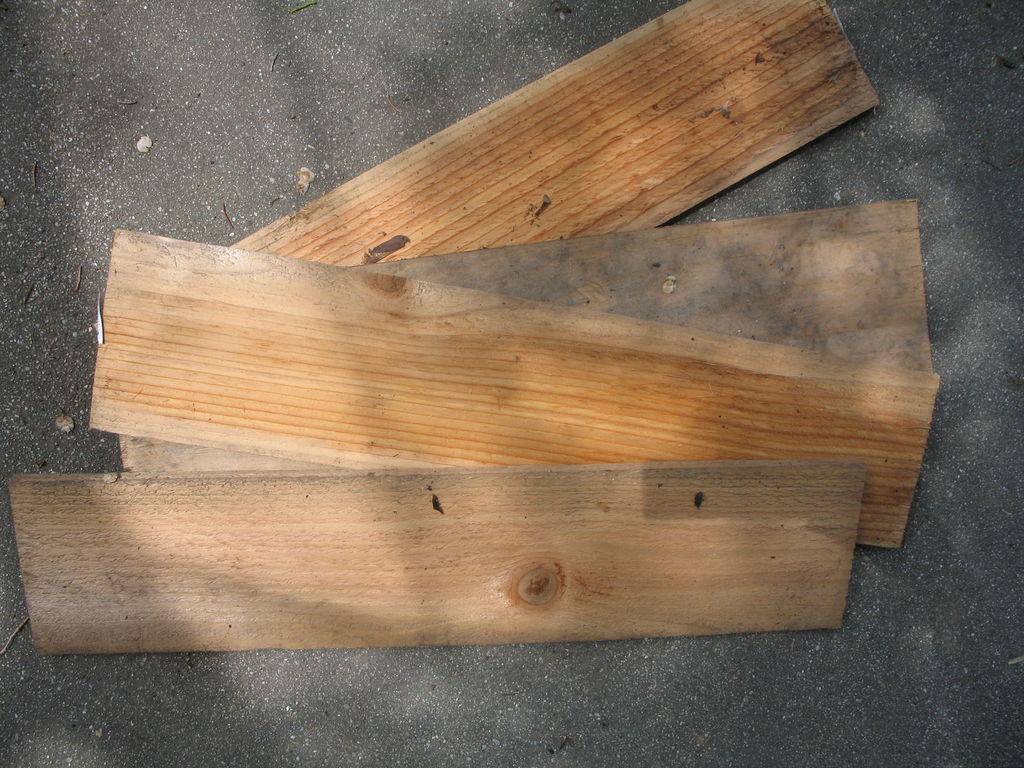
Find or purchase wood. I found four, 1″x5″ pieces of 2′ long lumber around my house – three cedar, and one Douglas Fir. Any kind of wood should be fine, but I advise against using pressure treated, painted, or stained lumber. You could use 2 1/2′ or 3′ long lumber instead of 2′. You will also need a drill, bits and screws, about 2 cups of peat moss, kitchen scraps, a board or post cap for a cover, and a few earthworms.
Step 2: Prepare The Boards…
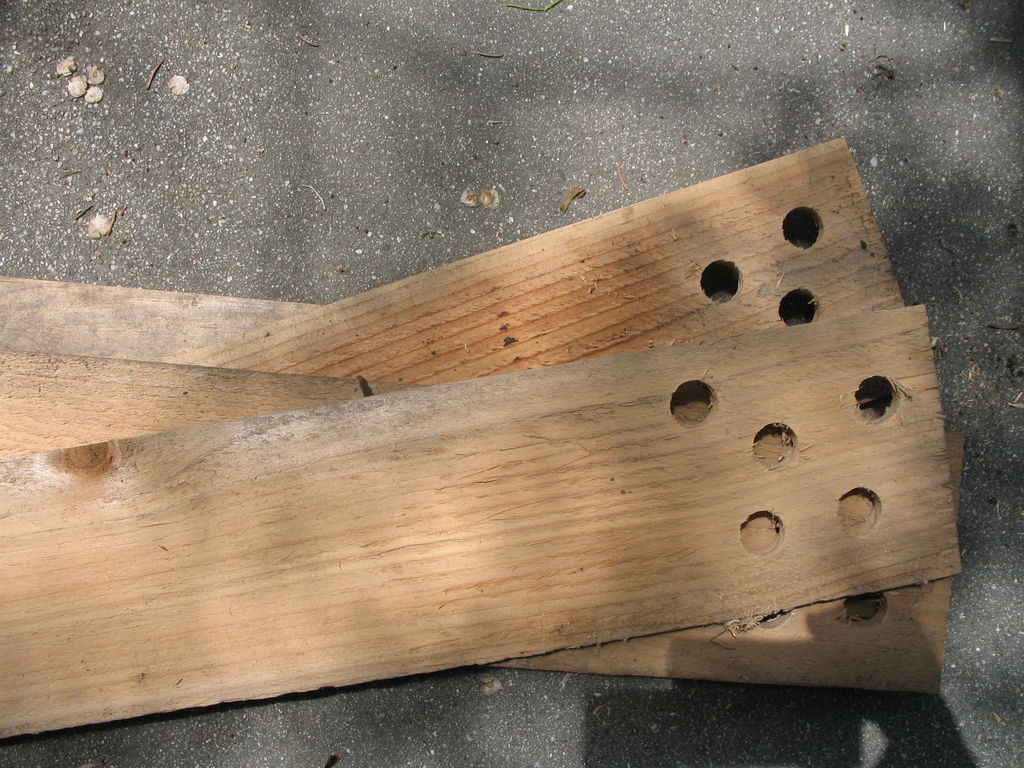
Drill 1″ holes within 6″ of the end of each board. These openings will allow the worms to come and go – eating kitchen scraps in the cafe and then traveling through the garden leaving castings and aerating the soil.
Step 3: Put Your Cafe Together…
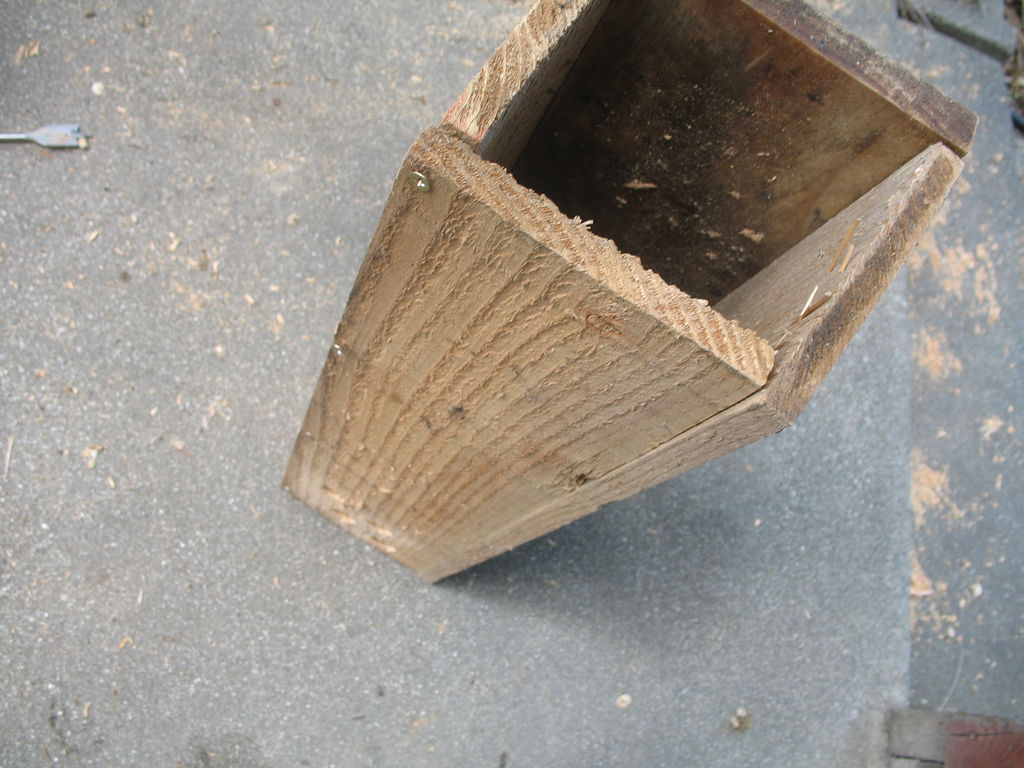
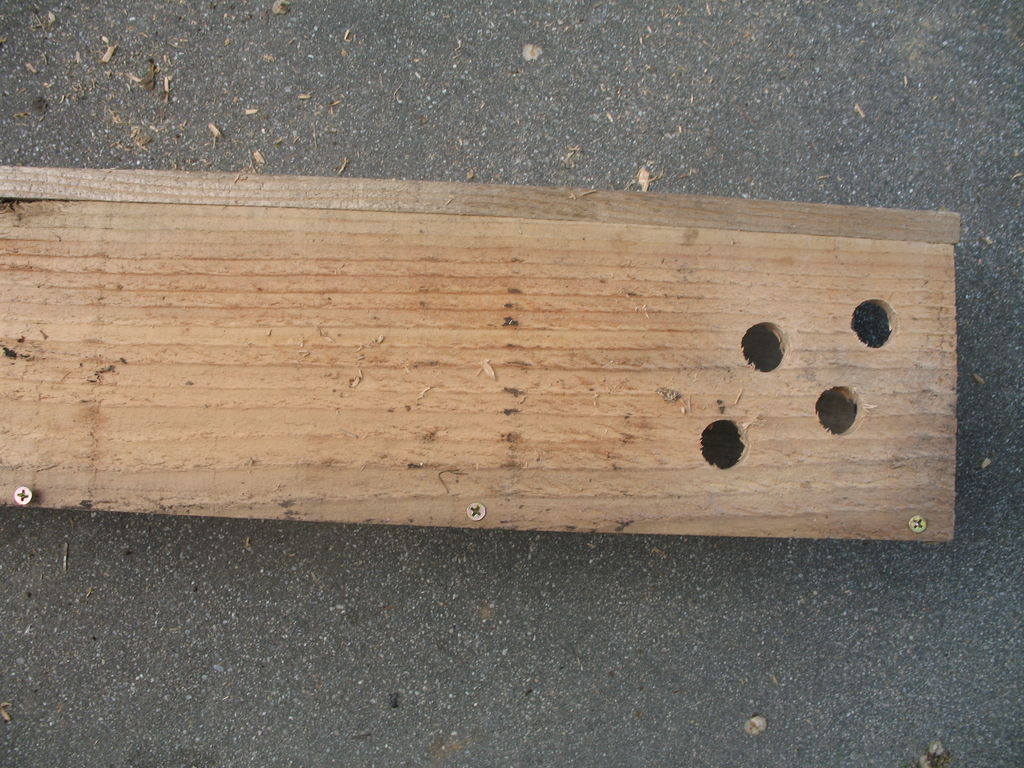
Fasten the boards together with screws – long sides together. I used 4 screws per side.
Step 4: Choose A Location…
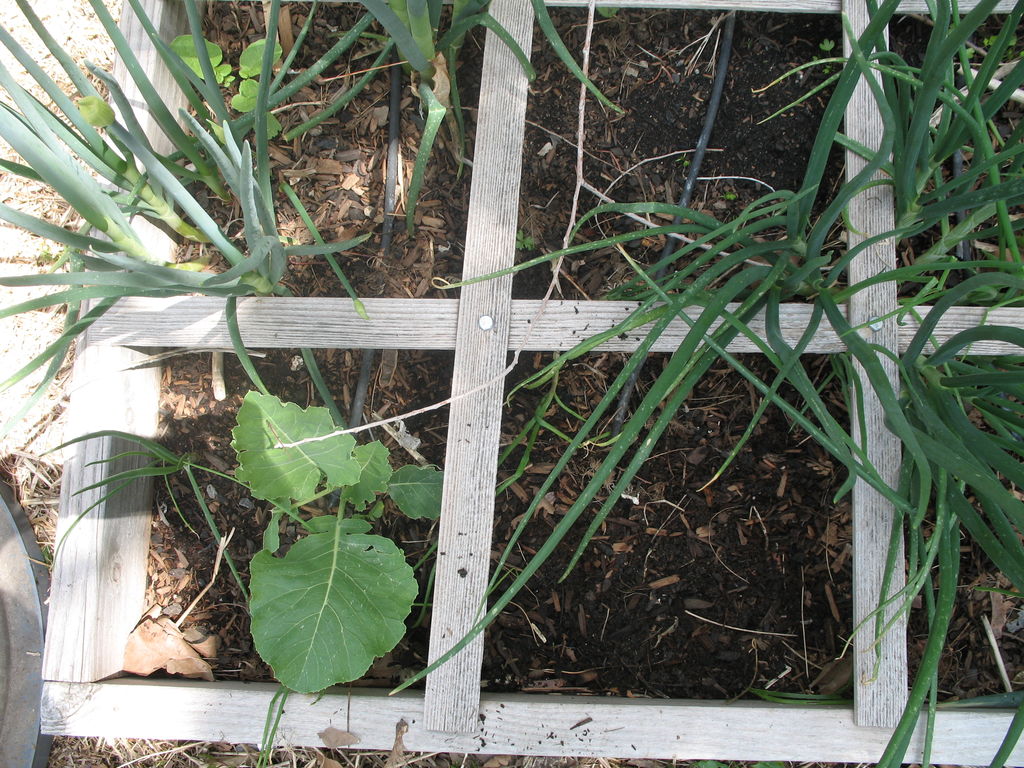
Choose a place in your garden to place the “Cafe”. It would be best if there is not landscape fabric or anything else which will prevent the worms from going deeper when the temperature drops or rises. I chose this empty square in my Square Foot Garden.
Step 5: Dig Out A Hole For The Box…
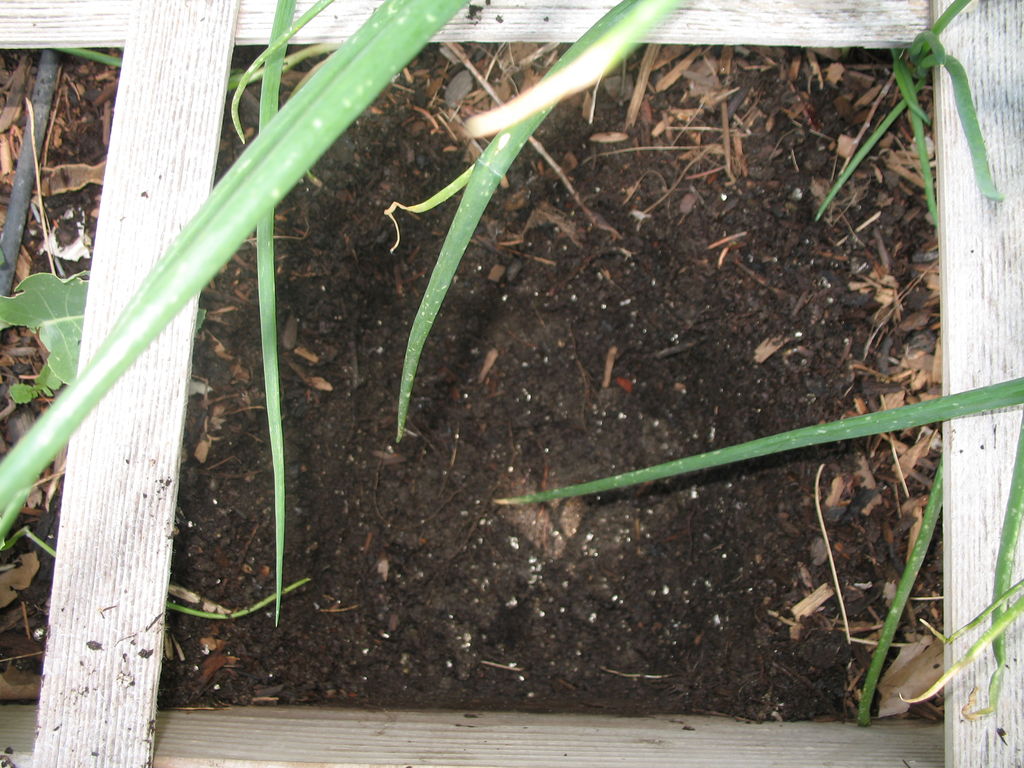
Dig out the soil to a depth of 6″ and a little larger than the box is wide.
Step 6: Put The Box In The Hole…
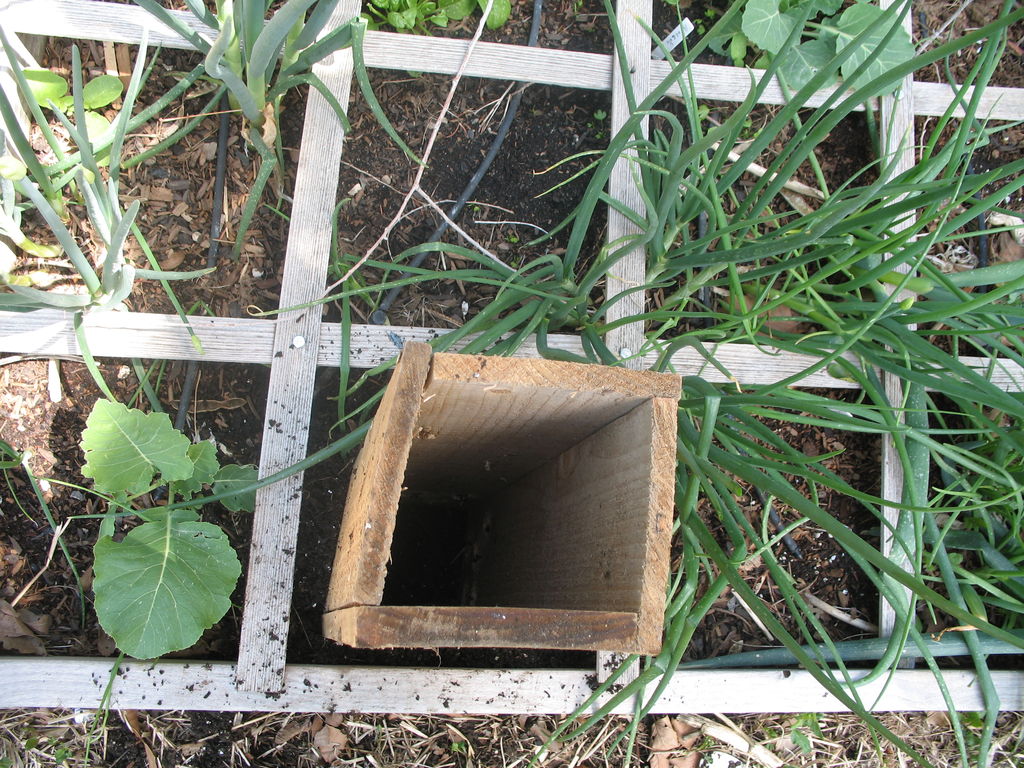
Place the box into the hole with the end with the holes facing down.
Step 7: Fill The Hole Surrounding The Box…
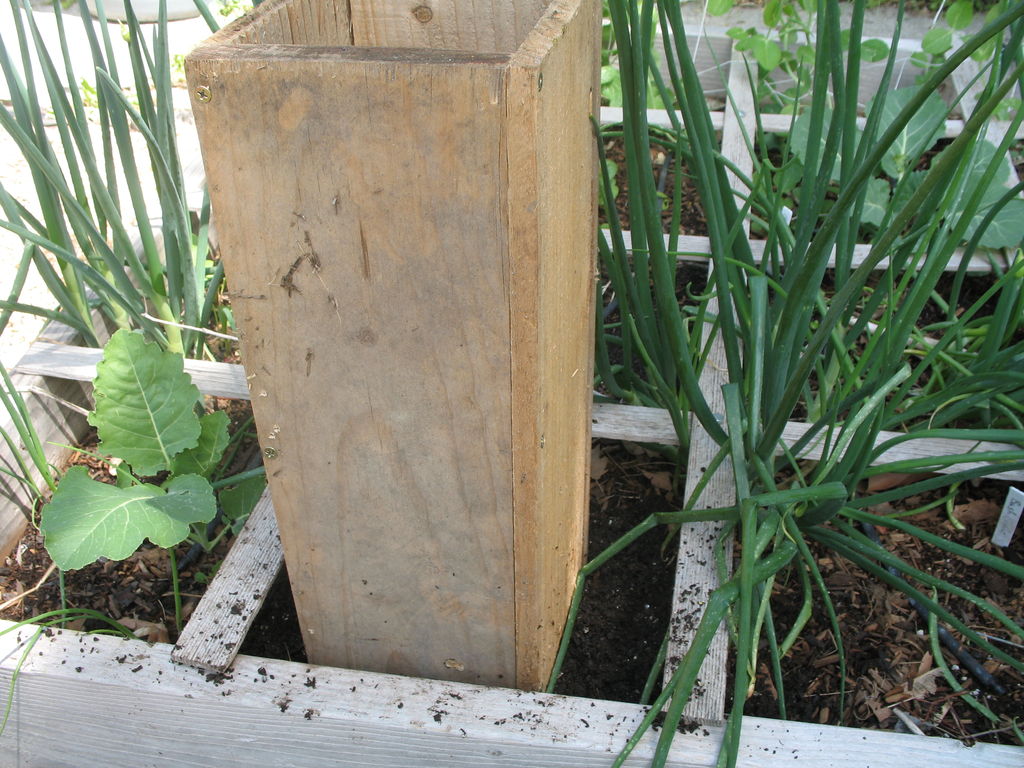
Fill the hole outside the box with soil, making sure to save any earthworms you find so you can add them later.Fill the hole outside the box with soil, making sure to save any earthworms you find so you can add them later. Fill the hole outside the box with soil, making sure to save any earthworms you find so you can add them later.
Step 8: Add Earthworm Bedding…
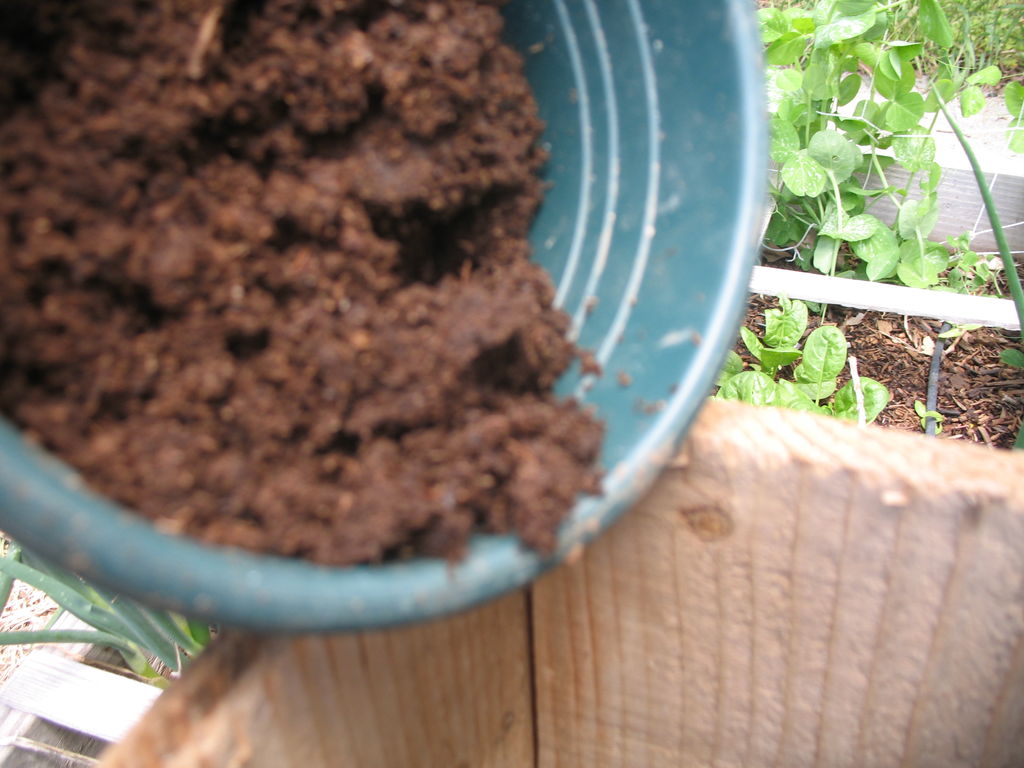
Add about 2 cups of damp coir (coconut fiber), shredded paper, finished compost, or peat moss into the box.
Step 9: Add Earthworms And Kitchen Scraps…
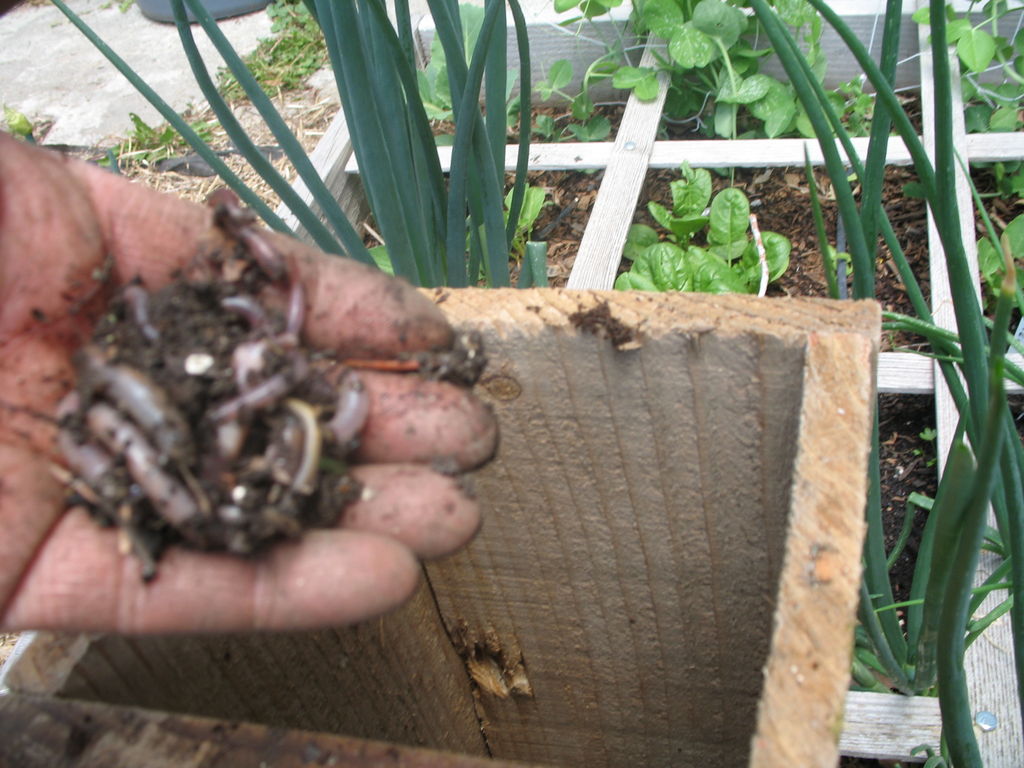
Put the saved earthworms into the box. If you find a few more earthworms around your yard you can add them also.
Add some kitchen scraps (vegetable or fruit peelings) into the box (about 1 cup). Never add dairy products, meat, fat, or bones.
Step 10: Cover It…
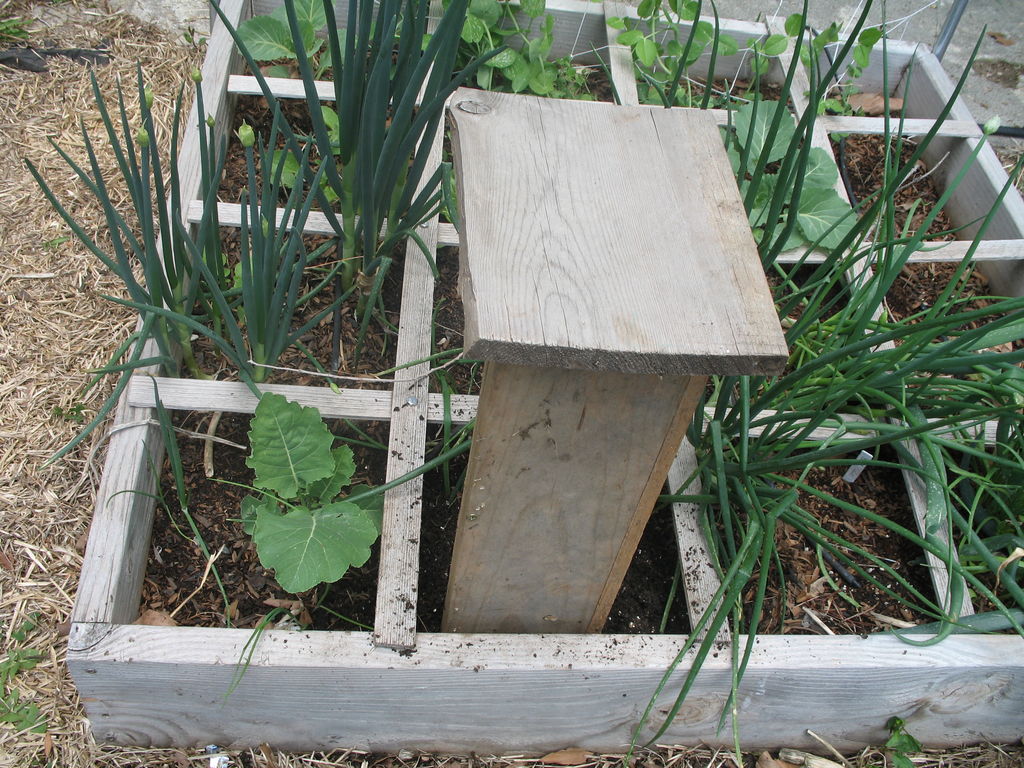
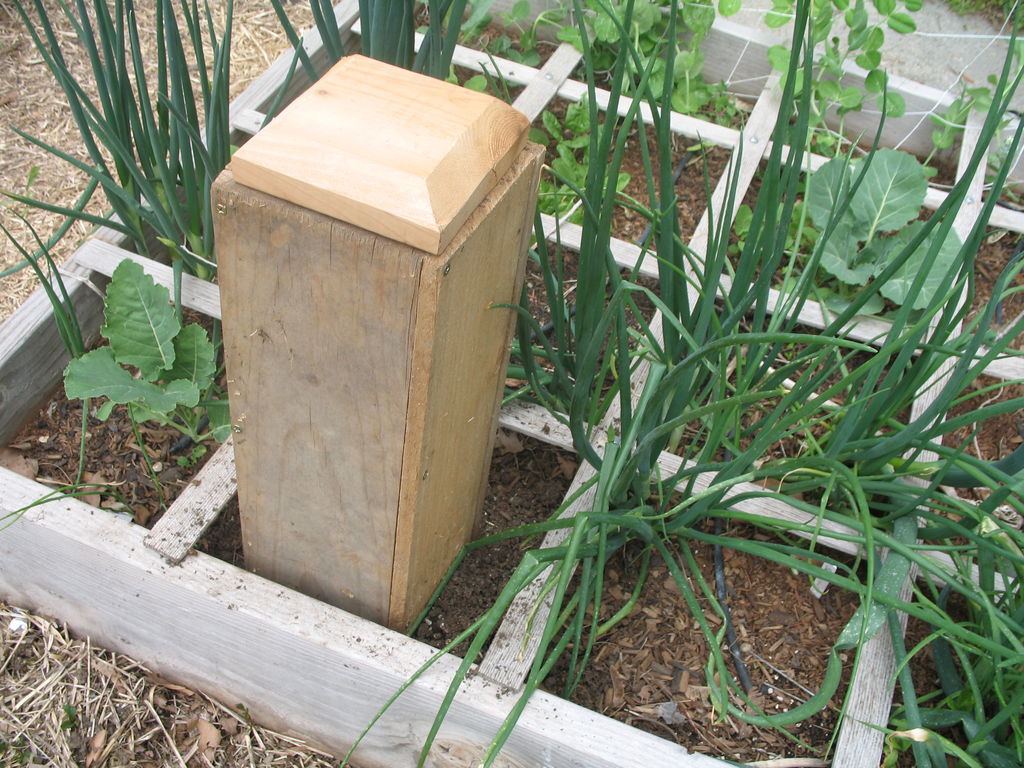
Put a board or decorative cover over the top of the box to keep out rain and flies. A post cap could be used for a more decorative look.
Step 11: Alternatives…
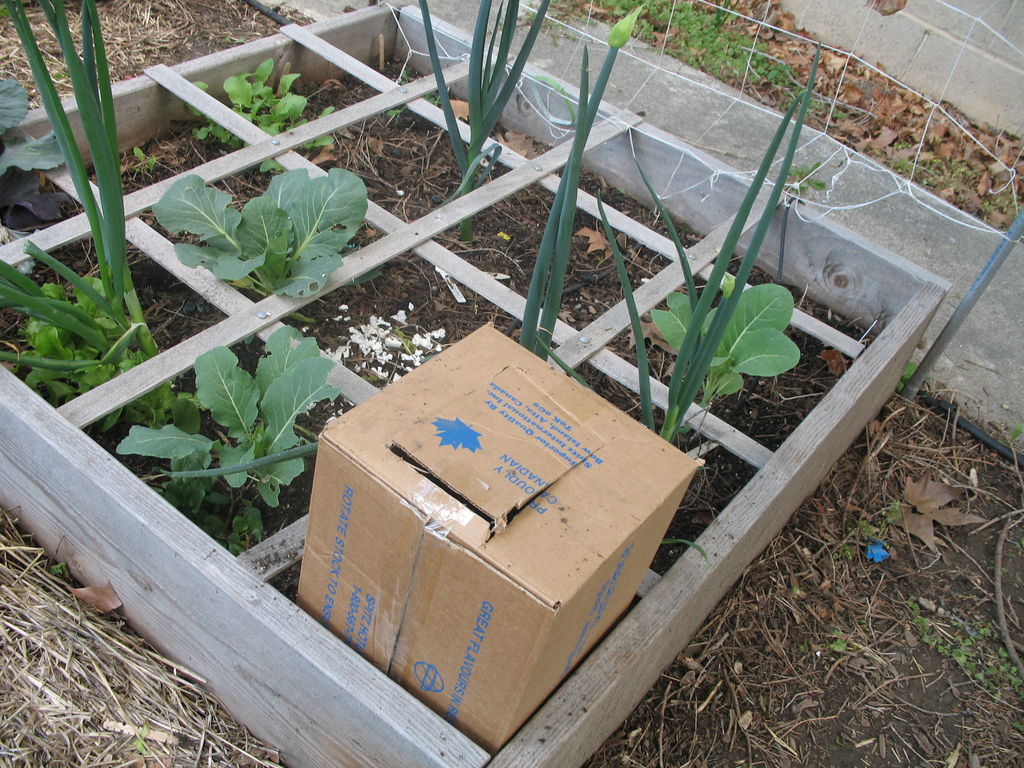
I also made one out of a cardboard box for another bed in my garden. It may not last long but I thought I would try it anyway.
Step 12: Don’t Forget To Feed Your Earthworms…
Kitchen scraps can be added on a regular basis. Check and see how fast the earthworms are consuming the scraps to get an idea of how much you can add and how often. You may be able to add a cup or two at least once per week.
This is new for me so I am trying it out for the first time. I would be interested to hear how it is working out for all of you that try it.
Step 13: Update…
Update on my Worm Cafe. I checked it June 9 and it looked like finished compost. In addition to the fruit and vegetable peelings I added on the day I built and installed it I had added a bit more a few days later. So, in two weeks or less it was consumed and composted by the worms!
The cardboard one was installed a day or so before the wood one and it didn’t do quite so well. There were still recognizable pieces of vegetables. The cardboard also blows away easily (via Instructables).
You can learn more about setting up a successful worm composting operation here.
If you like this idea, be sure to share it with your friends and inspire someone you know. Anything becomes possible with just a little inspiration…
