In a world filled with the familiar and mundane, why not add a touch of intrigue and uniqueness to your garden?
Imagine the delight of discovering vegetables that are not only uncommon but also bursting with flavor and nutritional benefits.
From the mysterious and elegant Fiddleheads to the delicate and tangy Agretti, there is a whole realm of unexplored possibilities waiting for you.
But that’s not all; there are exotic tubers, unusual peppers, and tropical fruits that can transport your taste buds to far-off lands.
So, why settle for the ordinary when you can cultivate a garden that is truly extraordinary?
Exotic Vegetables…
- Fiddleheads are a unique and delicious vegetable with a flavor similar to asparagus and green beans. They are packed with nutrients and can be grown in a shady spot with well-drained soil and regular watering.
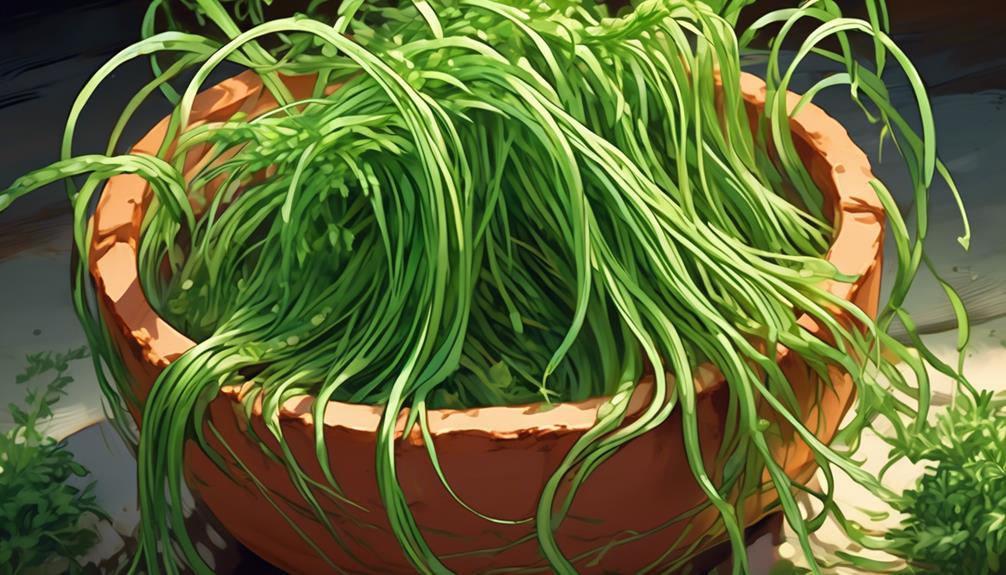
- Agretti is a low-maintenance leafy green with a slightly salty, citrusy flavor. It is native to Mexico and Central America and can be used in various dishes like salads, pasta, soups, and stews.
- Job’s Tears is a unique and ancient grain crop with tear-shaped, hard seeds. The edible seeds are gluten-free and can be used in cooking and brewing. It is easy to grow in warm, humid climates with well-drained soil.
- Kiwano, also known as African Horned Cucumber, is a fruit native to the Kalahari Desert. It has a spiky orange-yellow skin and lime green jelly-like flesh with edible seeds. It is rich in vitamin C, fiber, and antioxidants and requires warm temperatures and well-drained soil for growth.
Fiddleheads

Fiddleheads, the tightly coiled young fronds of certain ferns, are a seasonal delicacy that can add a unique and delicious flavor to your culinary repertoire.
If you’re looking to grow your own unique vegetables, fiddleheads are a great addition to your garden. These young leaves, harvested before they unfurl, are packed with nutrients and have a taste that’s often described as a combination of asparagus and green beans.
To grow fiddleheads, start by selecting a suitable variety of fern that produces edible fronds. The Ostrich fern (Matteuccia struthiopteris) is a popular choice for its tender and flavorful fiddleheads. Plant the fern in a shady spot, preferably in well-drained soil. Make sure to water regularly to keep the soil moist.
When the fiddleheads start to emerge, you can begin harvesting them. Look for tightly coiled fronds that are about 2 to 3 inches long. Cut them at the base, leaving enough to allow for regrowth. Remember to only harvest a few fiddleheads from each plant to ensure its continued growth.
Before cooking, it’s important to thoroughly wash the fiddleheads. They can sometimes harbor dirt or debris. Boil them in salted water for about 10 minutes to remove any potential toxins. Once cooked, you can enjoy them on their own or incorporate them into various dishes like stir-fries, salads, or pasta.
Growing fiddleheads in your garden can be a rewarding experience. Not only do they add a unique flavor to your meals, but they also provide a sense of accomplishment and belonging as you cultivate your own vegetables. So why not give fiddleheads a try this garden year?
‘Did You Know? Fiddleheads have been a part of the diet in certain cultures for centuries. They were a traditional food among Native Americans and are still popular in French, Russian, and Asian cuisine today.’
Agretti

If you’re looking to add a unique and versatile vegetable to your garden, consider growing Agretti. This salt-tolerant leafy green has a slightly salty, citrusy flavor that will add a delightful twist to your culinary adventures.
Here are some reasons why Agretti is worth considering:
- Agretti is native to Mexico and Central America, making it a perfect addition to your garden if you want to explore the flavors of these regions.
- This herbaceous vegetable is related to tomatoes and has flat seeds, similar to ground cherries.
- Agretti’s succulent, needle-like leaves resemble those of prickly pear and can grow up to three feet tall.
- It’s an heirloom variety, meaning it has been passed down through generations, ensuring its unique taste and characteristics.
- Agretti is a low-maintenance plant that requires little water, making it suitable for arid climates or regions with water restrictions.
- Its crunchy texture and slightly salty, citrusy flavor make it a great addition to salads, pasta dishes, and even soups and stews.
- Agretti’s taste has been described as a cross between Jerusalem artichokes and a little watermelon.
How To Grow Agretti At Home
- Choose a sunny spot in your vegetable garden for planting Agretti.
- Prepare the soil by removing any weeds and loosening it with a garden fork or tiller.
- Sow the Agretti seeds directly into the soil, spacing them about 1 inch apart.
- Cover the seeds with a thin layer of soil and gently pat it down.
- Water the area thoroughly, keeping the soil consistently moist throughout the growing season.
- As the Agretti plants grow, thin them out to about 4-6 inches apart to allow for proper growth.
- Continue to water regularly and provide support for the plants if needed.
- Harvest Agretti when the leaves reach about 6-8 inches in length, typically around 50-60 days after planting.
- Enjoy your fresh Agretti in salads, stir-fries, or as a side dish!
‘Did You Know? Despite its Mexican and Central American origins, Agretti has become a staple in Italian cooking. In Italy, it’s also known as ‘roscano’ and is traditionally served with olive oil and lemon juice.’
Walking Stick Kale

Walking Stick Kale, also known as Jersey Cabbage or Tree Cabbage, is a unique and versatile vegetable that won’t only add a visually striking focal point to your garden but also provide a continuous supply of nutritious leaves year after year.
This unusual variety of kale can be grown in your veggie plot and is a great addition to any garden that wants to mix things up with uncommon vegetables.
What sets Walking Stick Kale apart is its tall, sturdy stalks that can reach up to 10 feet in height. These stalks need to be supported to prevent them from toppling over.
The leaves of Walking Stick Kale are tender when young, making them perfect for salads. As the leaves mature, they’re ideal for cooking and stir-frying. In addition to being a nutritious and delicious addition to your meals, Walking Stick Kale can also be fed to livestock, making it a versatile option for small-scale farming and homesteading.
Walking Stick Kale is a perennial, which means it will continue to produce leaves year after year. This makes it a great investment for your garden. It’s best to plant Walking Stick Kale in late summer for a fall harvest.
How To Grow Walking Stick Kale At Home
- Choose a sunny spot in your vegetable garden for planting Walking Stick Kale.
- Prepare the soil by loosening it with a garden fork or tiller to a depth of 8-10 inches.
- Mix in compost or well-rotted manure to improve soil fertility and drainage.
- Sow the Walking Stick Kale seeds directly into the soil, spacing them 12-18 inches apart.
- Cover the seeds with a thin layer of soil and gently pat it down.
- Water the seeds thoroughly, keeping the soil consistently moist but not waterlogged.
- As the seedlings emerge, thin them out to maintain a spacing of 12-18 inches between plants.
- Weed regularly to prevent competition for nutrients and space.
- Provide a support structure, such as stakes or trellis, for the Walking Stick Kale to grow vertically.
- Water regularly and deeply, ensuring the soil stays consistently moist.
- Harvest the Walking Stick Kale leaves as they mature, starting from the bottom of the plant.
- Enjoy your homegrown Walking Stick Kale in salads, stir-fries, or as a nutritious side dish!
Jobs Tears

Jobs Tears, a unique and ancient grain crop with ornamental and medicinal uses, can be a valuable addition to your garden. Here are some reasons why you should consider growing Jobs Tears:
- Versatility: Jobs Tears offer a range of uses. The tear-shaped, hard seeds can be used in jewelry making and traditional Chinese medicine. Additionally, the seeds are edible and can be used as a gluten-free grain in cooking and brewing beverages. Imagine the satisfaction of using homegrown ingredients to make your own unique dishes and drinks!
- Easy to Grow: Jobs Tears are a tropical grass that thrives in warm, humid climates with well-drained soil. They’re relatively low maintenance and can be grown in both ground and containers. By providing the right conditions and care, you can enjoy a bountiful harvest of this ancient grain crop.
- Beautiful and Unique: The plant itself is visually appealing, with its tall stalks and vibrant green leaves. The seeds come in a variety of colors, including purple skin and are a beautiful addition to flower arrangements or as a decorative element in your garden. By growing Jobs Tears, you can add a touch of exotic beauty to your outdoor space.
How To Grow Job’s Tears At Home
- Choose a sunny location in your garden with well-draining soil.
- Soak the Job’s Tears seeds in water for 24 hours before planting.
- Prepare the soil by removing weeds and loosening it with a garden fork or tiller.
- Plant the soaked seeds about 1 inch deep and 2-3 inches apart in rows or clusters.
- Water the seeds immediately after planting and keep the soil consistently moist throughout the growing season.
- Once the plants reach a height of 4-6 inches, thin them to 6-8 inches apart to provide adequate space for growth.
- Mulch around the plants to suppress weeds and retain soil moisture.
- Water the plants regularly, aiming for about 1 inch of water per week.
- Job’s Tears can tolerate some drought but may require more water during dry spells.
- Harvest the mature seeds when they turn hard and glossy, typically around 80-100 days after planting.
- Cut the seed heads from the plant and hang them upside down in a cool, dry area to finish drying.
- Once fully dry, remove the seeds from the heads and store them in a cool, dry place for future use or planting.
Kiwano

Kiwano (also known as horned melon) belongs to the cucumber family and goes by the scientific names of Melothria scabra or Cucumis metuliferus. It’s a fruit that’s native to the Kalahari Desert and is now grown in various parts of the world.
The fruit is small, about the size of a tennis ball, with a spiky orange-yellow skin that resembles a small pumpkin. When you cut it open, you’ll find a lime green jelly-like flesh with edible seeds. The taste of kiwano is unique, offering a delightful combination of sweetness and tartness. Some people describe it as a cross between a cucumber and a kiwi. The fruit is rich in vitamin C, fiber, and antioxidants, making it a nutritious addition to your diet.
If you’re interested in growing kiwano in your vegetable garden, you’ll need to provide it with warm temperatures and well-drained soil. Kiwano vines thrive in full sun and produce unique, horned fruits that are truly eye-catching. The vines can be trained to grow on trellises or allowed to spread on the ground. When the fruit is ripe, the skin turns a vibrant red and white color, indicating that it’s ready to be harvested.
Once you have harvested your kiwano, you can use it in a variety of ways.
It can be sliced and added to fruit salads, blended into refreshing smoothies, or even used as a unique garnish for cocktails. Alternatively, you can simply enjoy the fruit on its own, savoring its refreshing taste and unique texture.
Interestingly, kiwano was introduced to the Western world in the 20th century when seeds were brought to an Italian town called Verona. From there, it gained popularity and spread to other parts of Europe and eventually to other continents.
So, by growing kiwano in your garden, you aren’t only adding a unique and delicious fruit to your diet but also becoming part of a long and fascinating history.
How To Grow Kiwano At Home
- Choose a sunny spot in your vegetable garden to plant the kiwano seeds.
- Prepare the soil by loosening it and removing any weeds or debris.
- Plant the kiwano seeds about 1 inch deep and space them about 2 feet apart.
- Water the seeds thoroughly after planting and keep the soil consistently moist throughout the growing season.
- Provide support for the kiwano vines to climb, such as a trellis or fence.
- Monitor for pests and diseases, and take appropriate action if necessary.
- Regularly fertilize the plants with a balanced vegetable fertilizer according to the package instructions.
- Harvest the kiwanos when they turn orange or yellow and the spines start to soften.
- Cut the fruit from the vine, leaving a short stem attached.
- Enjoy the unique and delicious kiwanos!
Did you know? Despite its African origins and its popularity in Italy, the Kiwano is now also being commercially grown in California, USA, and is often referred to as ‘African Horned Cucumber’ or ‘Jelly Melon’.
Giant Feather Leaf Lettuce

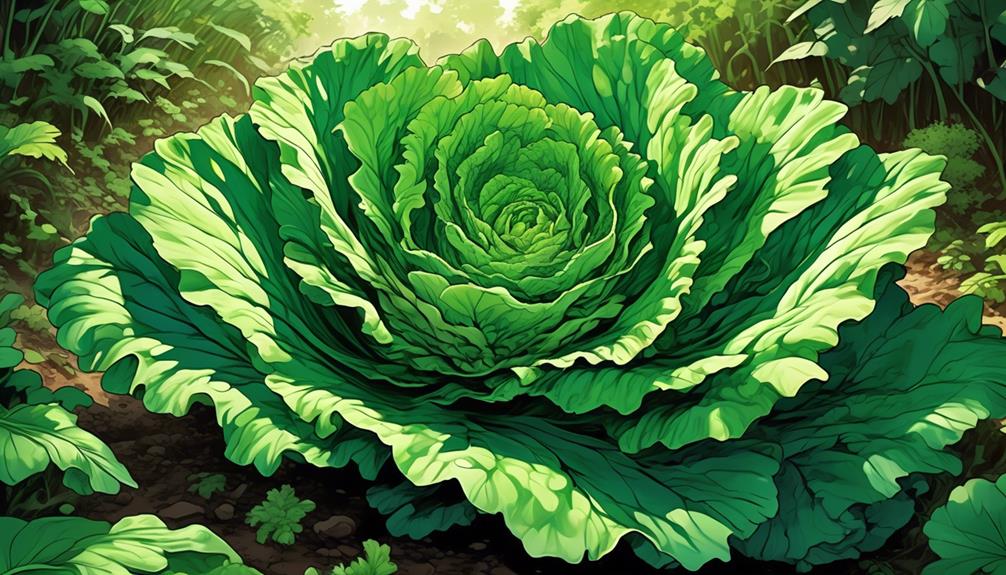
To add a visually striking and unique variety of lettuce to your garden, consider growing Giant Feather Leaf Lettuce. This uncommon vegetable won’t only provide you with a delicious addition to your garden produce but also create a stunning focal point with its large, feathery leaves.
Here are some practical tips for successfully growing Giant Feather Leaf Lettuce:
- Give the plant plenty of room: Giant Feather Leaf Lettuce can grow to impressive sizes, so make sure to provide enough space for each plant to thrive and spread its beautiful green leaves.
- Plant after the frost has passed: Wait until the danger of frost has passed before planting your Giant Feather Leaf Lettuce. This will ensure that the plants can grow without any setbacks.
- Choose the right growing season: Giant Feather Leaf Lettuce prefers cooler temperatures, so it’s best to plant it in the spring or fall when the weather isn’t too hot.
- Consider container gardening: If you have a small garden or limited space, don’t worry! Giant Feather Leaf Lettuce can be grown in containers, making it suitable for urban gardening.
How To Grow Giant Feather Leaf Lettuce
- Choose a sunny spot in your vegetable garden with well-drained soil.
- Prepare the soil by loosening it with a garden fork or tiller.
- Sow Giant Feather Leaf Lettuce seeds directly into the soil, spacing them about 6 inches apart.
- Cover the seeds lightly with soil, ensuring they are still visible.
- Water the seeds gently to keep the soil moist but not waterlogged.
- As the seedlings grow, thin them out to leave about 12 inches of space between each plant.
- Water regularly, keeping the soil consistently moist.
- Fertilize the plants every few weeks with a balanced vegetable fertilizer.
- Harvest the outer leaves when they reach the desired size, being careful not to damage the plant’s crown.
- Enjoy the fresh and delicious Giant Feather Leaf Lettuce in your salads and sandwiches!
A Cornucopia of Flavors…
As you venture into the world of growing unique and uncommon vegetables for your garden, you’ll discover a cornucopia of flavors and textures that will elevate your culinary experiences.
From the delicate fiddleheads and tangy agretti to the vibrant kiwano and hearty walking stick kale, these vegetables won’t only add variety to your plate but also provide essential nutrients for your well-being. So, don’t be afraid to step out of the ordinary and explore the bountiful possibilities that await you in your garden.

